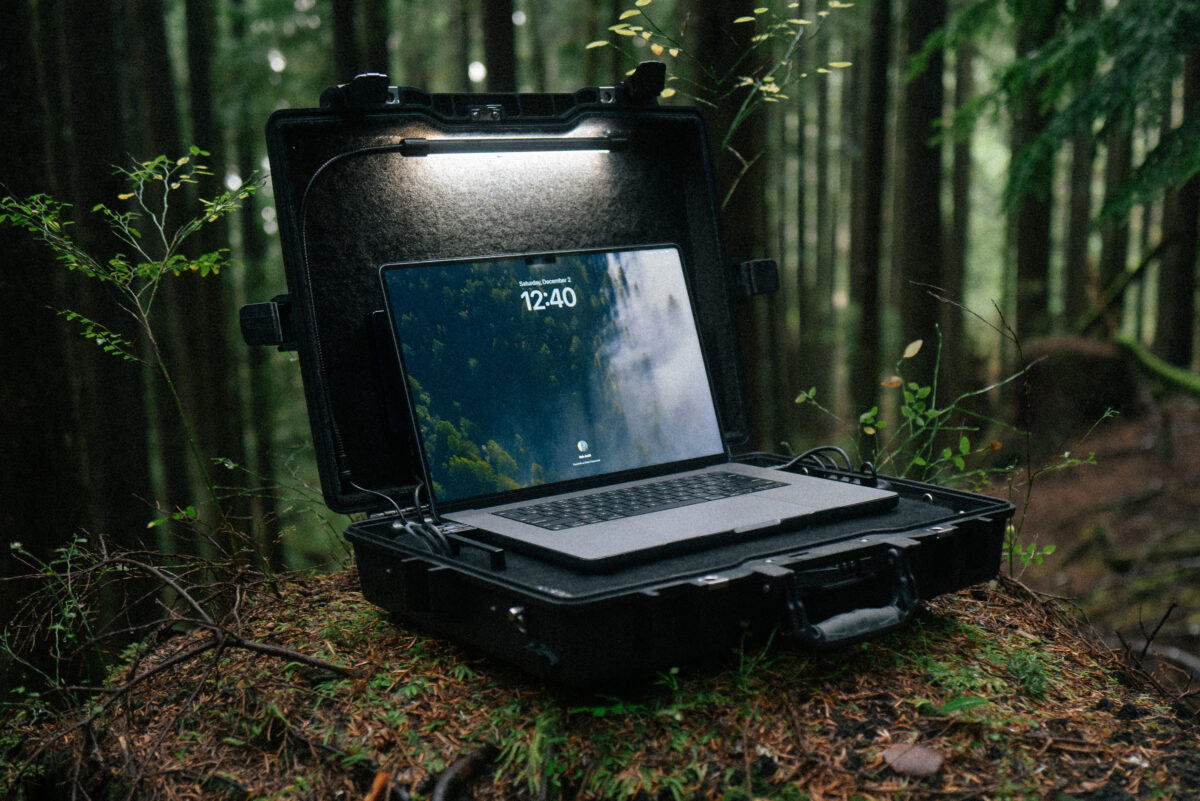


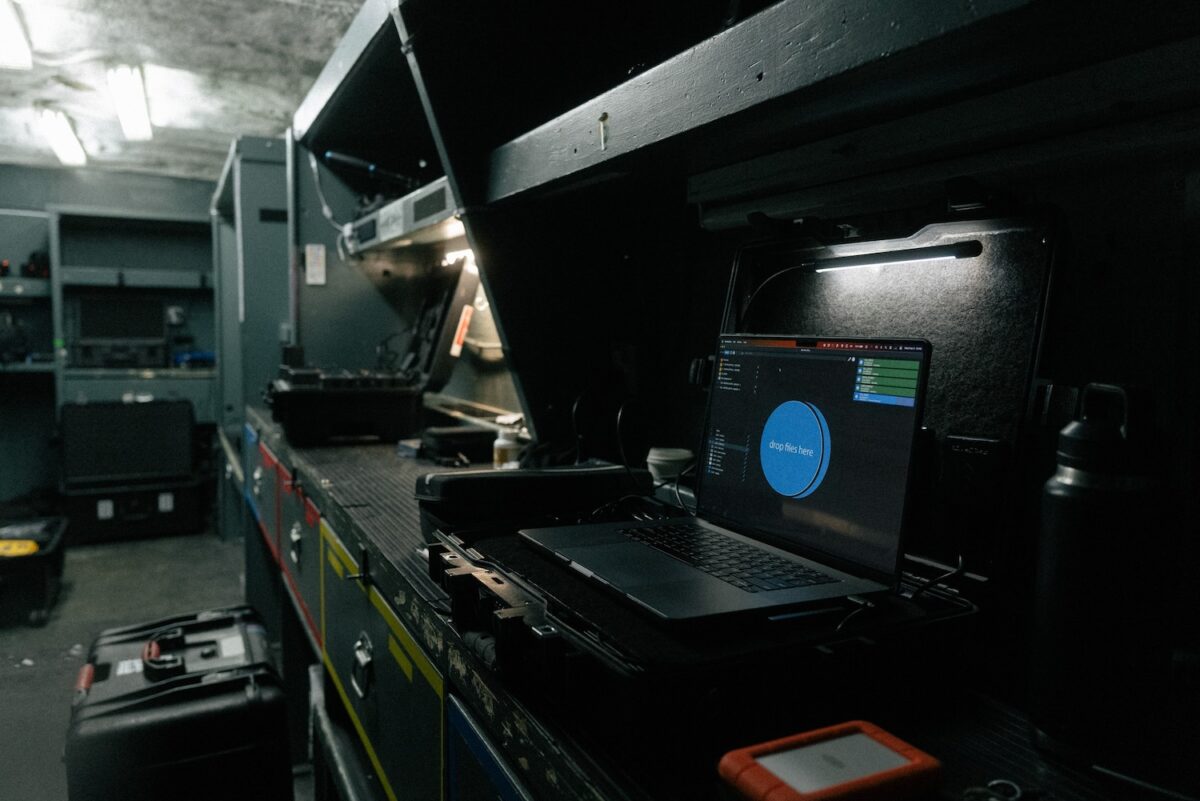


Introducing the CopyCat, a turbo charged data transfer case. Taking advantage of the latest NVMe storage, Thunderbolt 3 enclosures/ dock and LiPo battery, this case is able to backup data pretty much anywhere without interruption. Here are the specs and design decisions taken over the past two years during development and testing.
PROBLEM
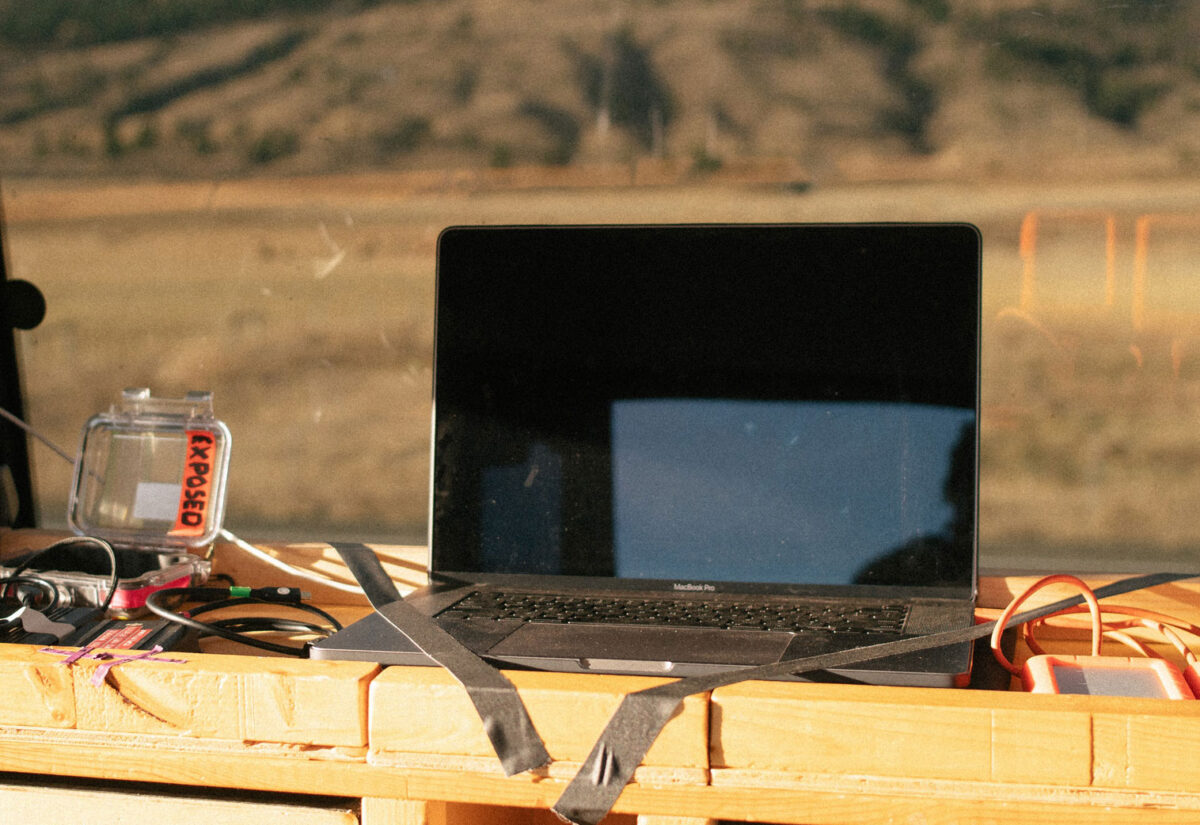

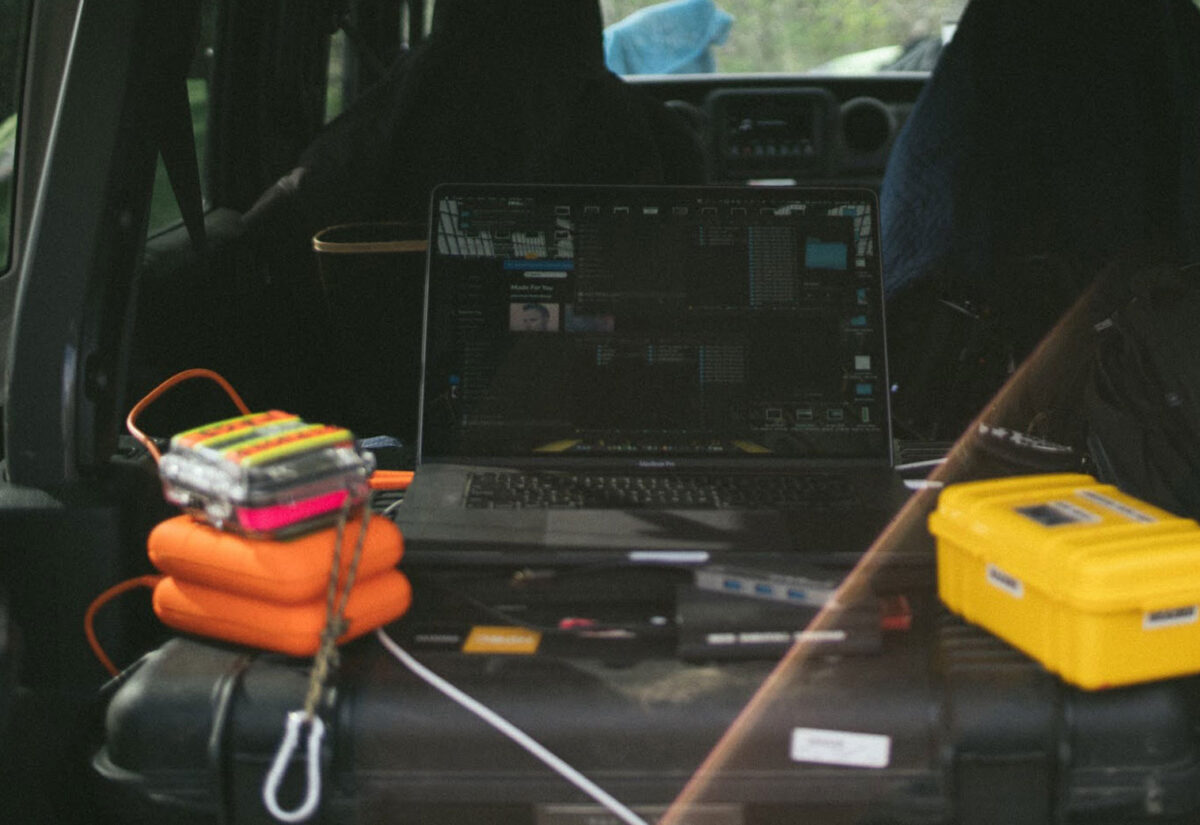

- Kept running into the same problem when on travel shoots. How to quickly and safely get data off cards during or at end of day.
- When constantly on the move power supply is always an issue. Running hard drives and card readers puts pressure on the laptop battery.
- How to neatly store a laptop (keeping its ports protected), card readers, drives and any other related bits
- How to take the 3 USB C ports on a MacBook Pro M1 and extend them for multiple readers and drives.
- TB have become new GB. With the likes of the Inspire 3 and RED Raptor both shooting 8K Raw, even smaller projects I’ve been on often run into the 12TB+ range.
- These initial problems led me on a quest to develop the ultimate travel data wrangler case. Each job I’ve used this on I’ve discovered ways to make it more efficient. It’s been a fun one to solve.
SPEC
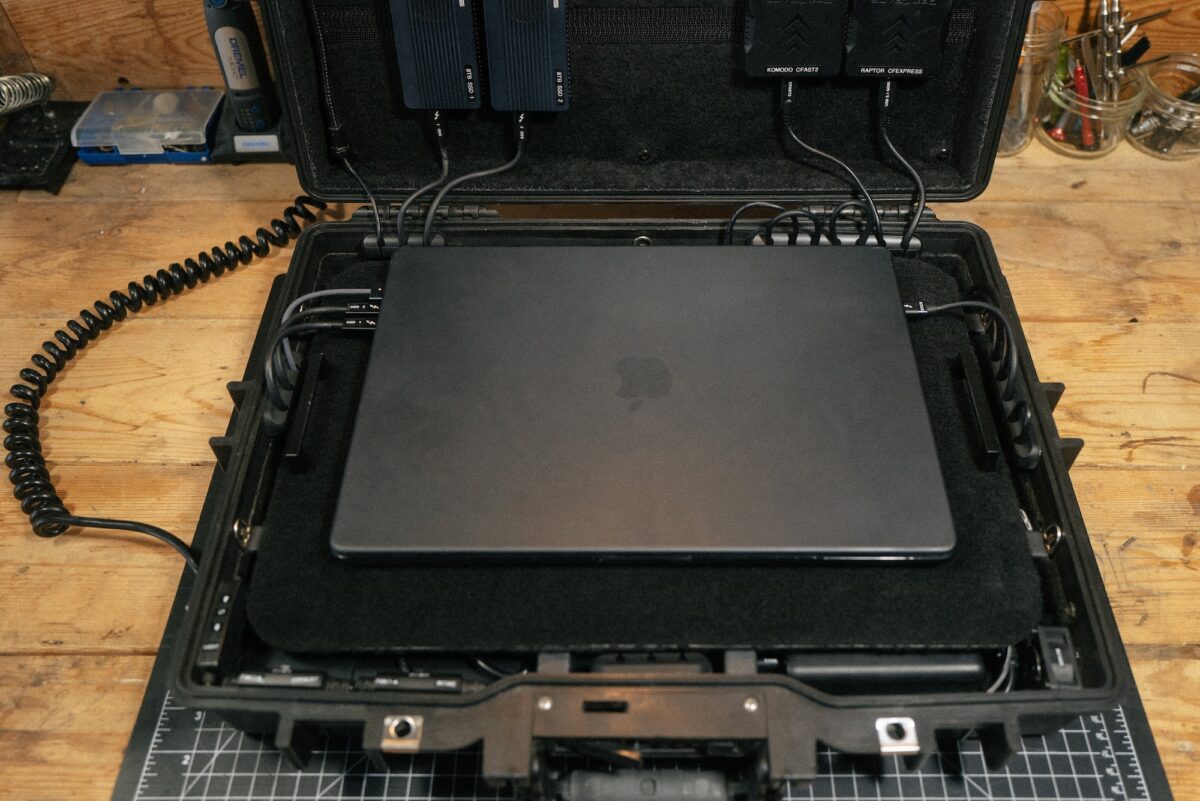

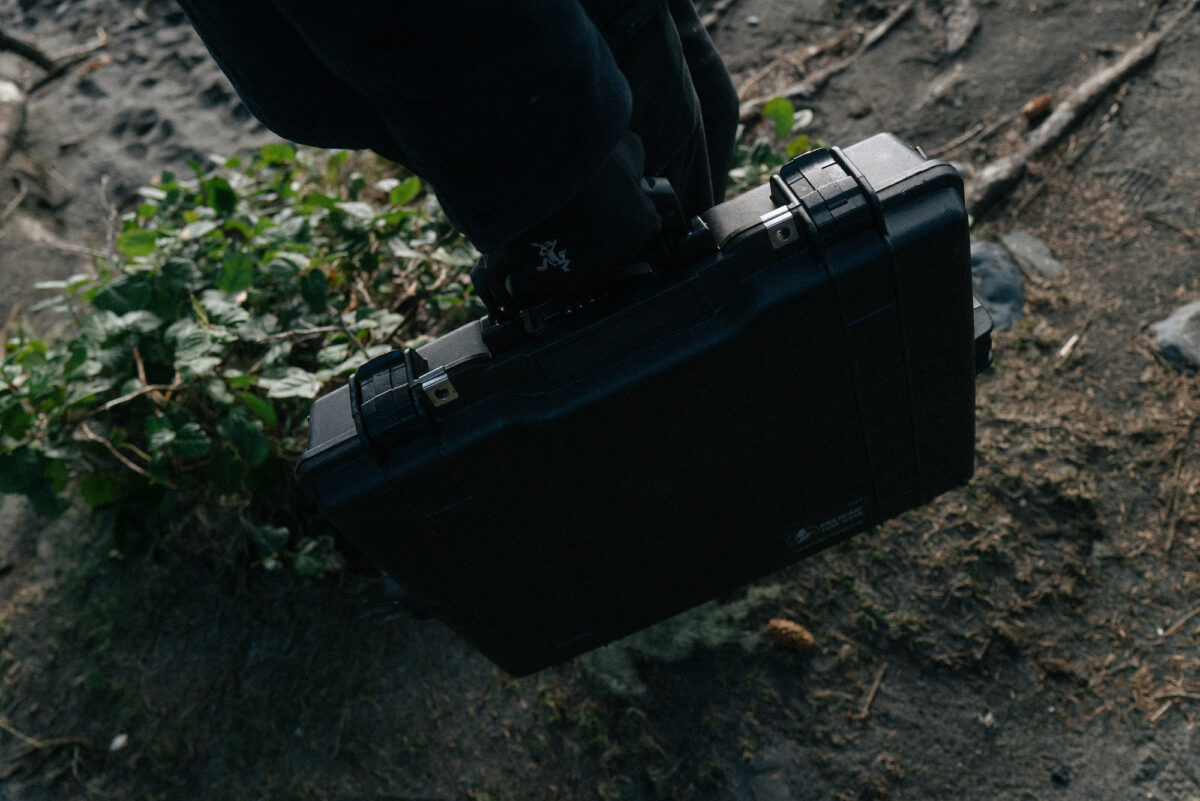
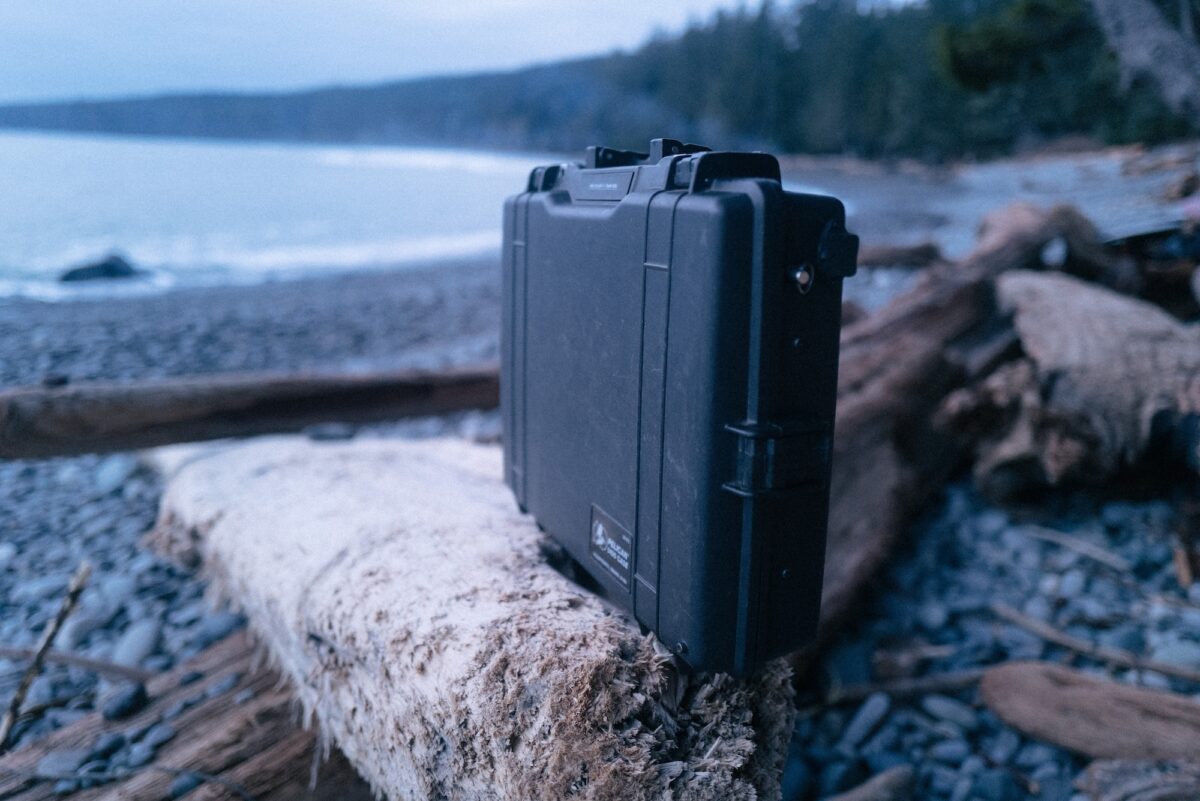
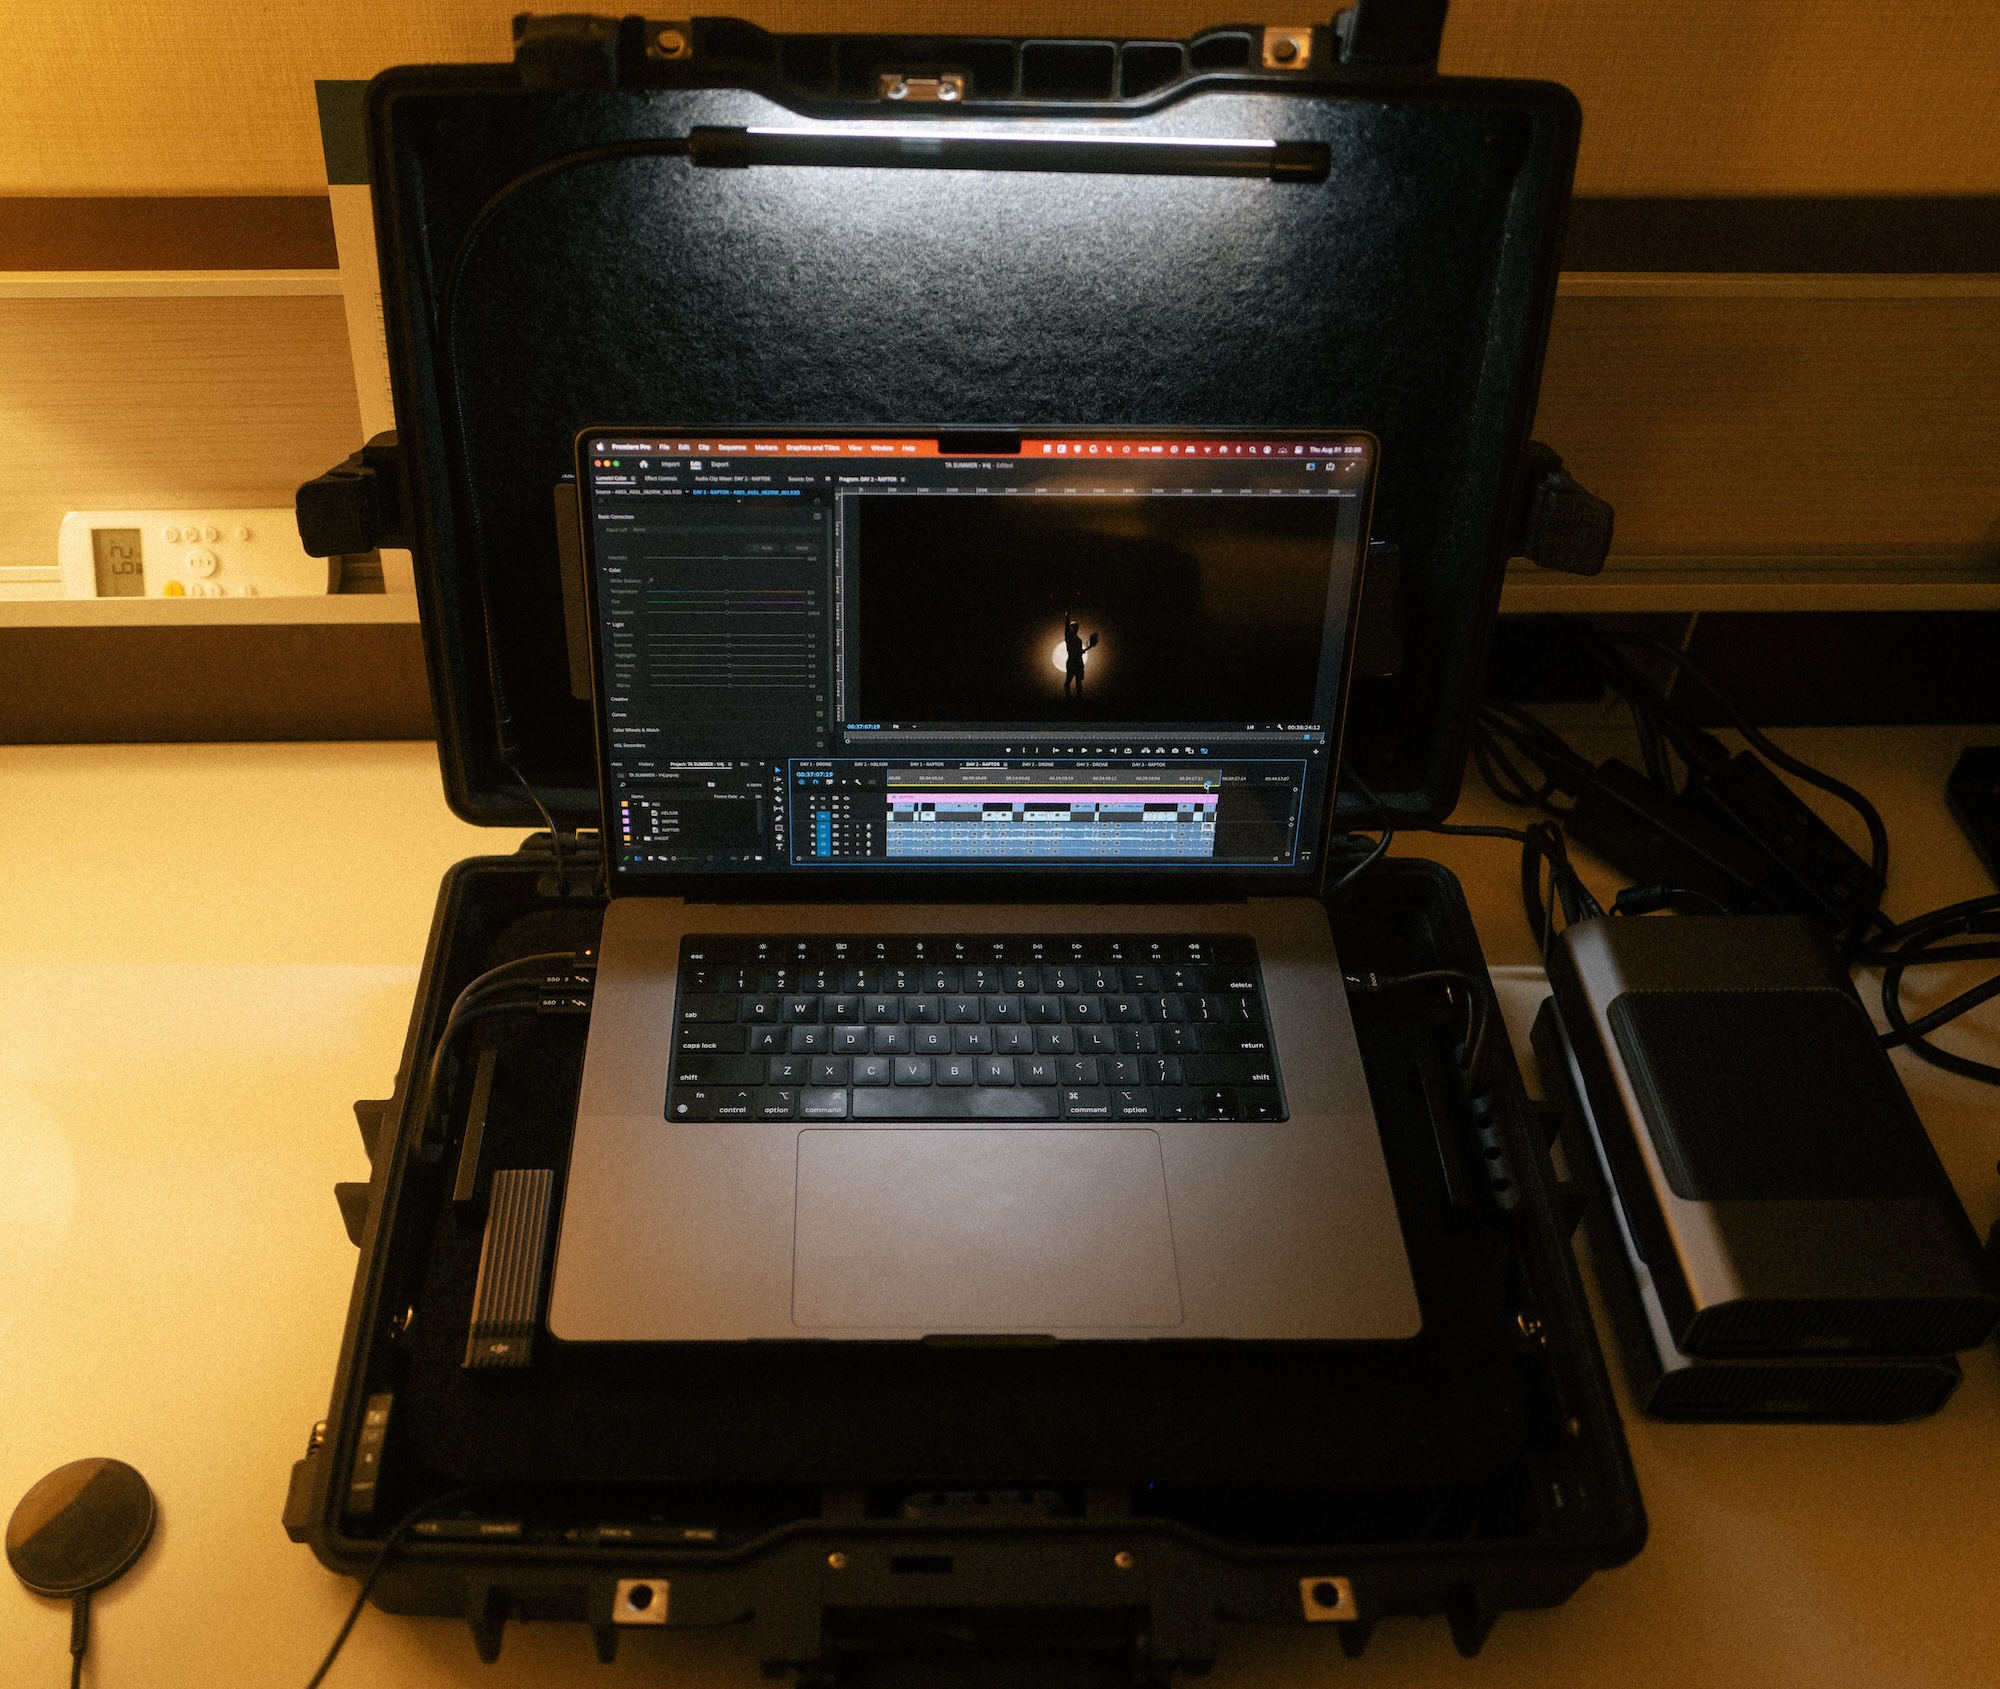
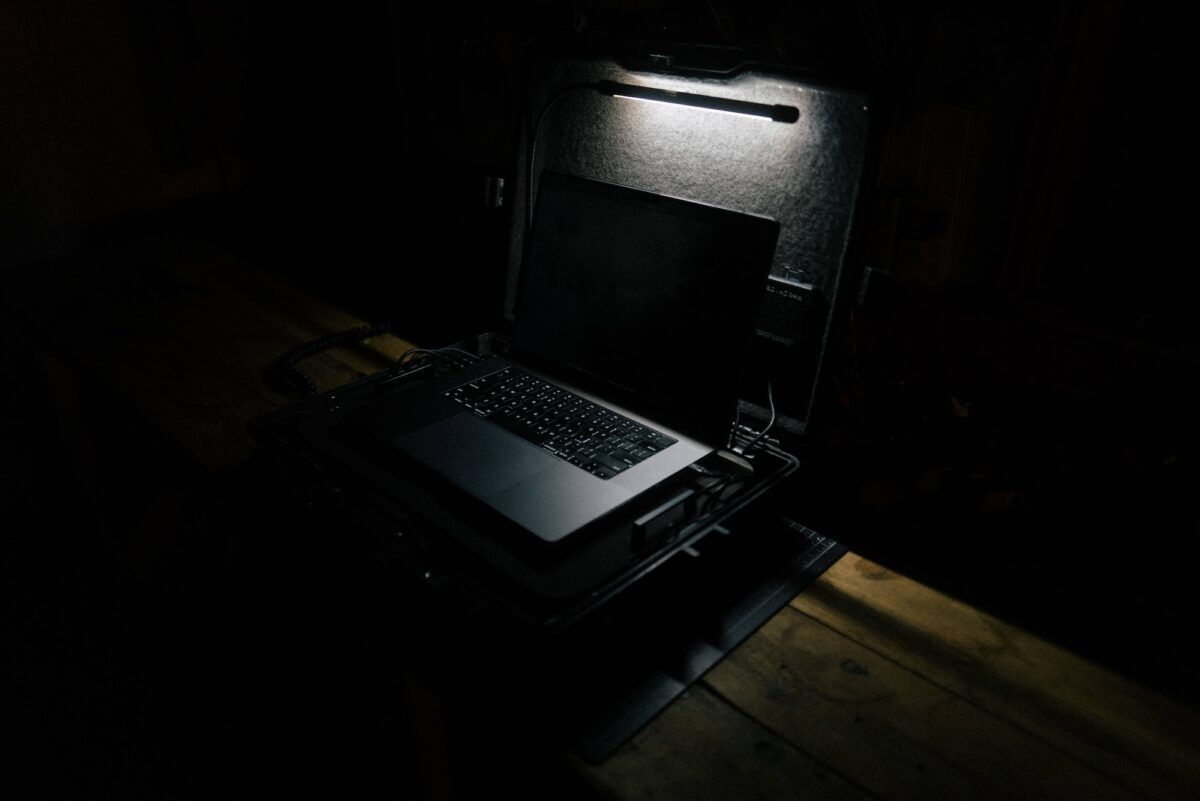
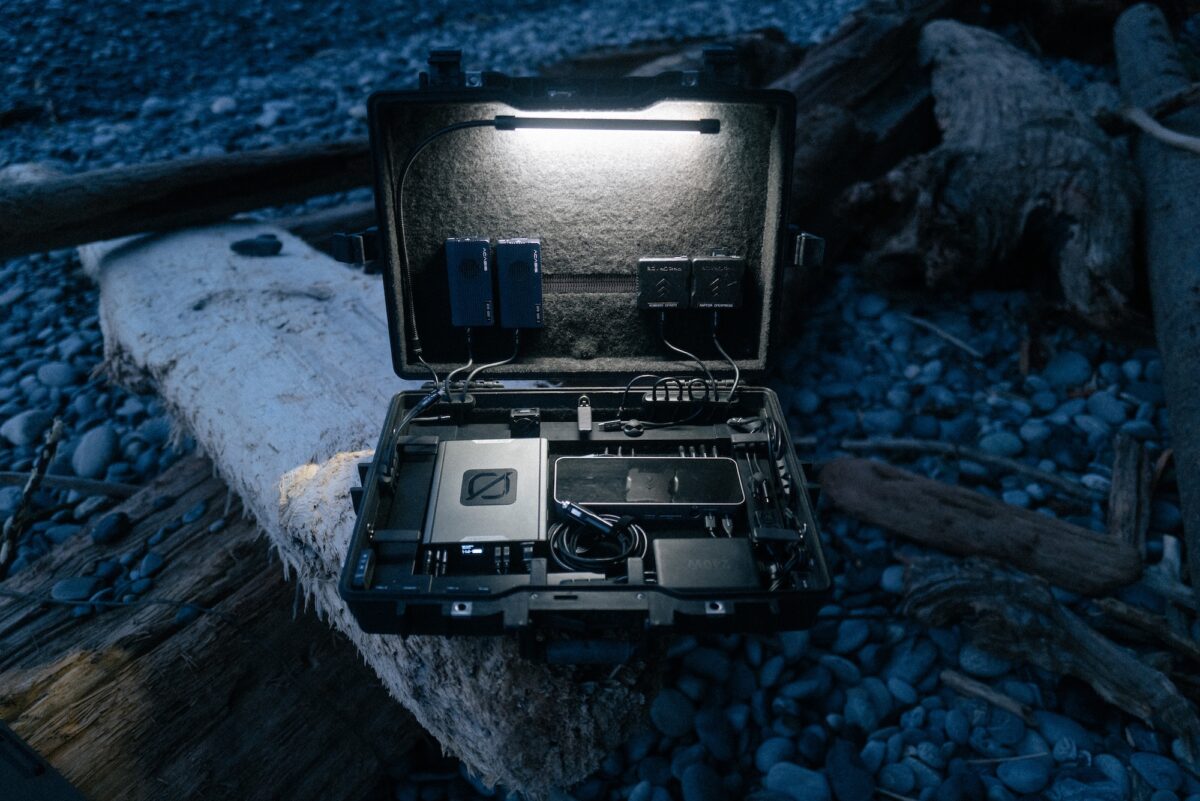
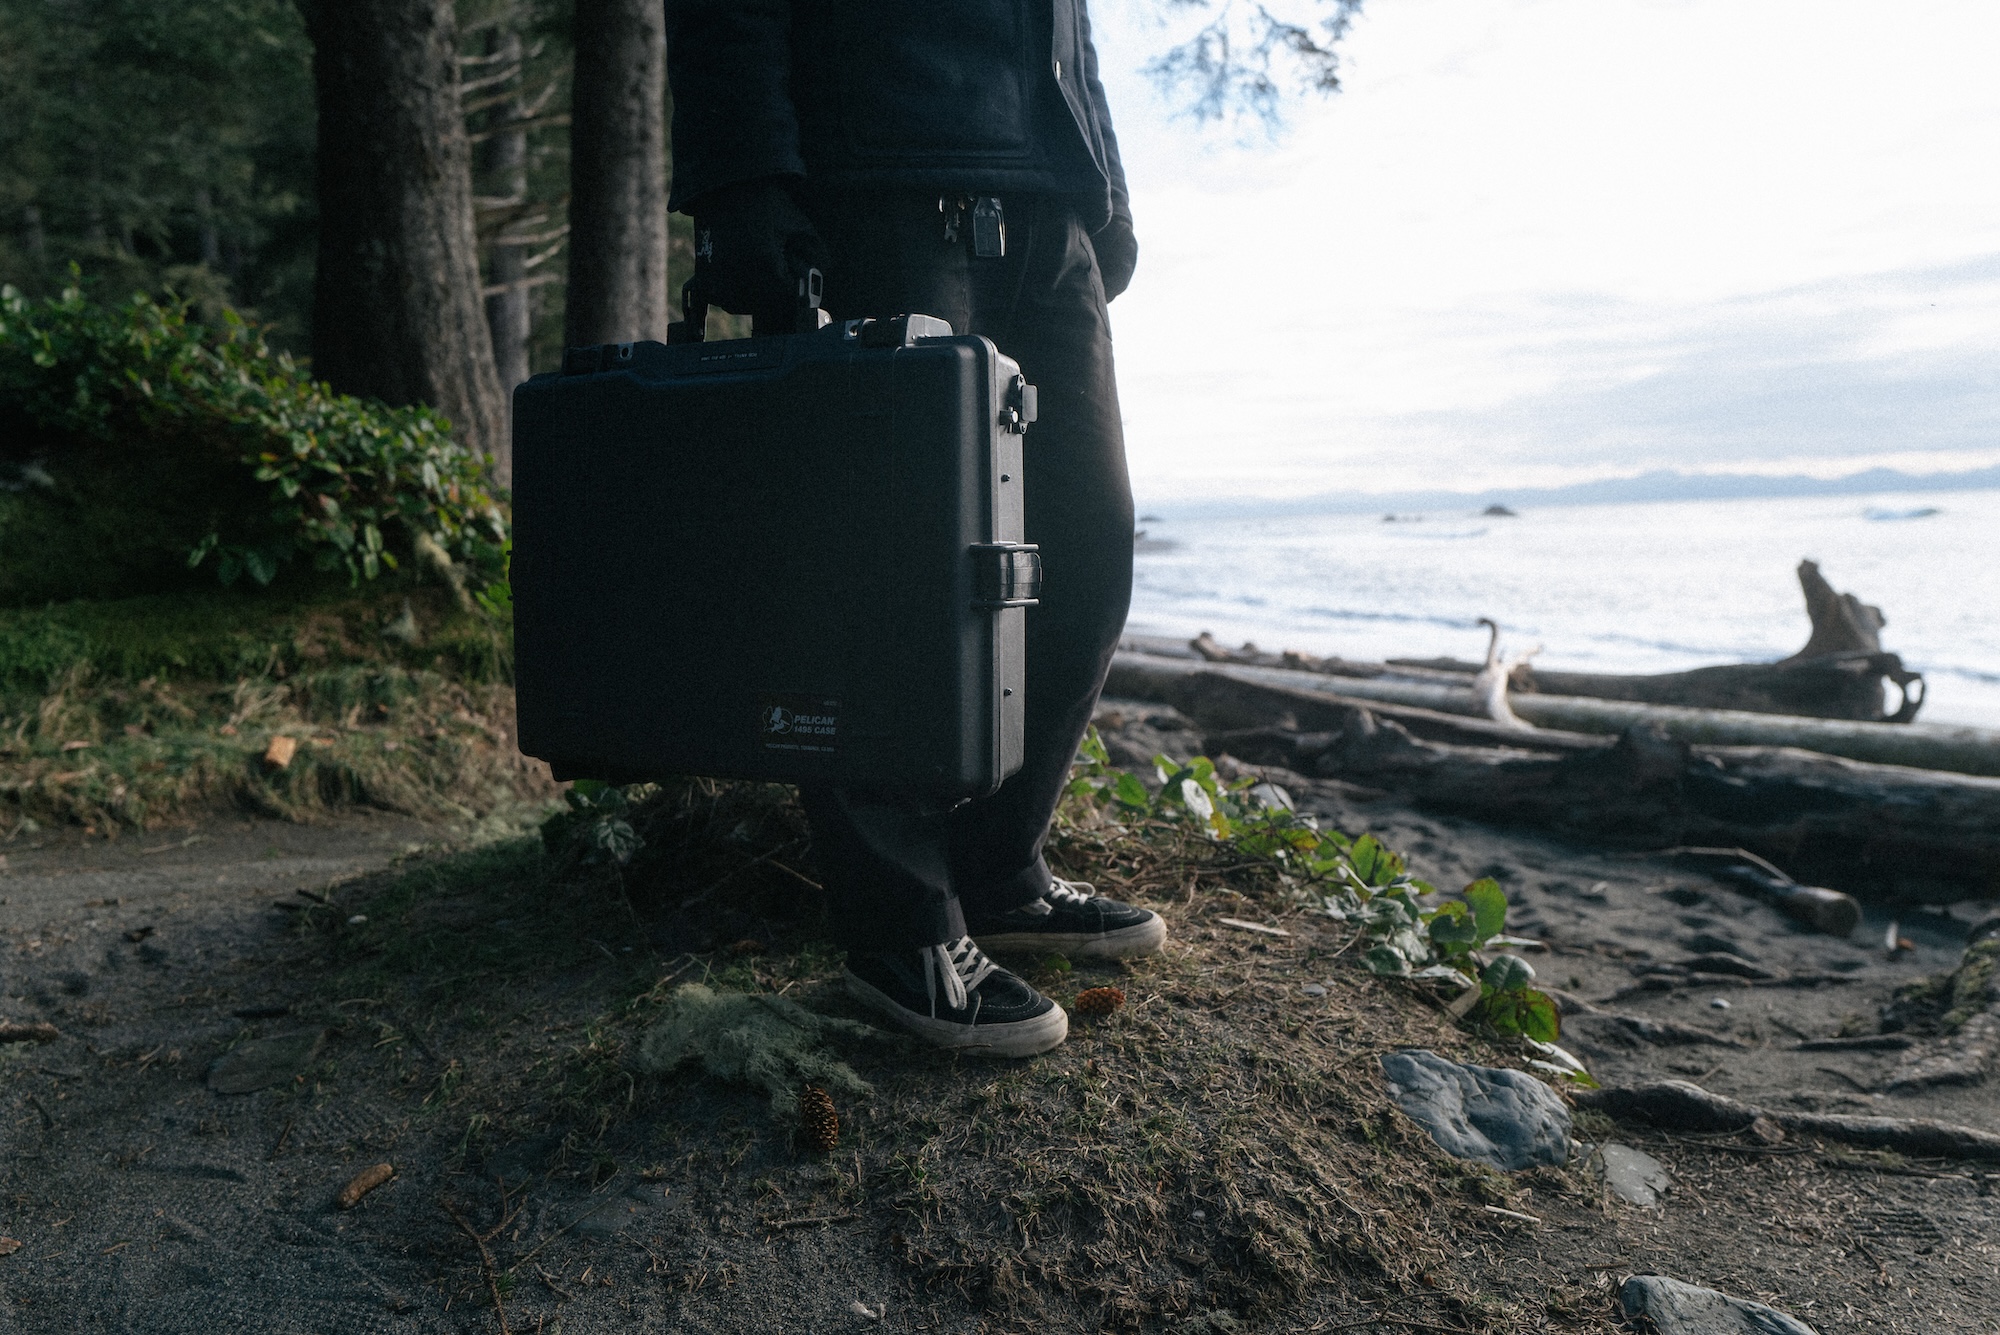
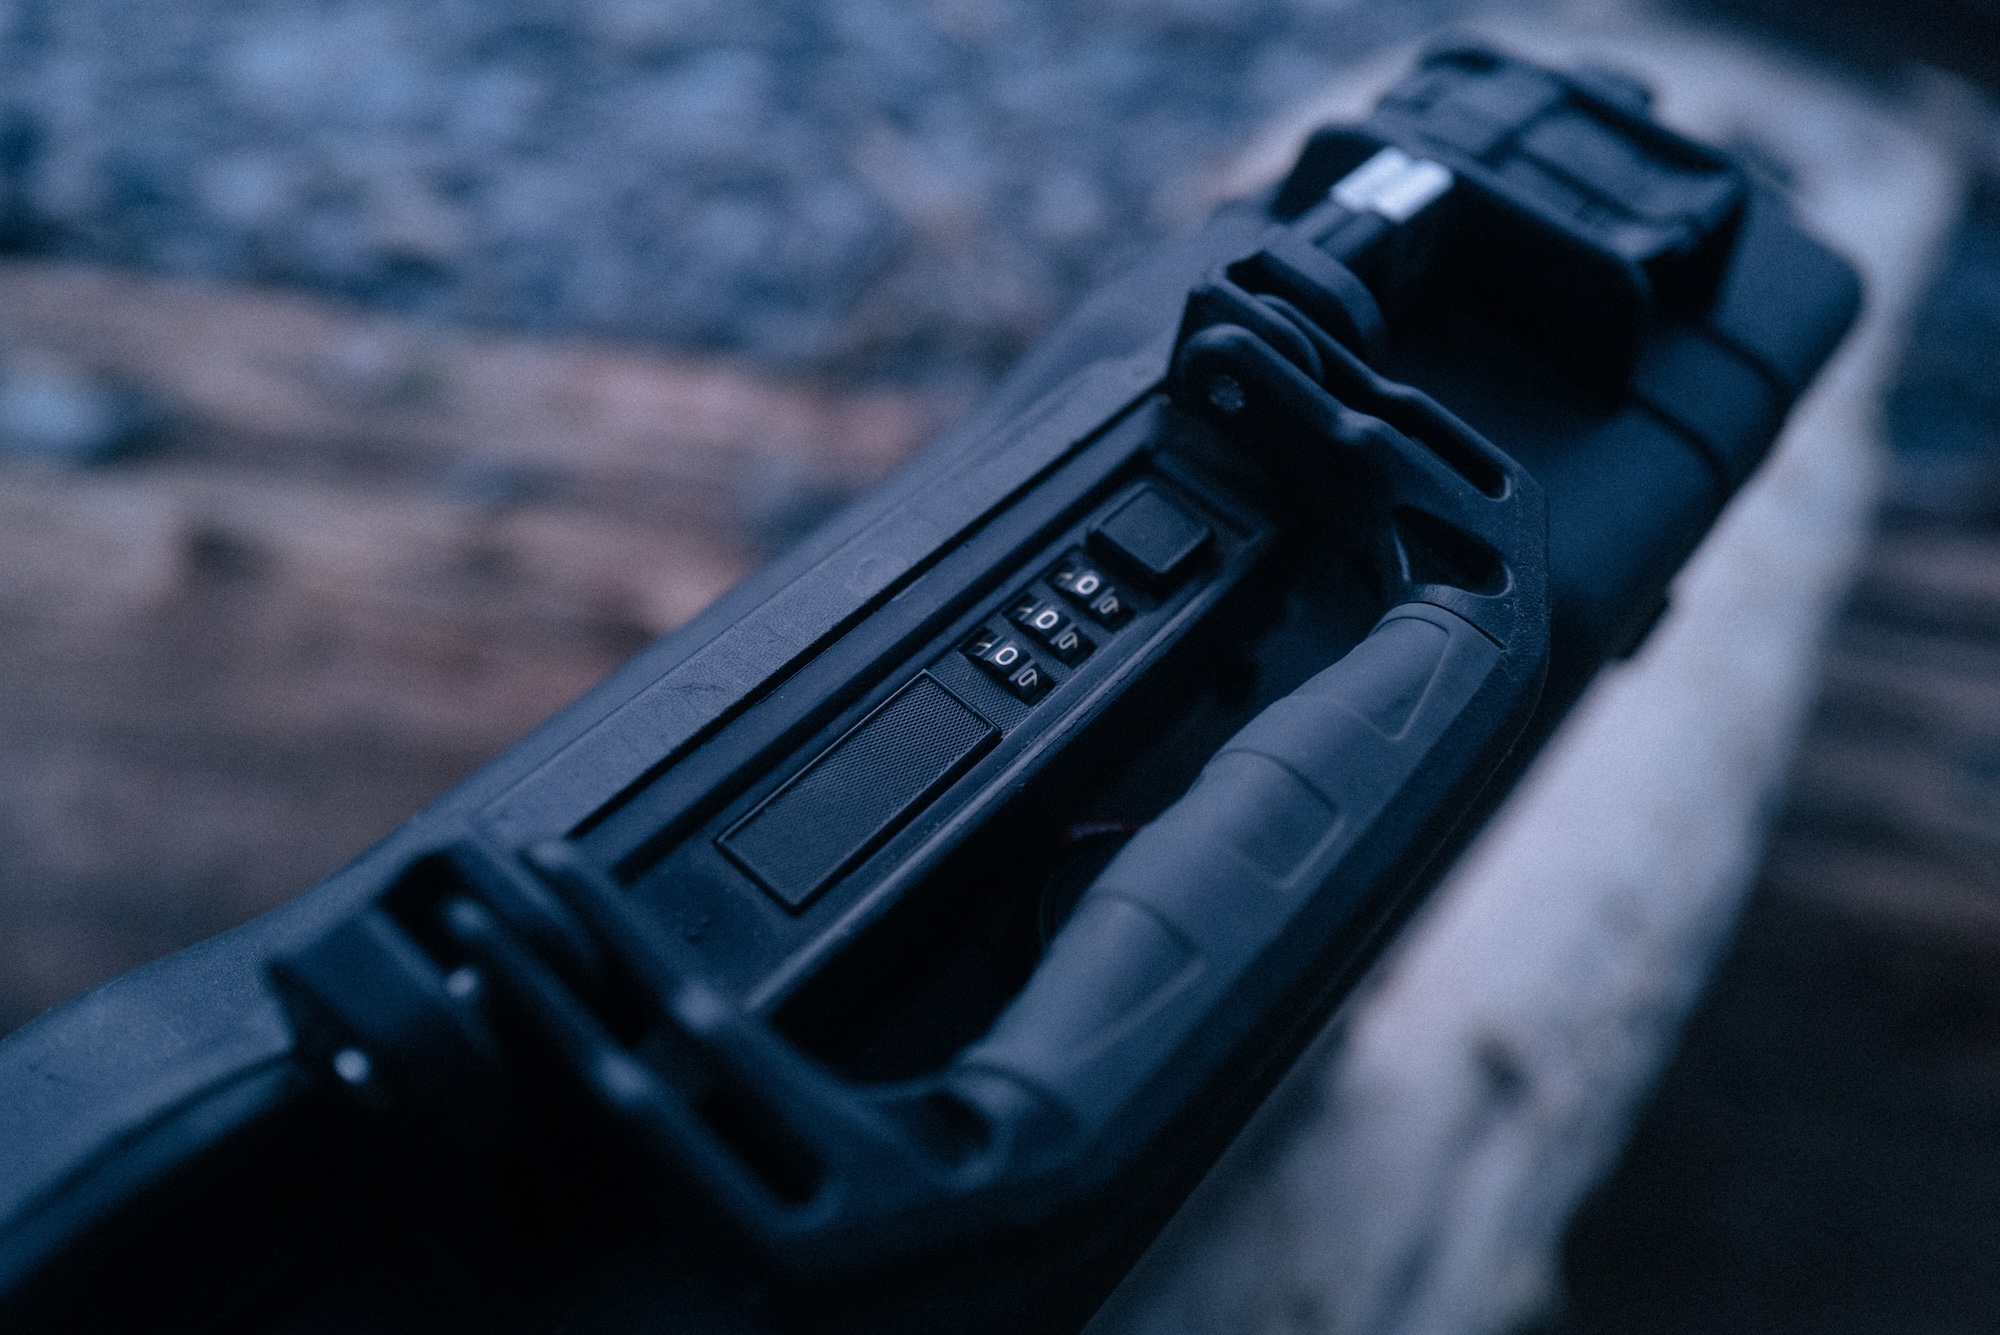
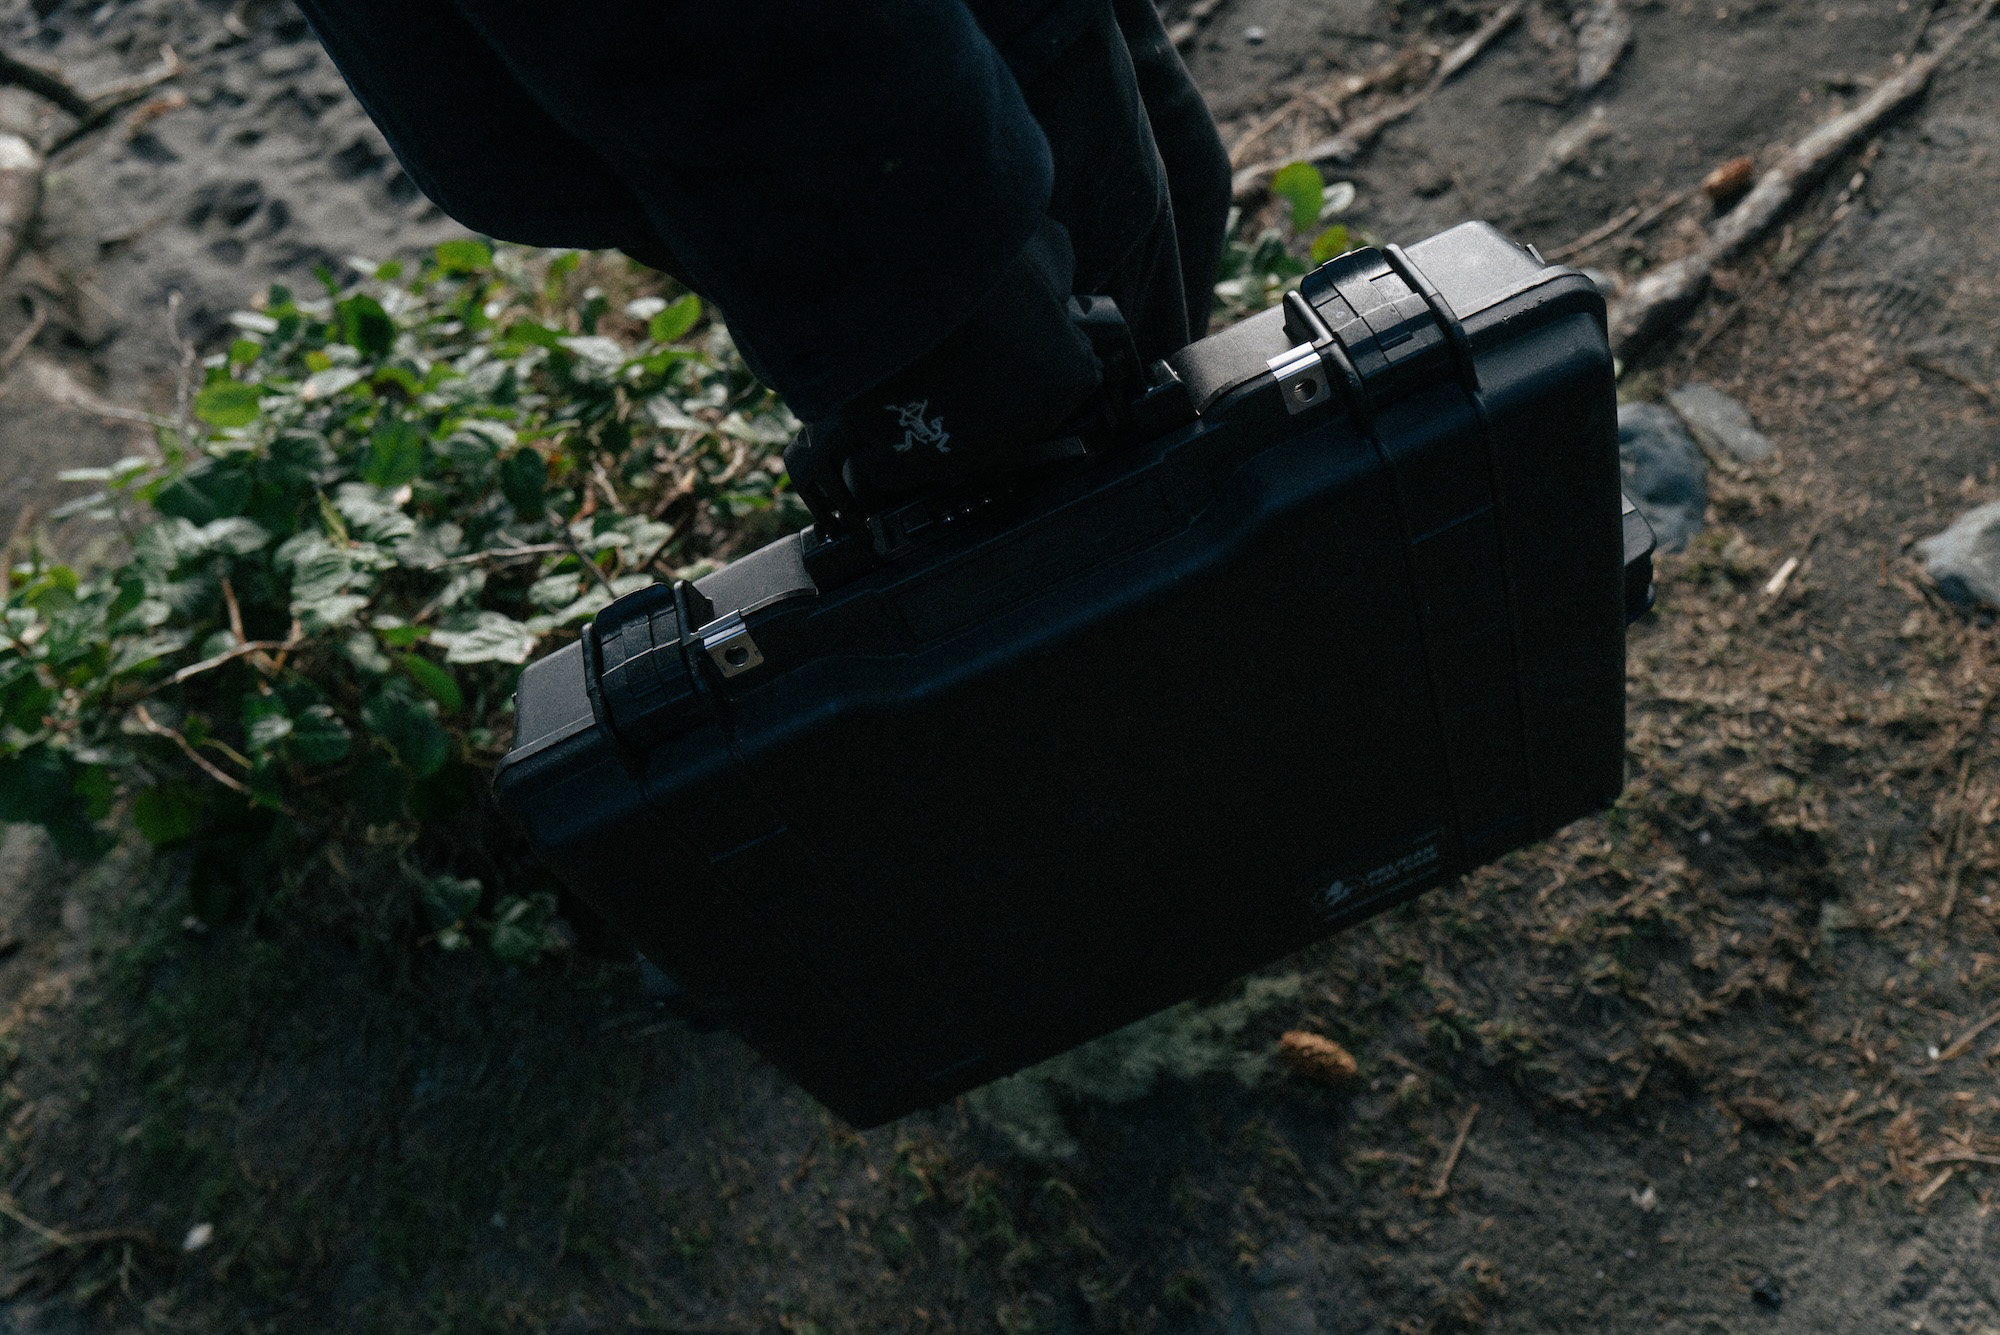
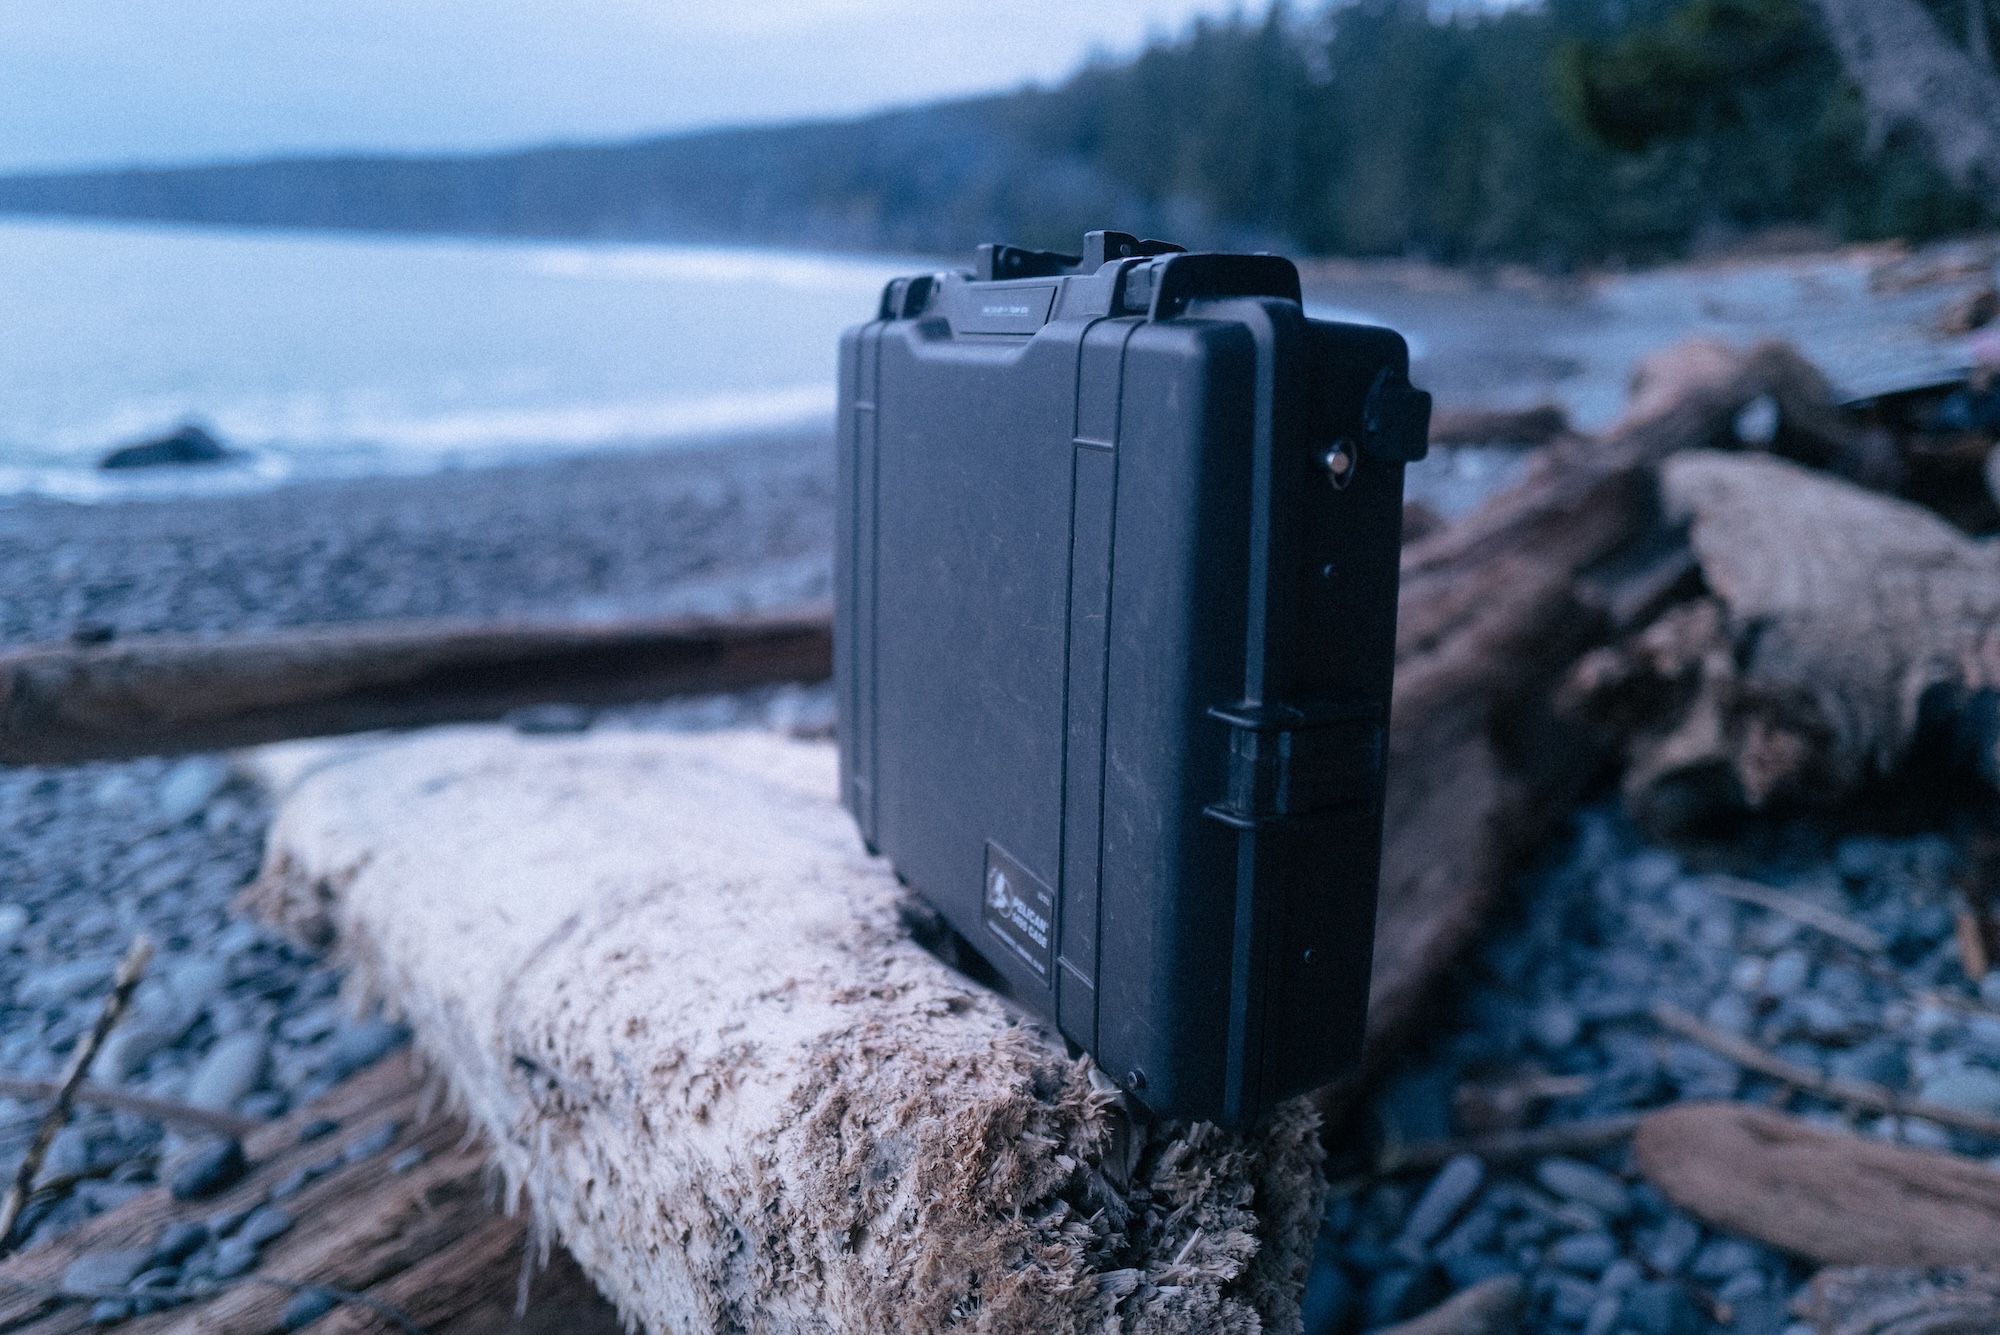
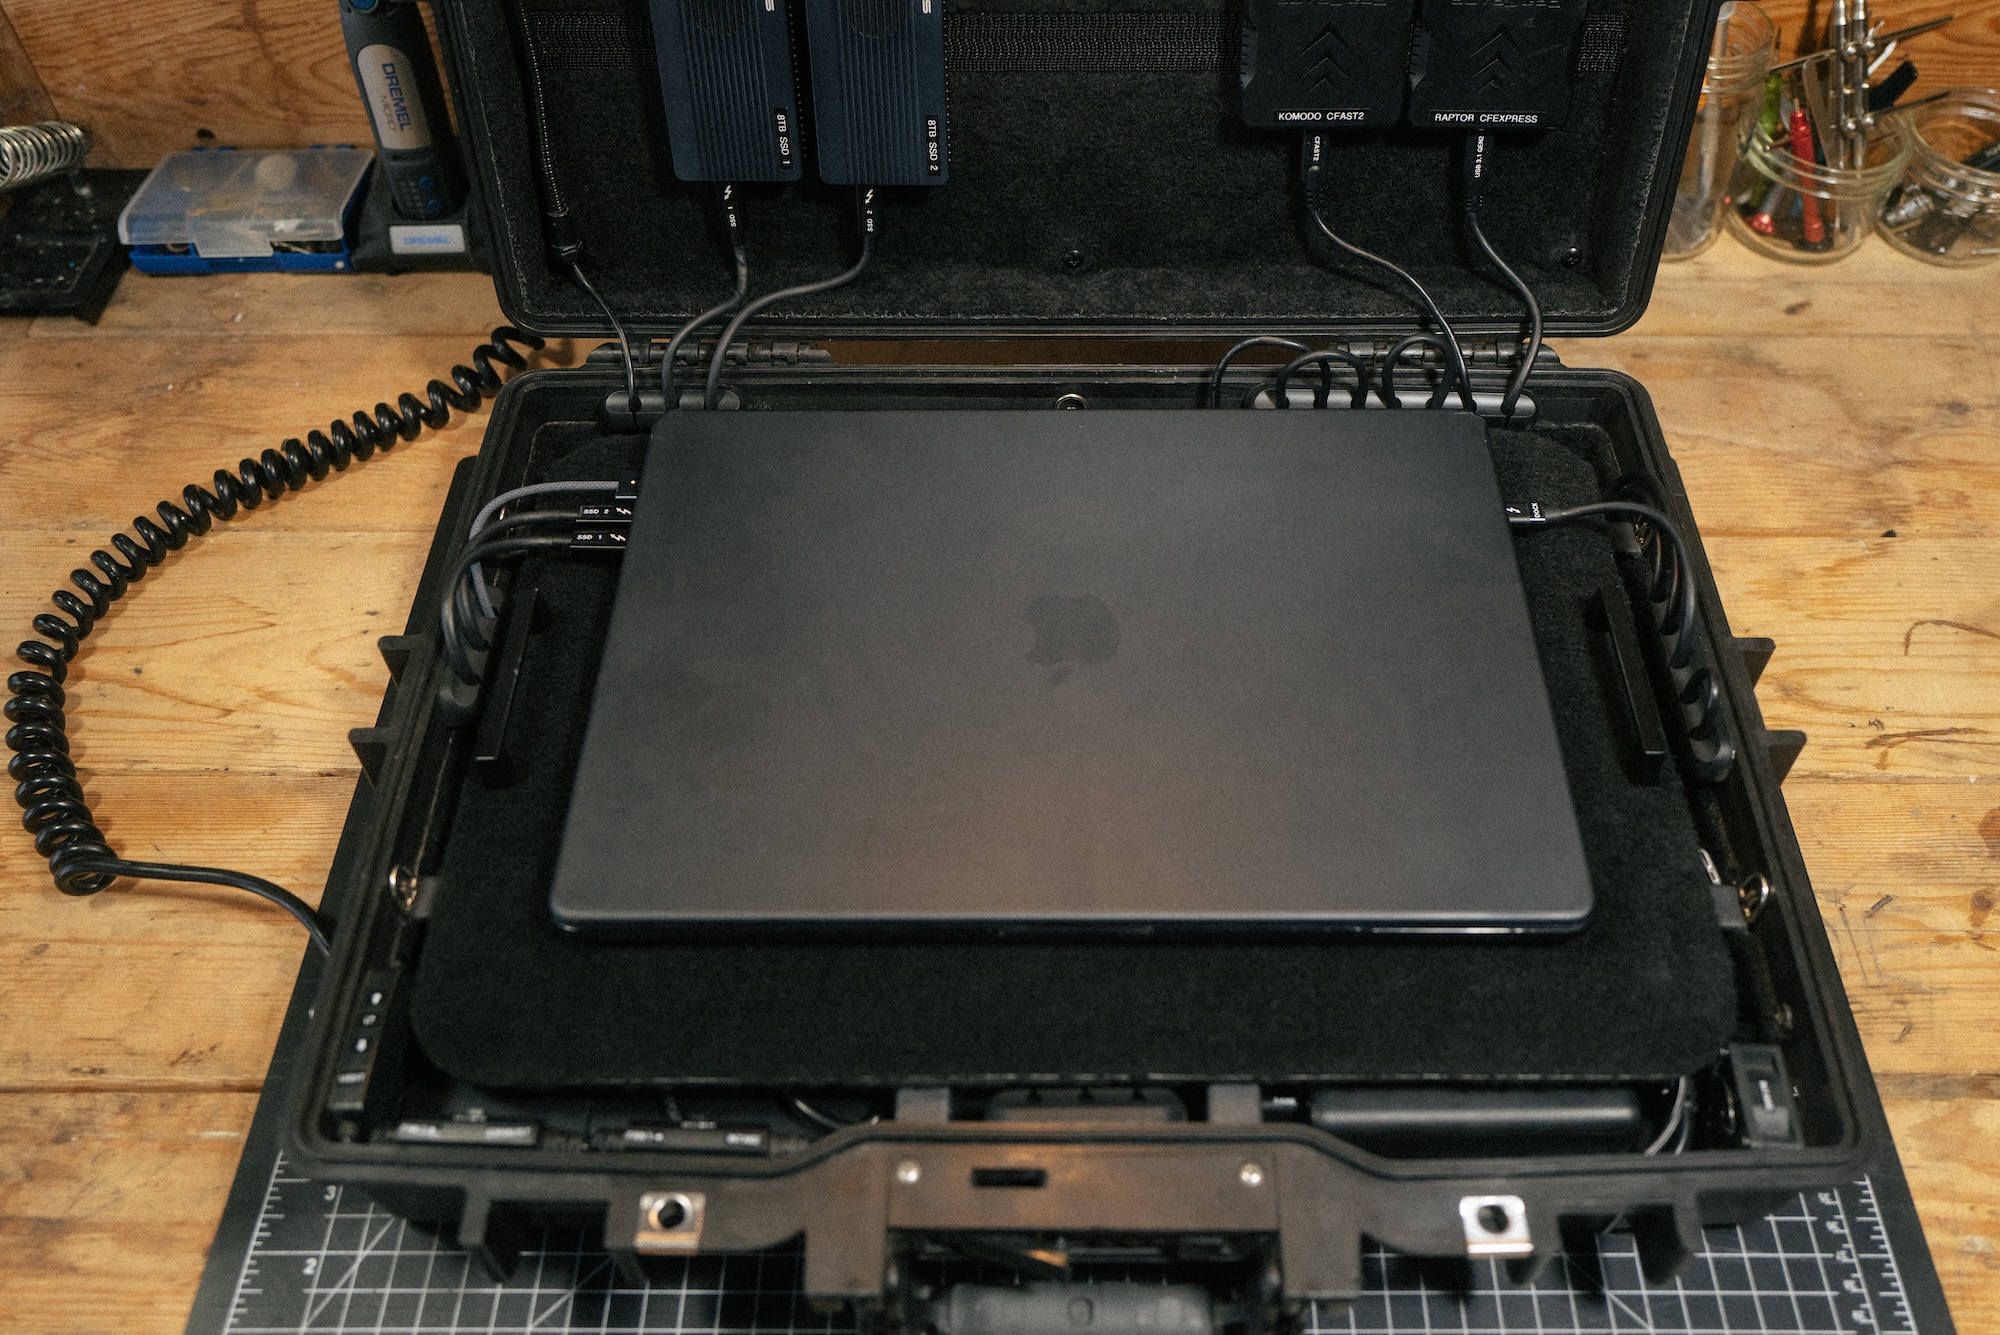
- Pelican 1495 laptop case
- 16″ MacBook Pro M1 Max 64GB
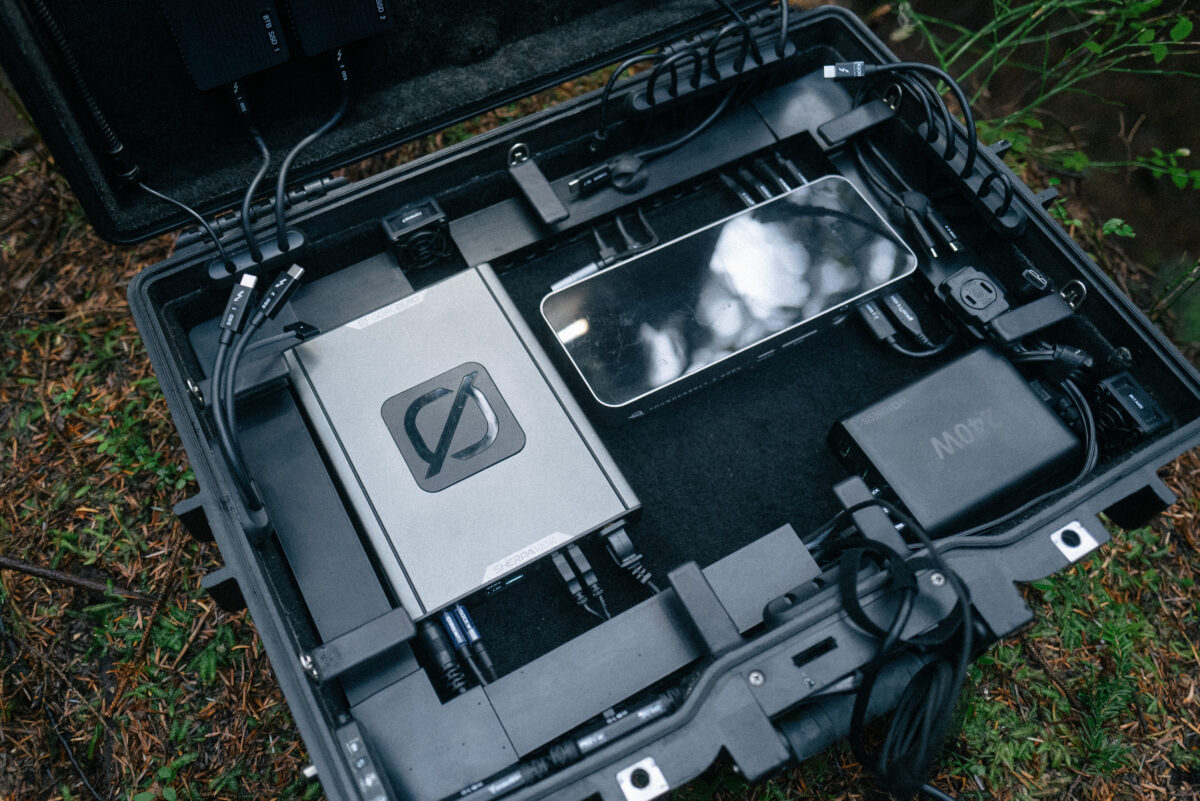
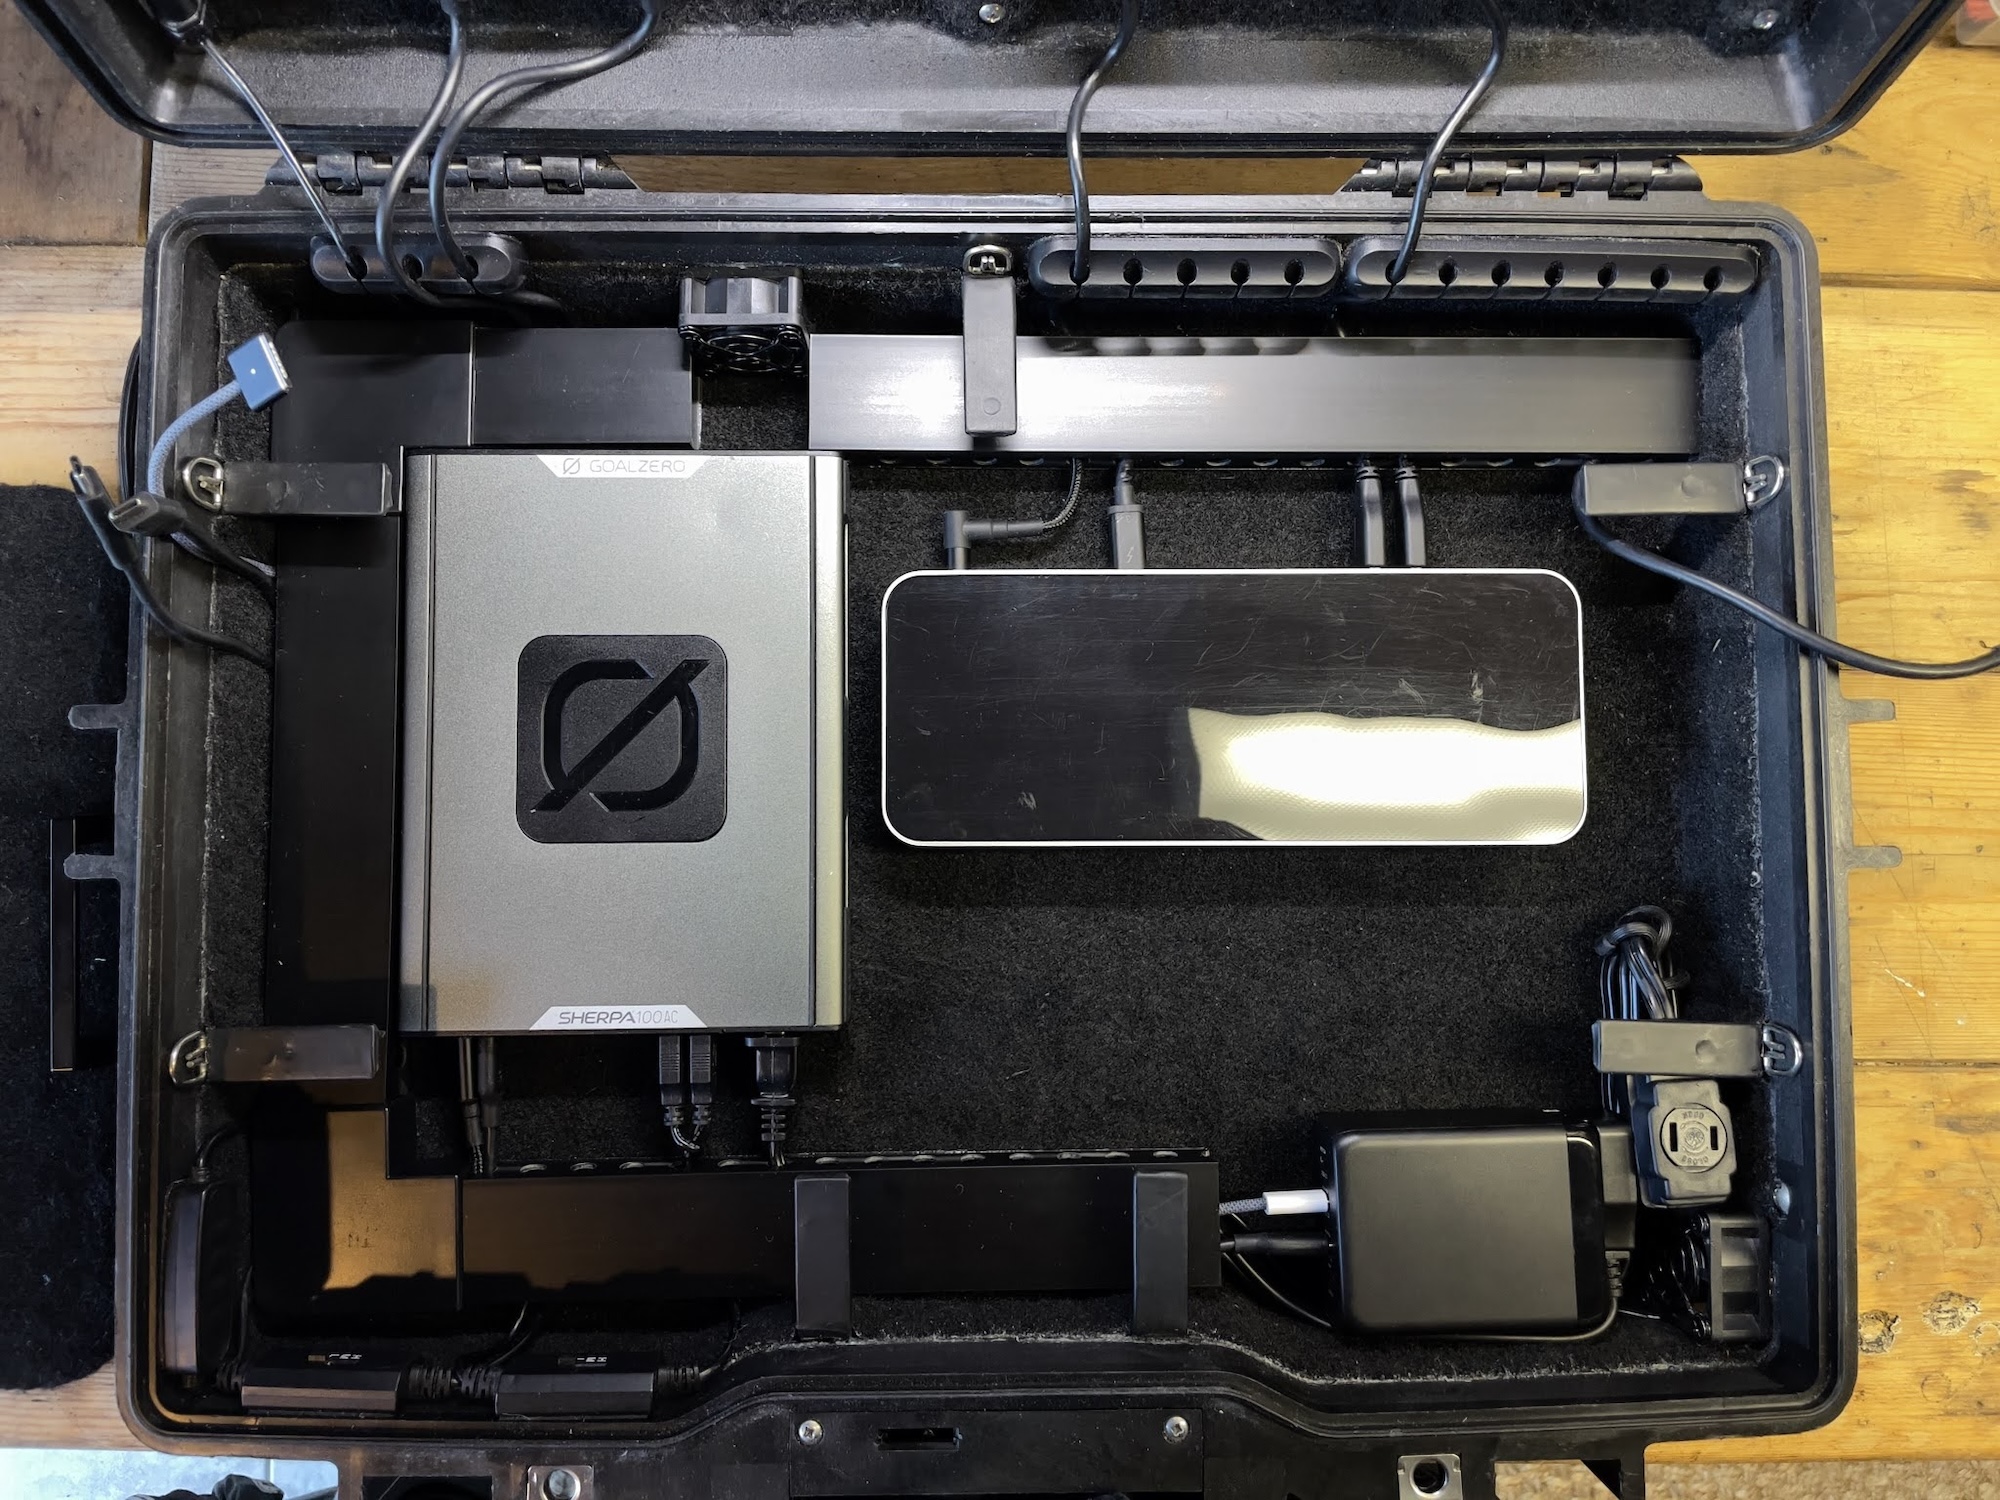
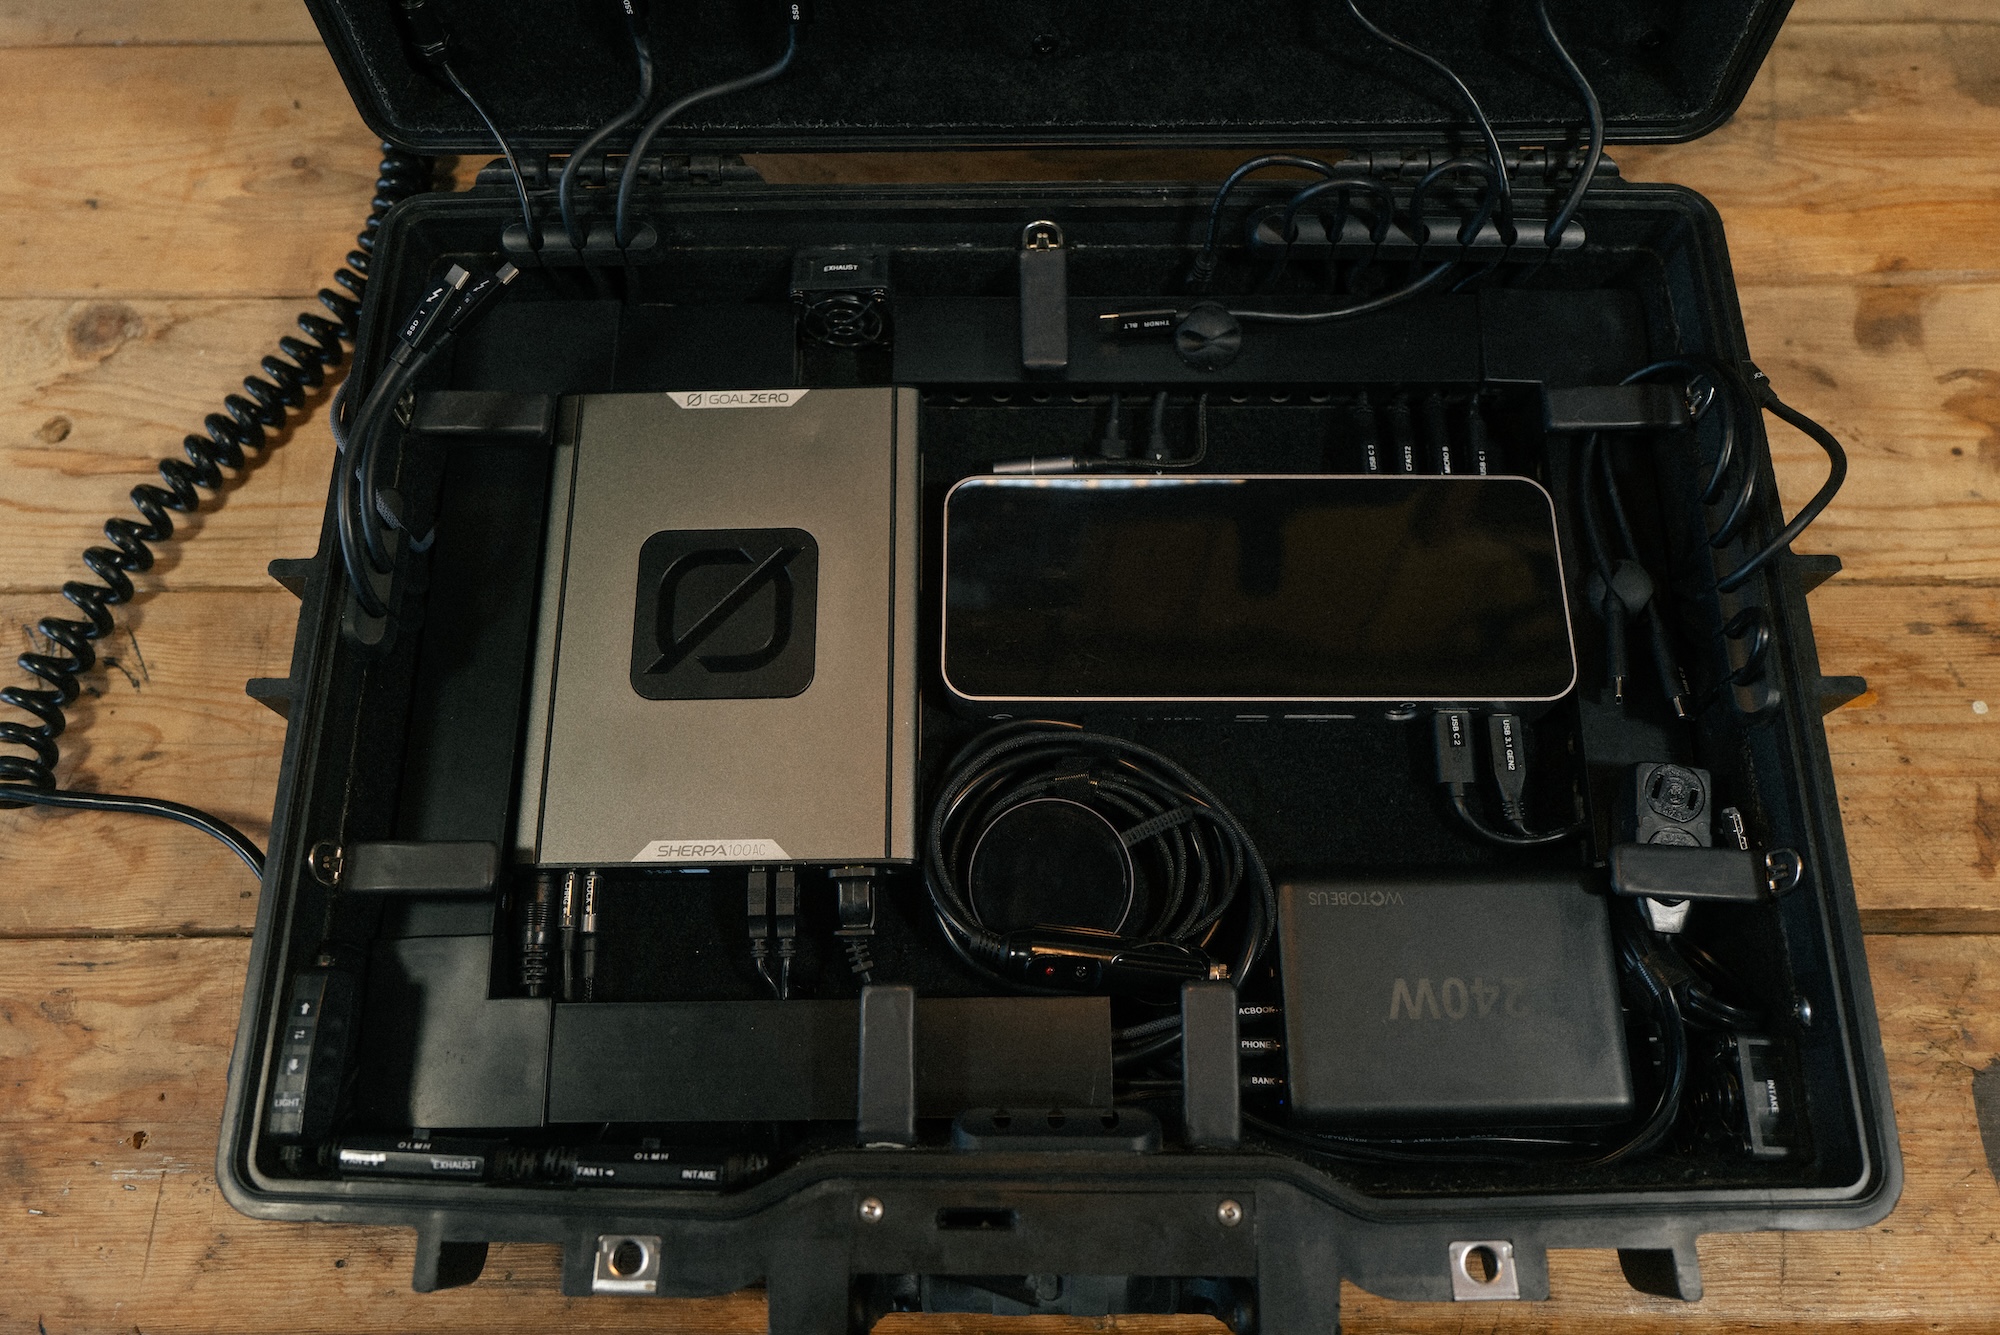
- Goal Zero Sherpa 100AC
- OWC 14-Port Thunderbolt Dock
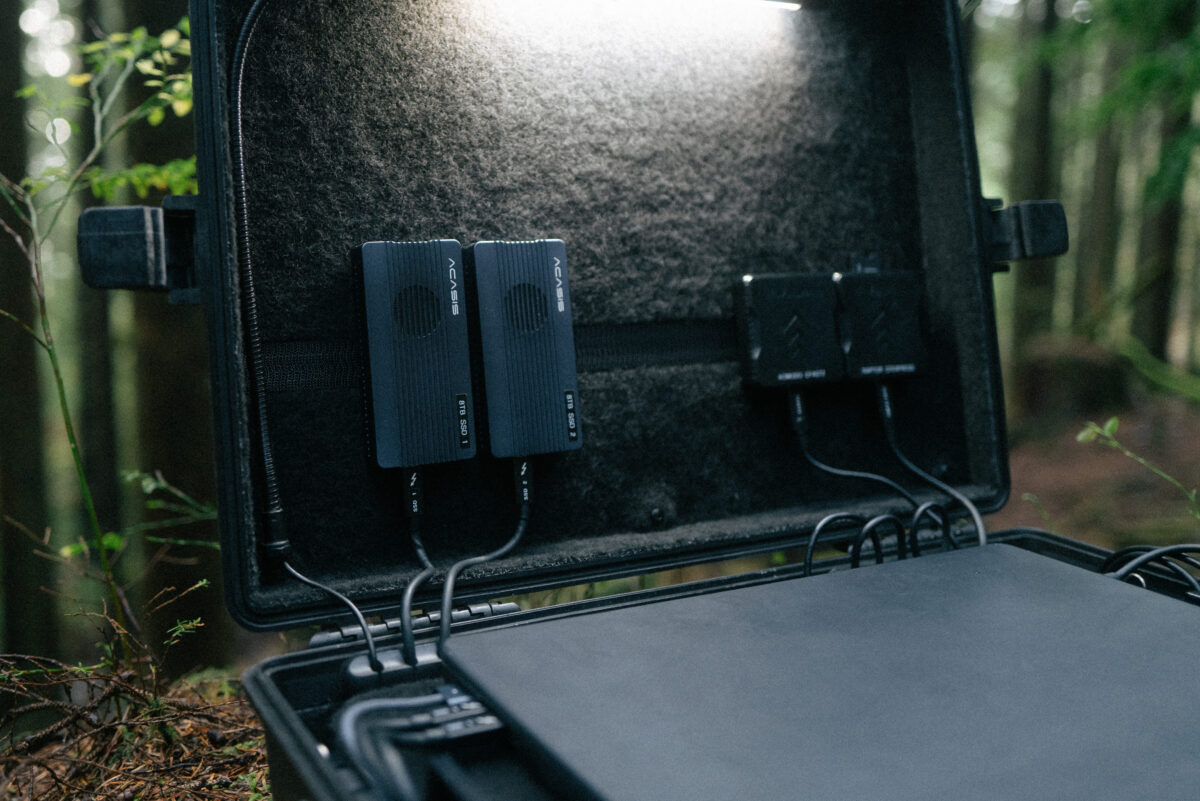
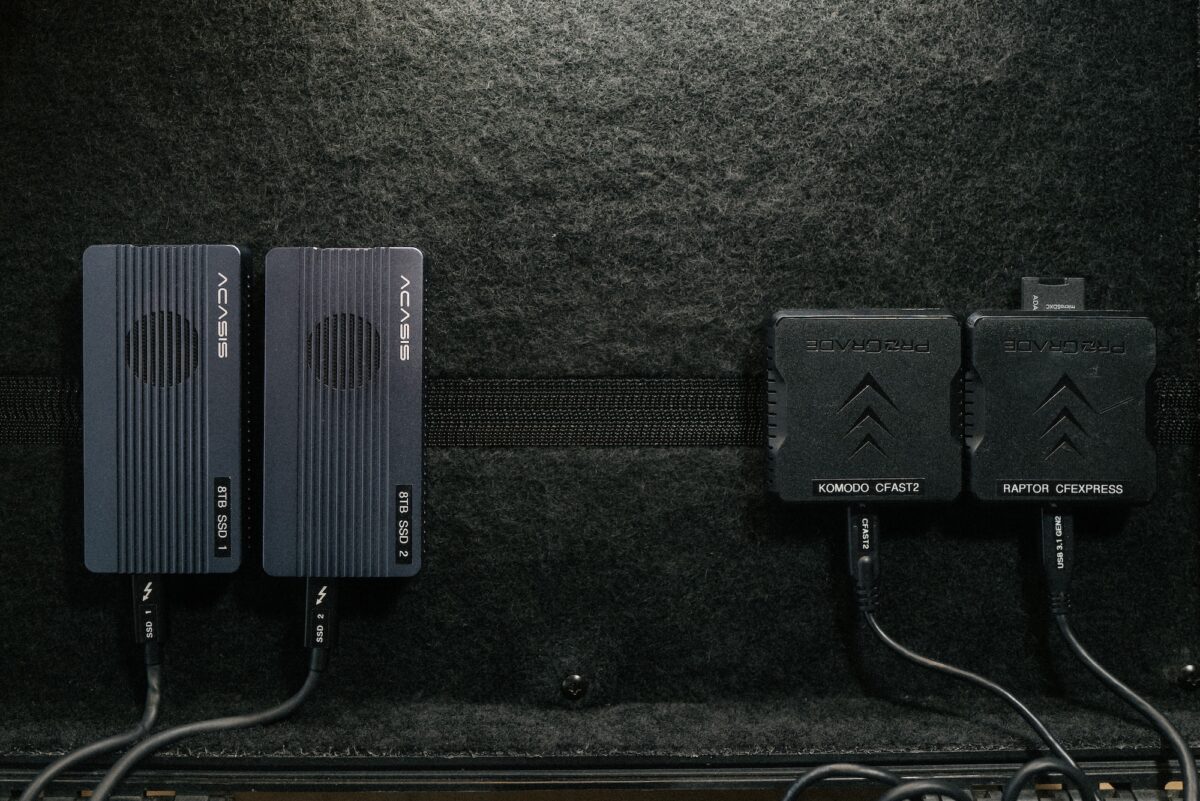
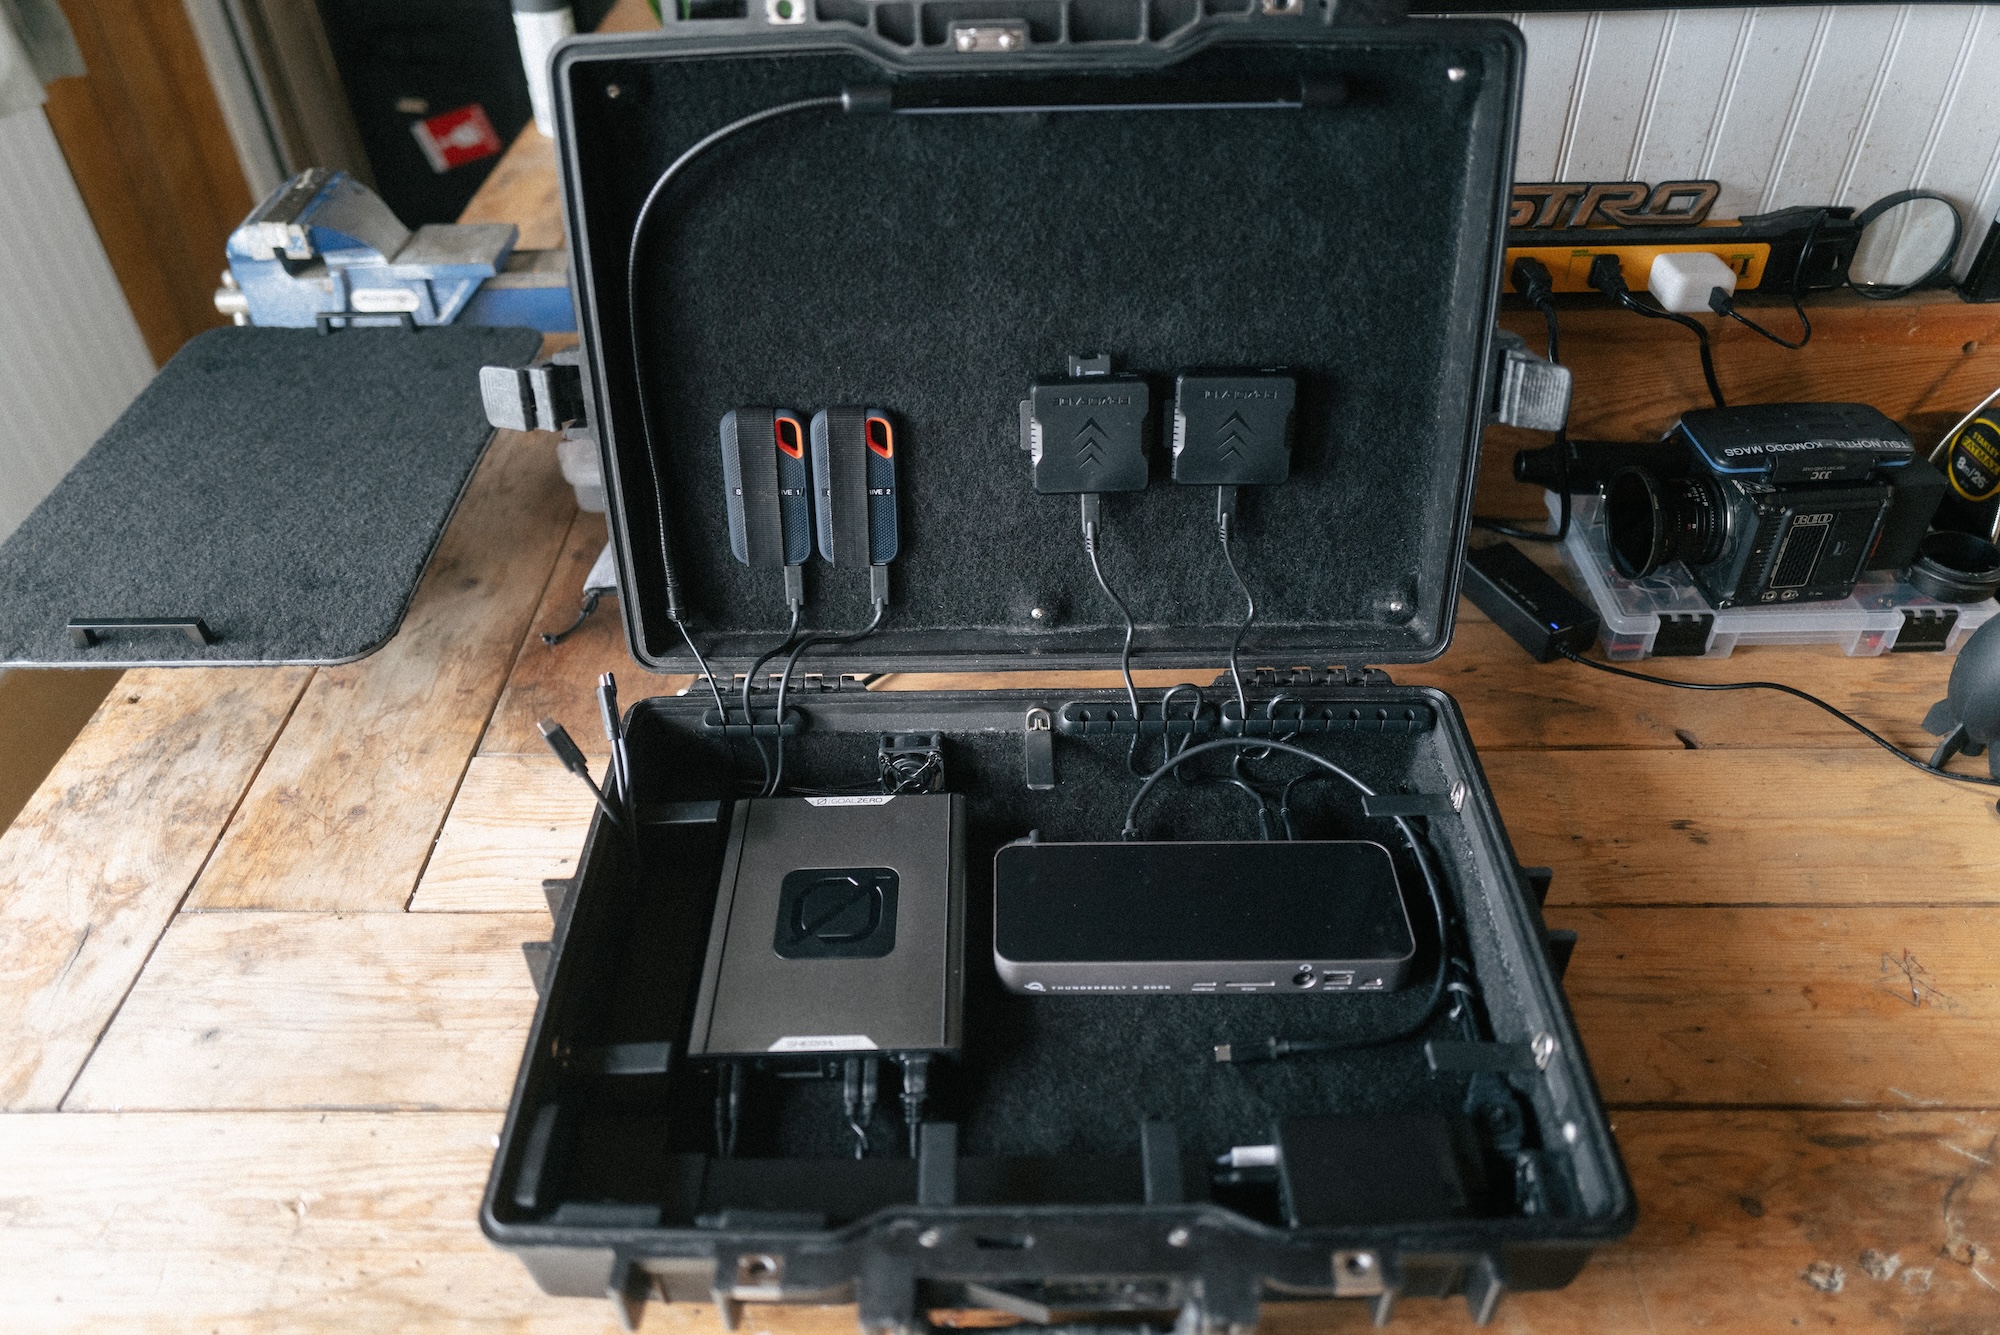
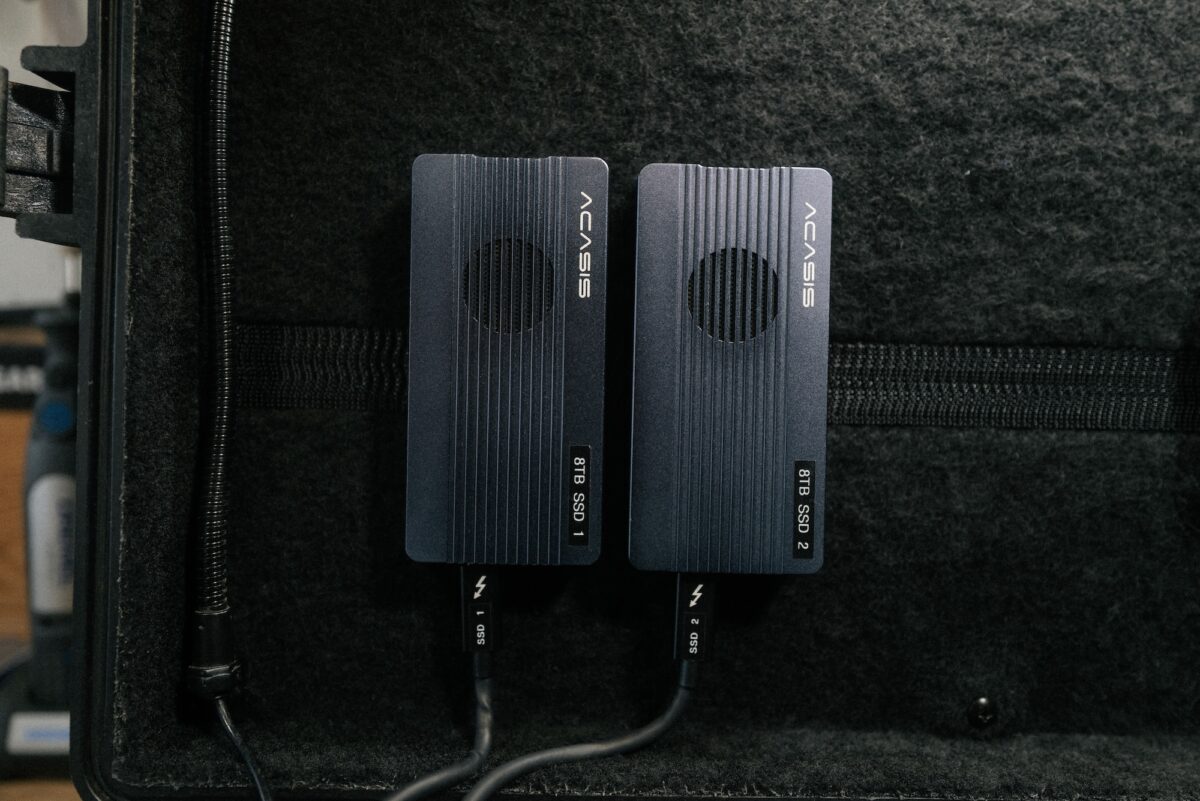
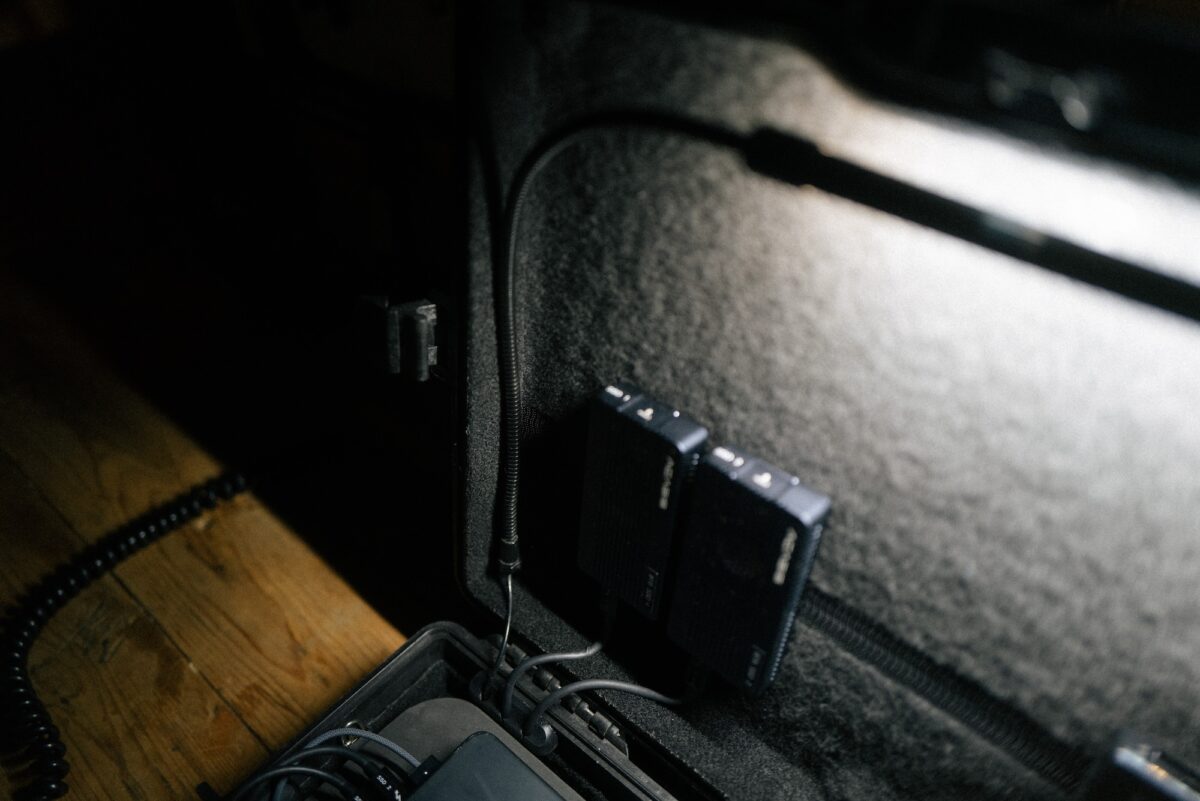
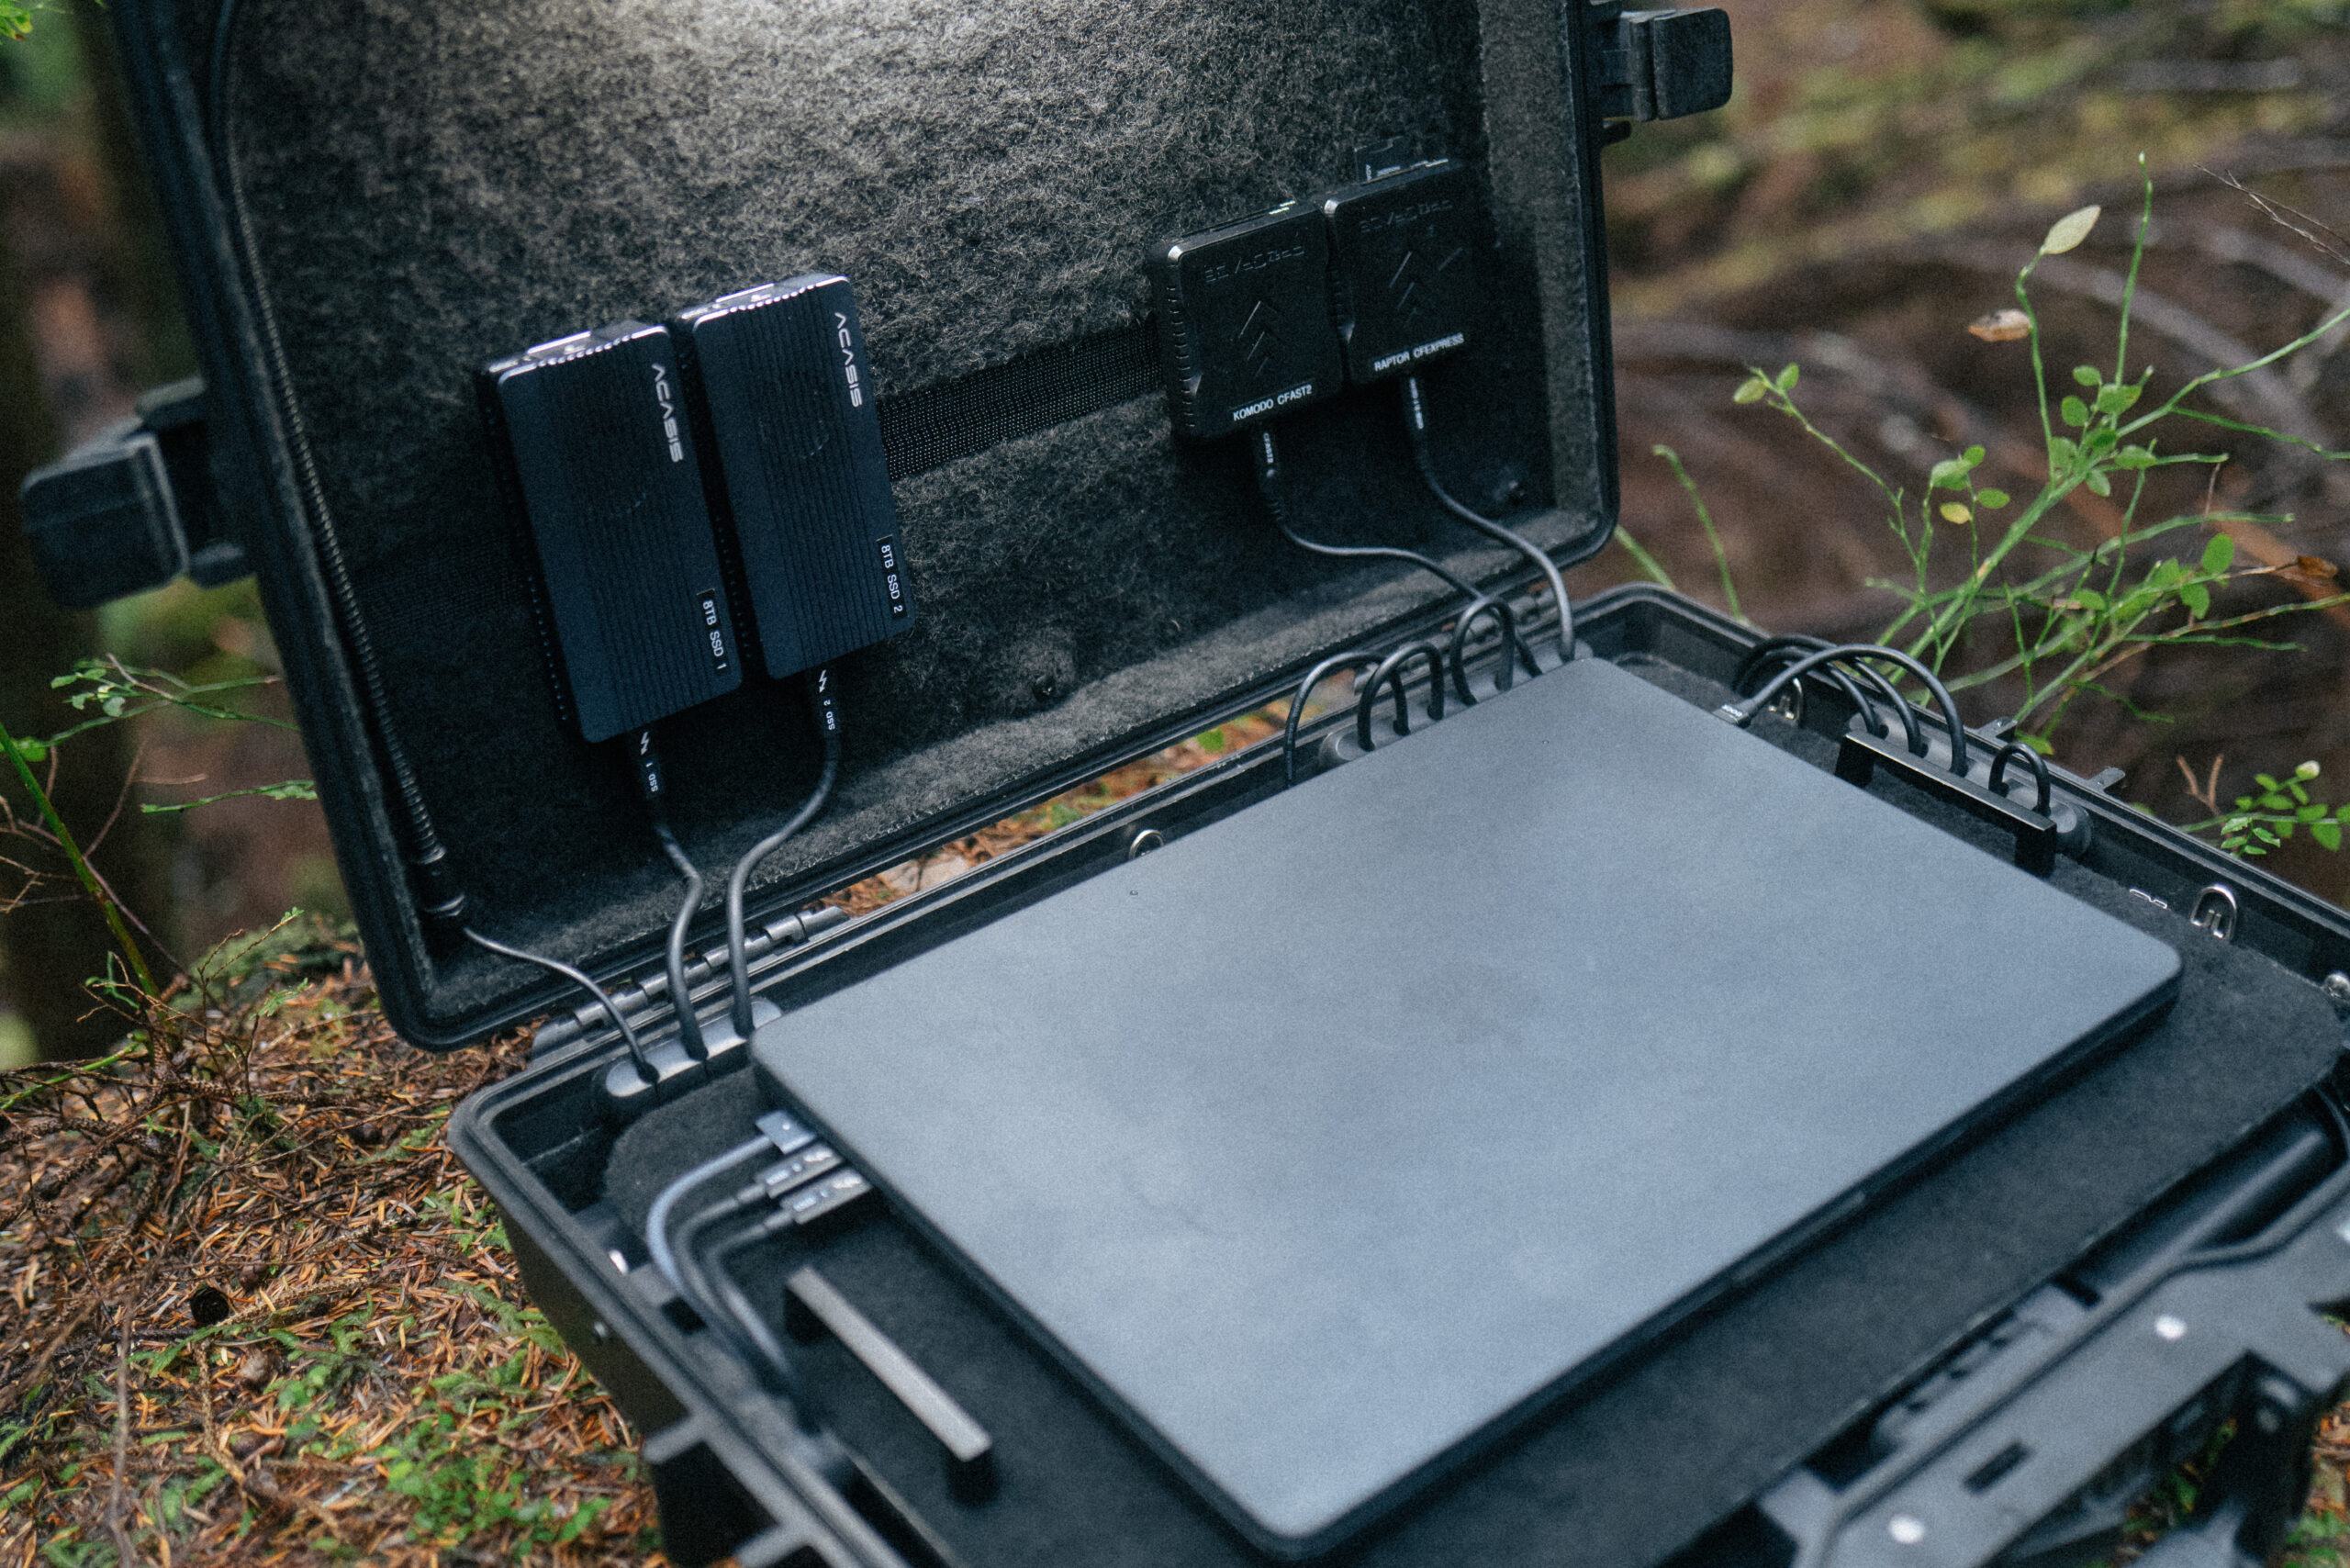
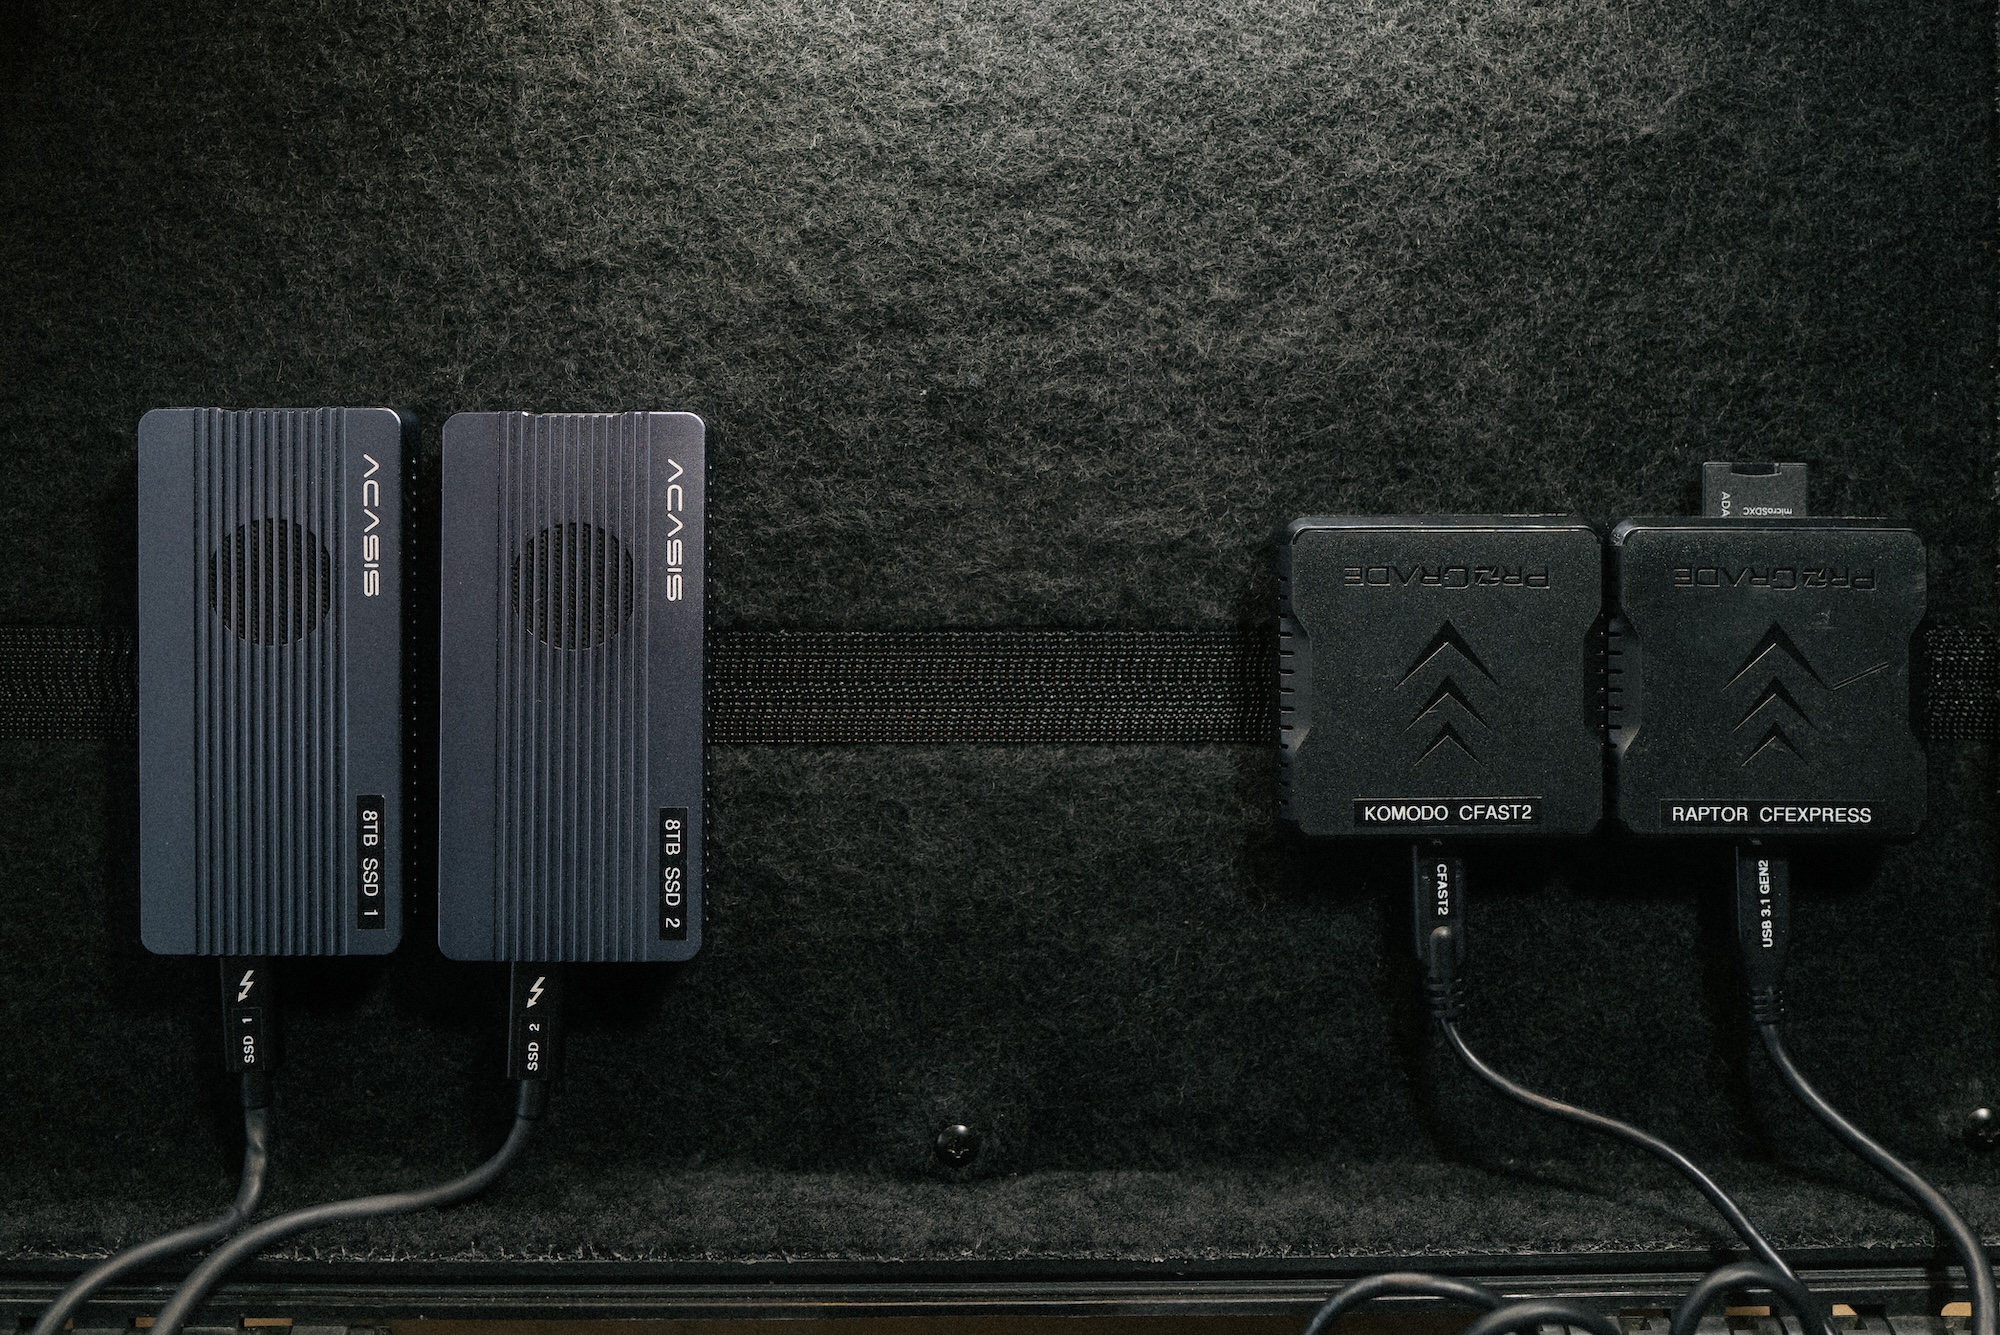
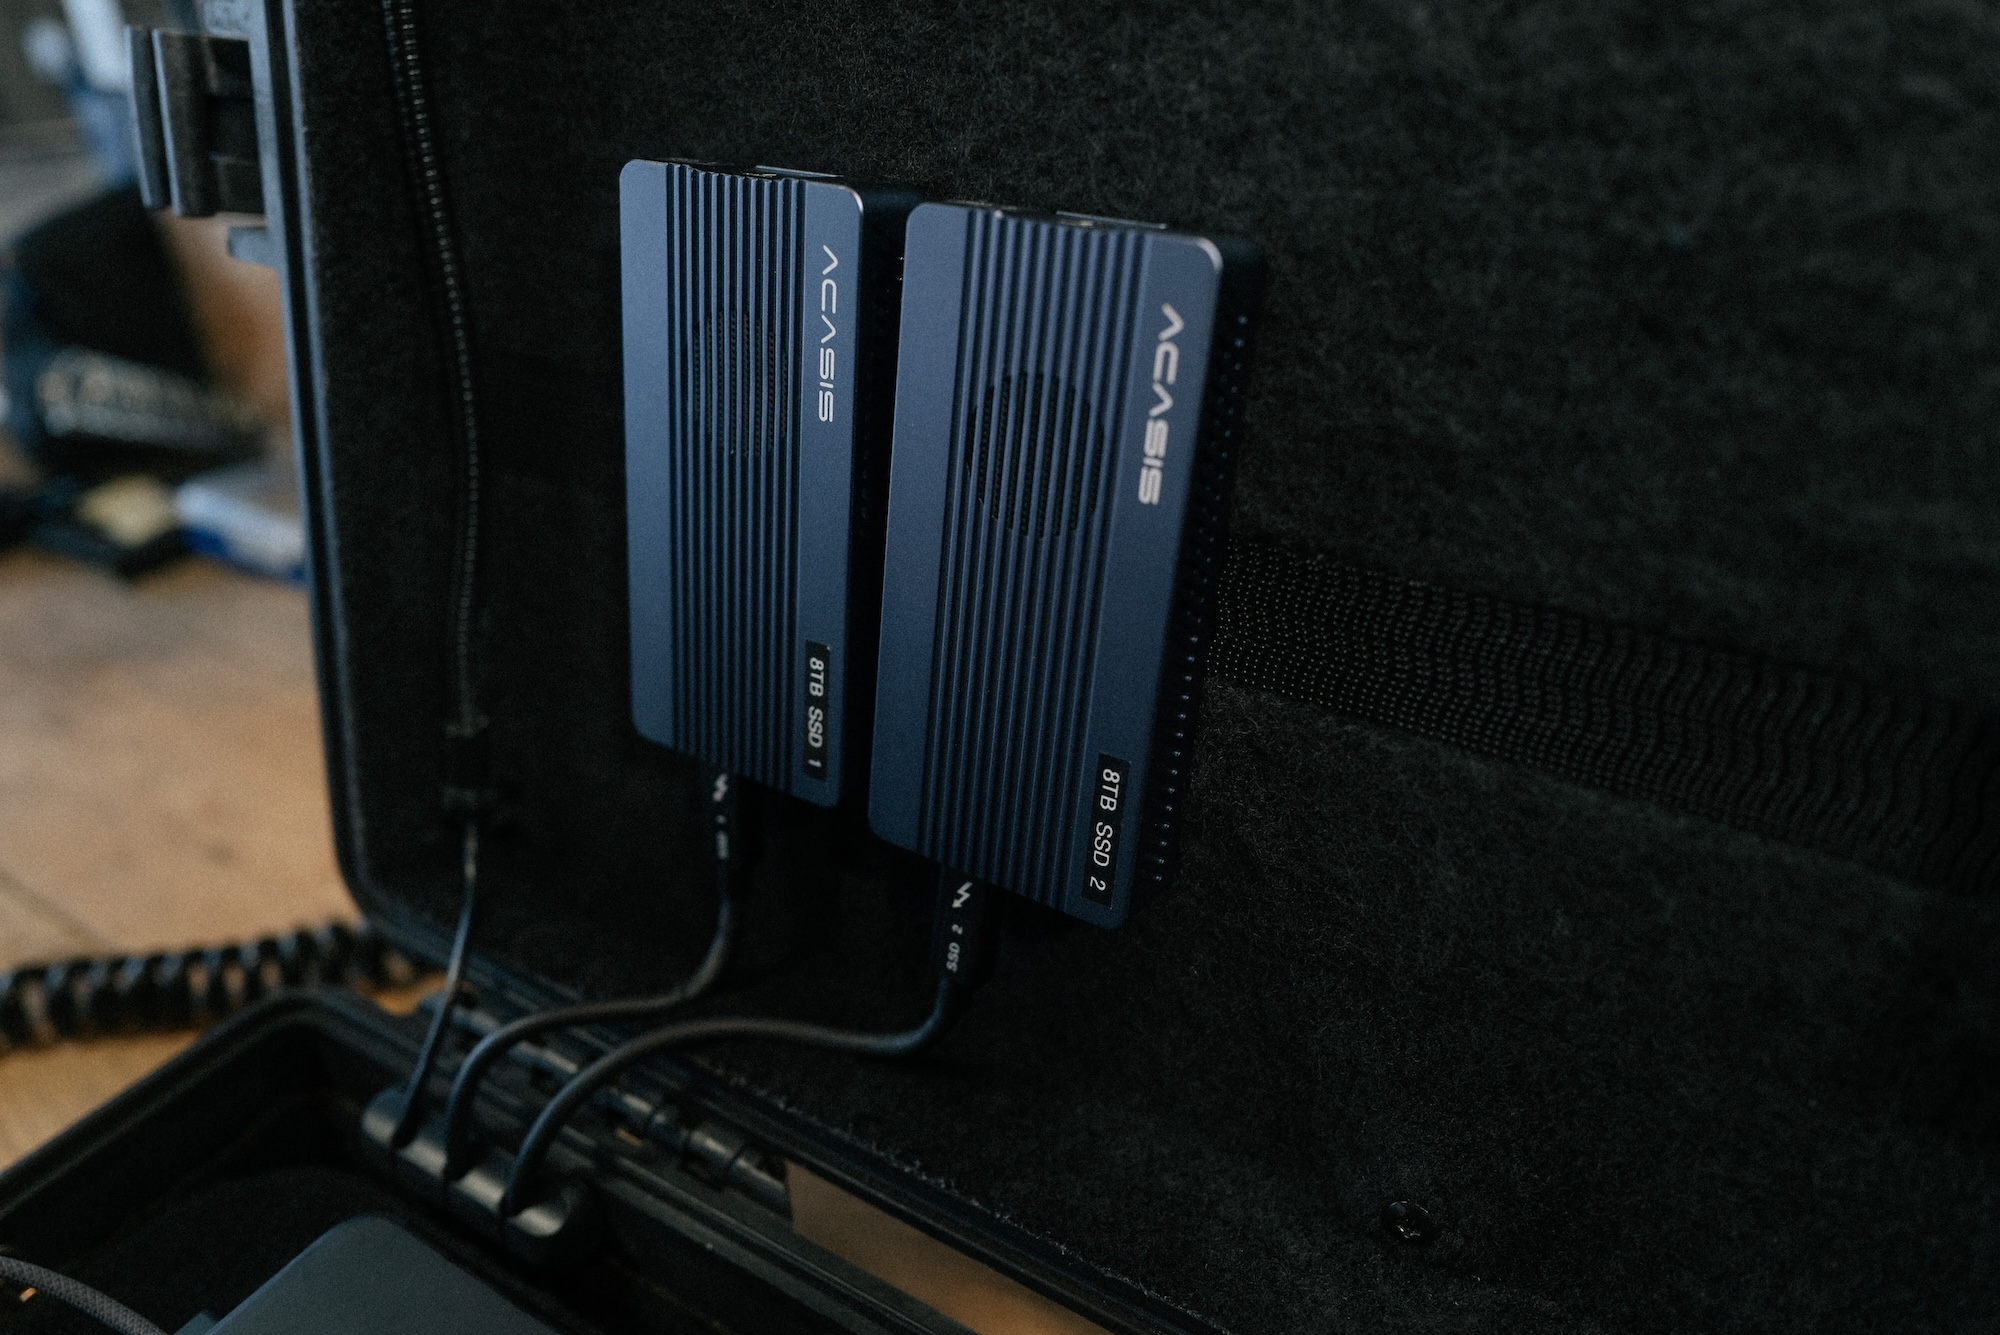
- 2 x Acasis TBU405ProM1 Enclosures
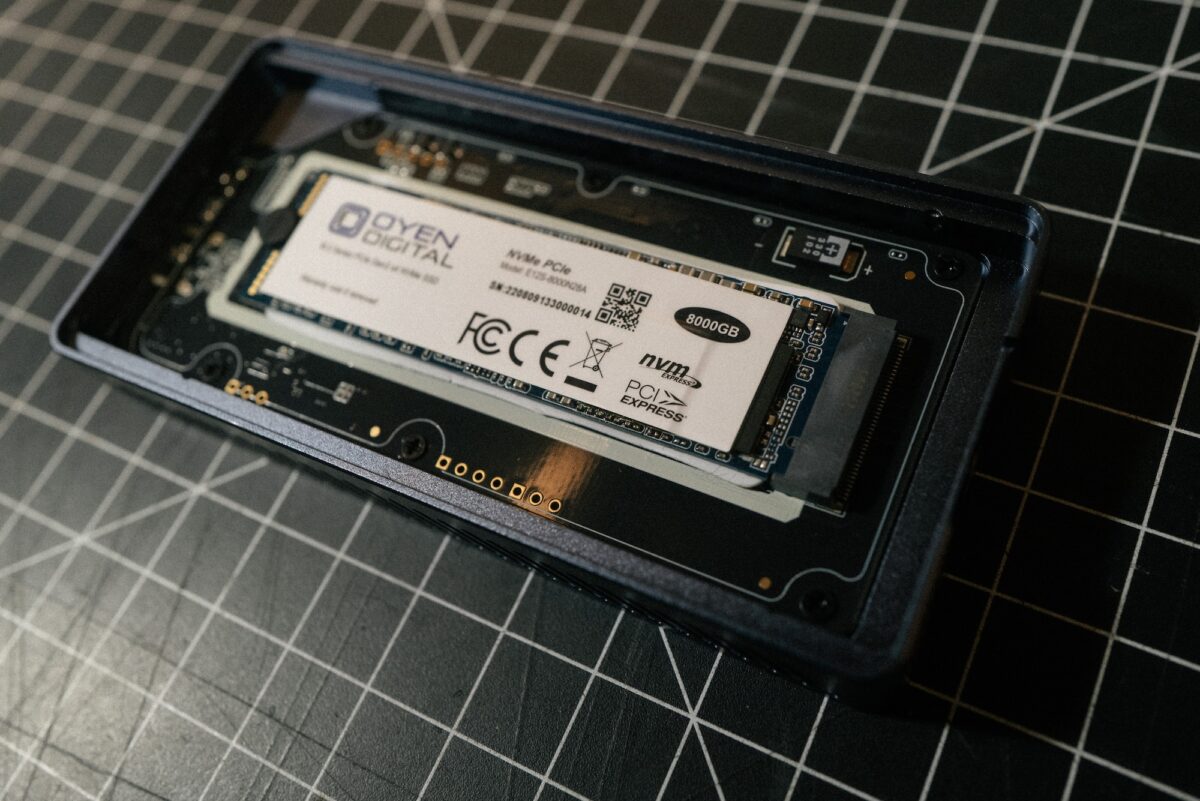
- 2 x Oyen Digital 8TB Dash Pro M.2 2280 NVMe SSD
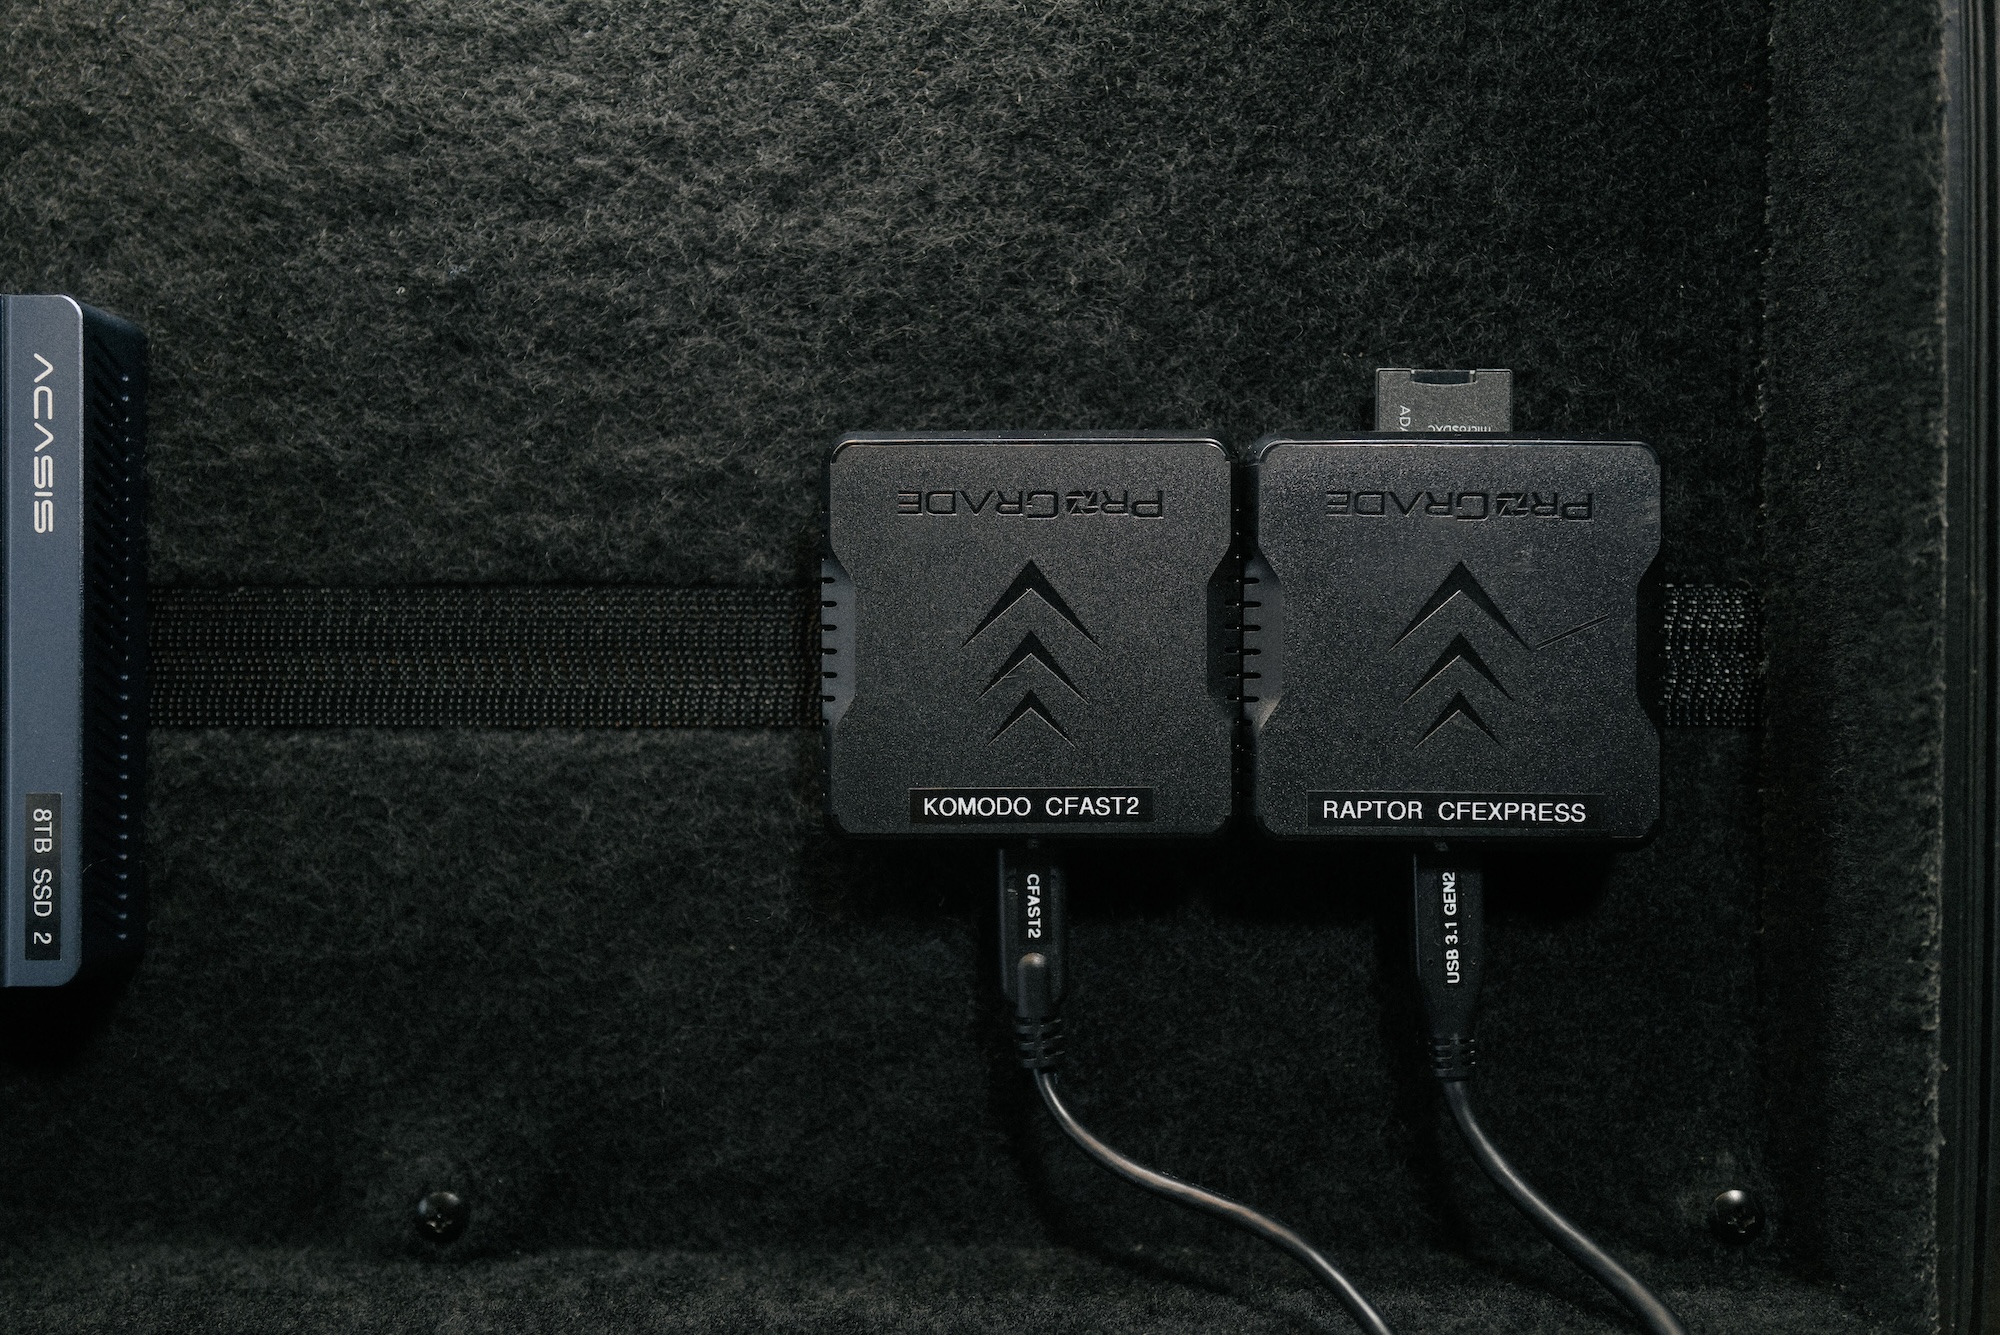
- Pro Grade CFast2 Card Reader
- Pro Grade CFExpress Card Reader
- 240W Power Supply
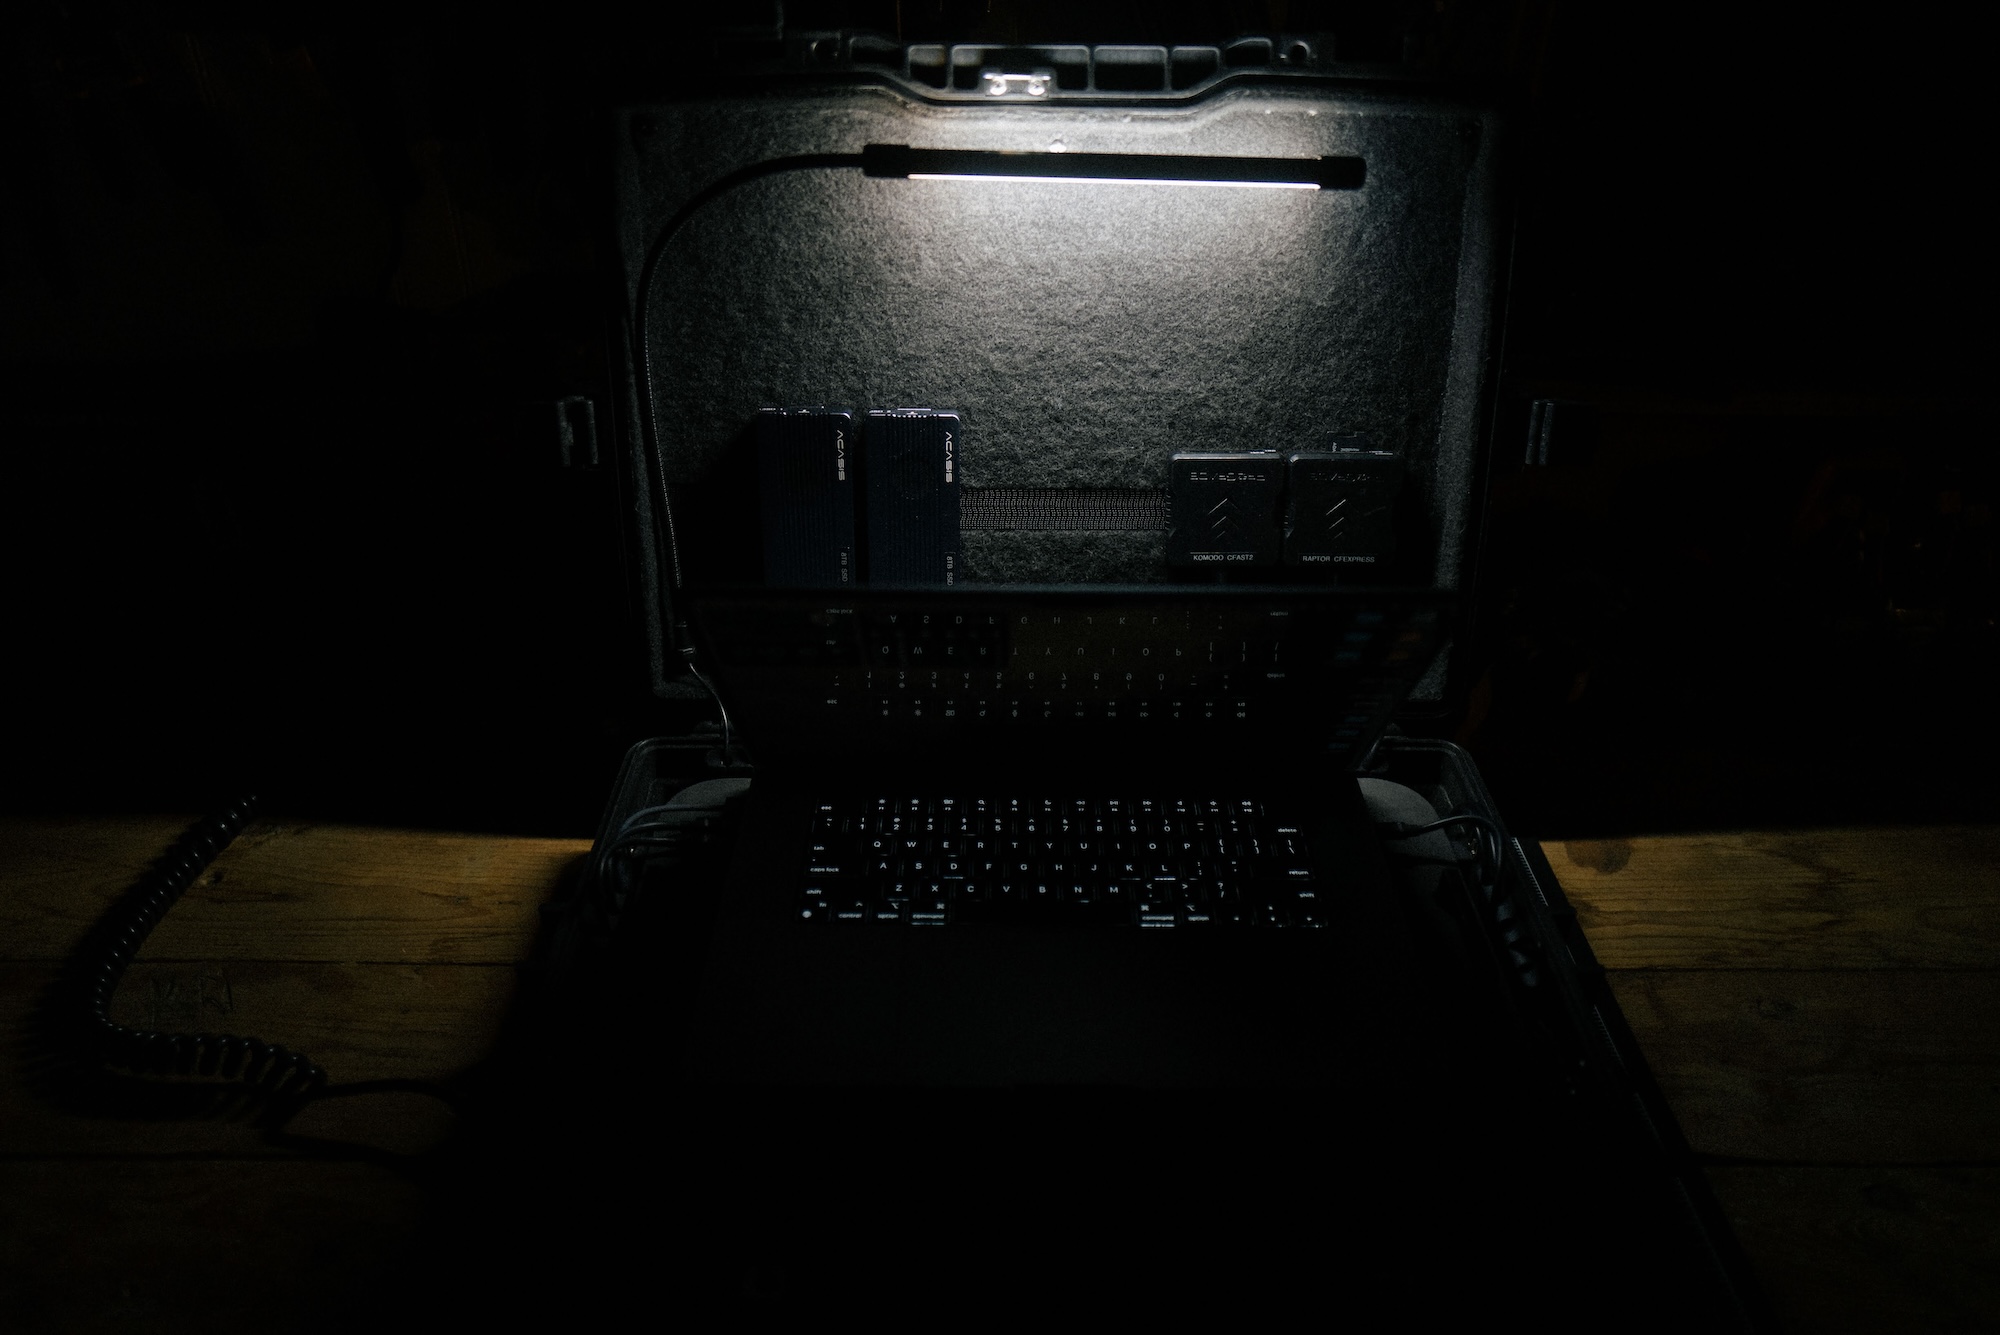
- Adjustable + Dimmer LED Strip
- Air Flow w/ two fans
- Max Power Consumption 145W
- 12v Car Charging
- Closed dimensions 54.9 x 43.8 x 12.4 cm / 21.62 x 17.25 x 4.87 in
- Weight without laptop 8.9kg / 19.62lbs
- Weight with laptop 11.4kg / 25.13lbs
DEVELOPMENT
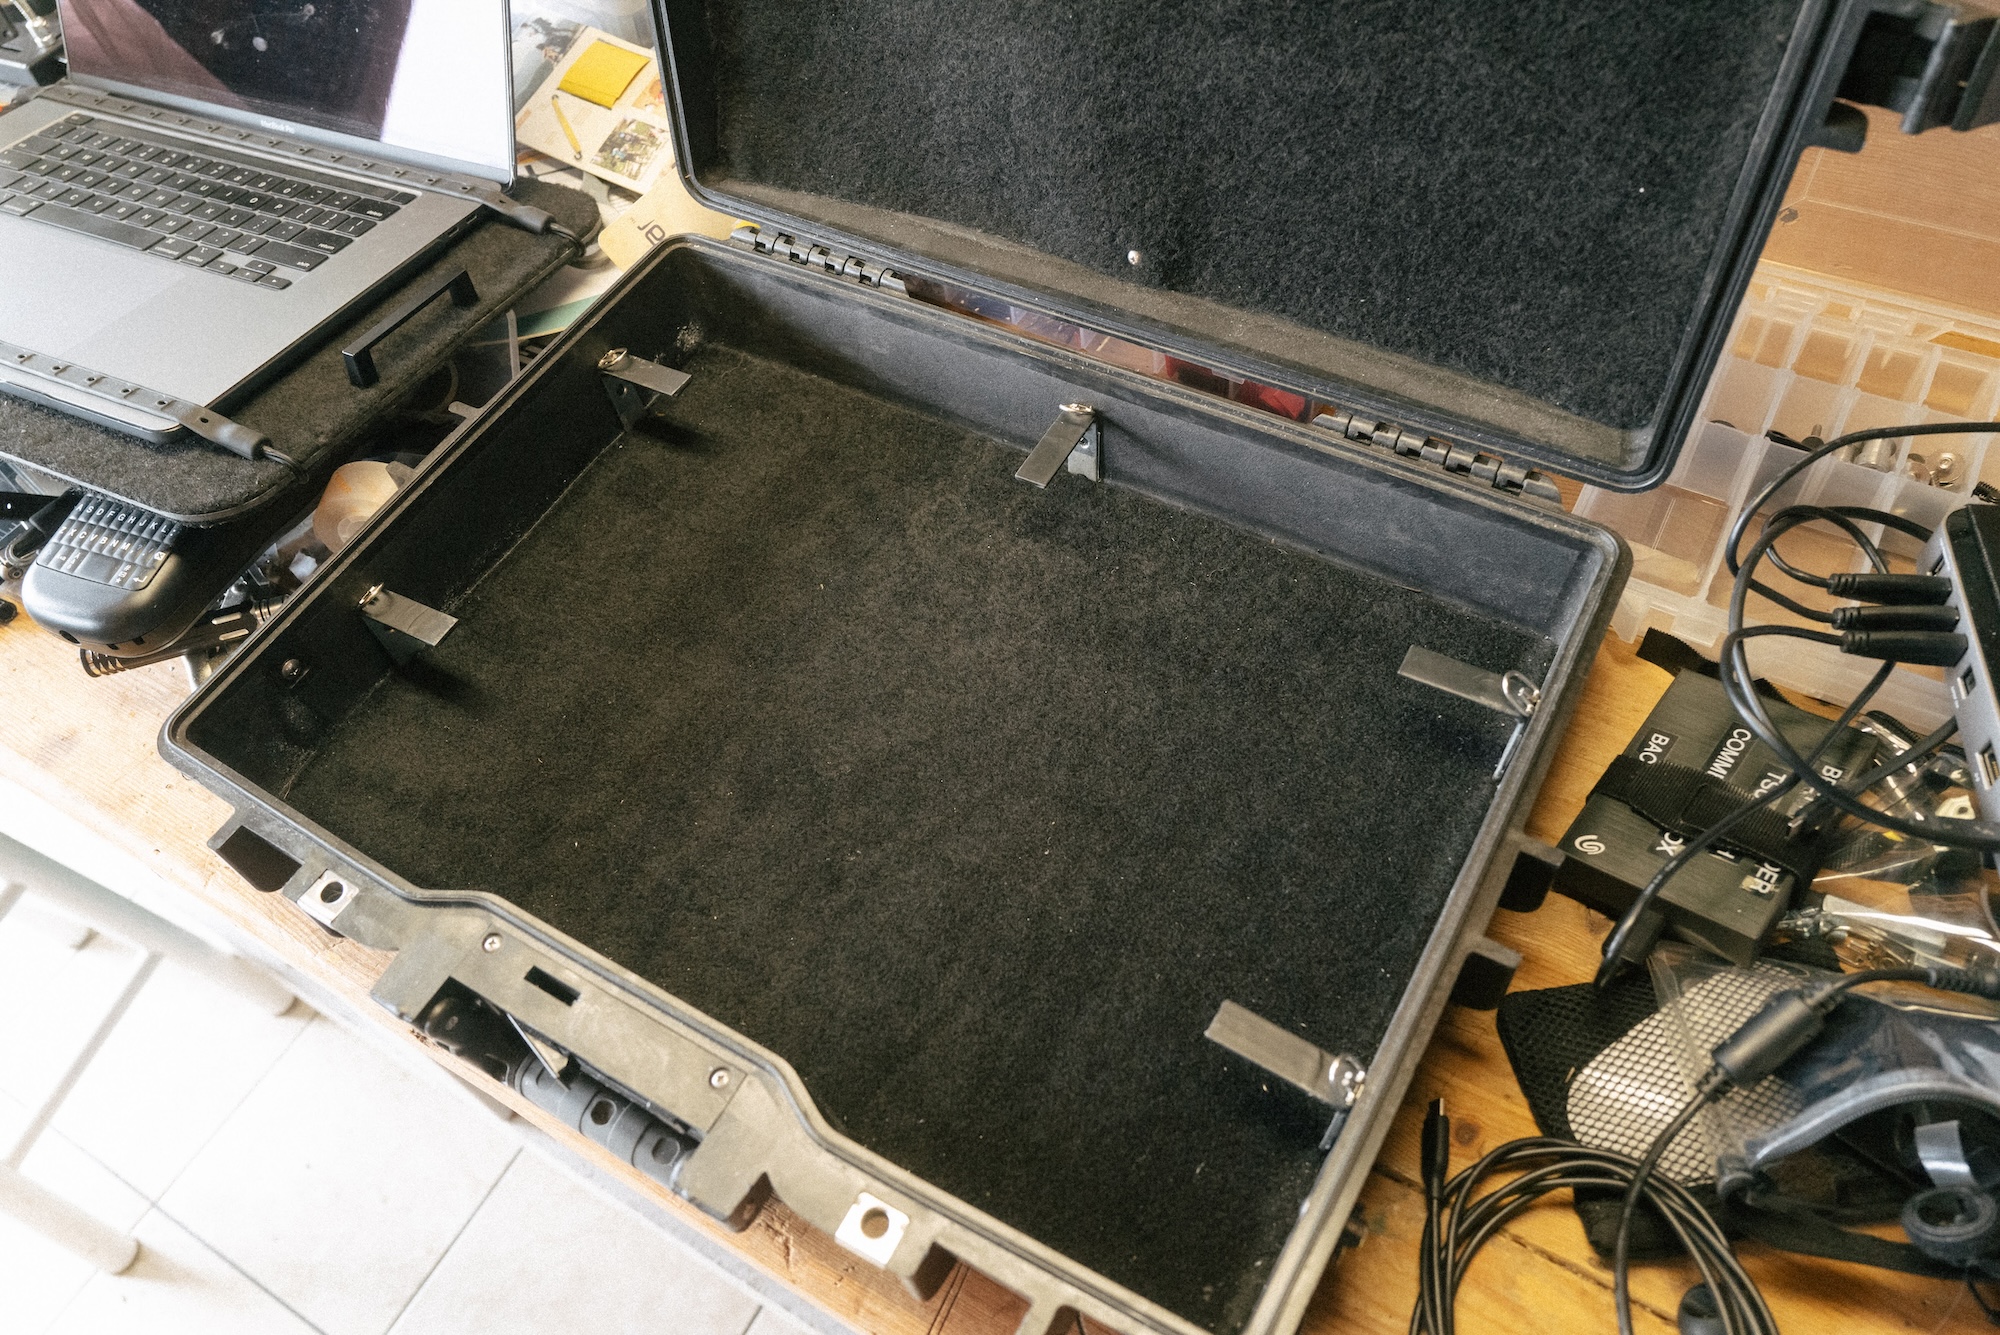
- First I gutted the original case, taking out the inserts and adding the L brackets. These needed to be cut down to size and are held in place with M3 nut and bolt. Version 1 had five supports, but I realized I needed to add two more at the front to support the weight of your hands when using the laptop. Then added marine grade shrink wrap around each for grip and aesthetics. The small loop clips on each bracket were added to be able to strap the shelf and laptop down if needed.
- I cut to size and spray mounted black car interior liner carpet to the base and sides. It’s soft so stuff wont get scratched and adds a bit of protection, also acts as a surface to velcro stuff to.
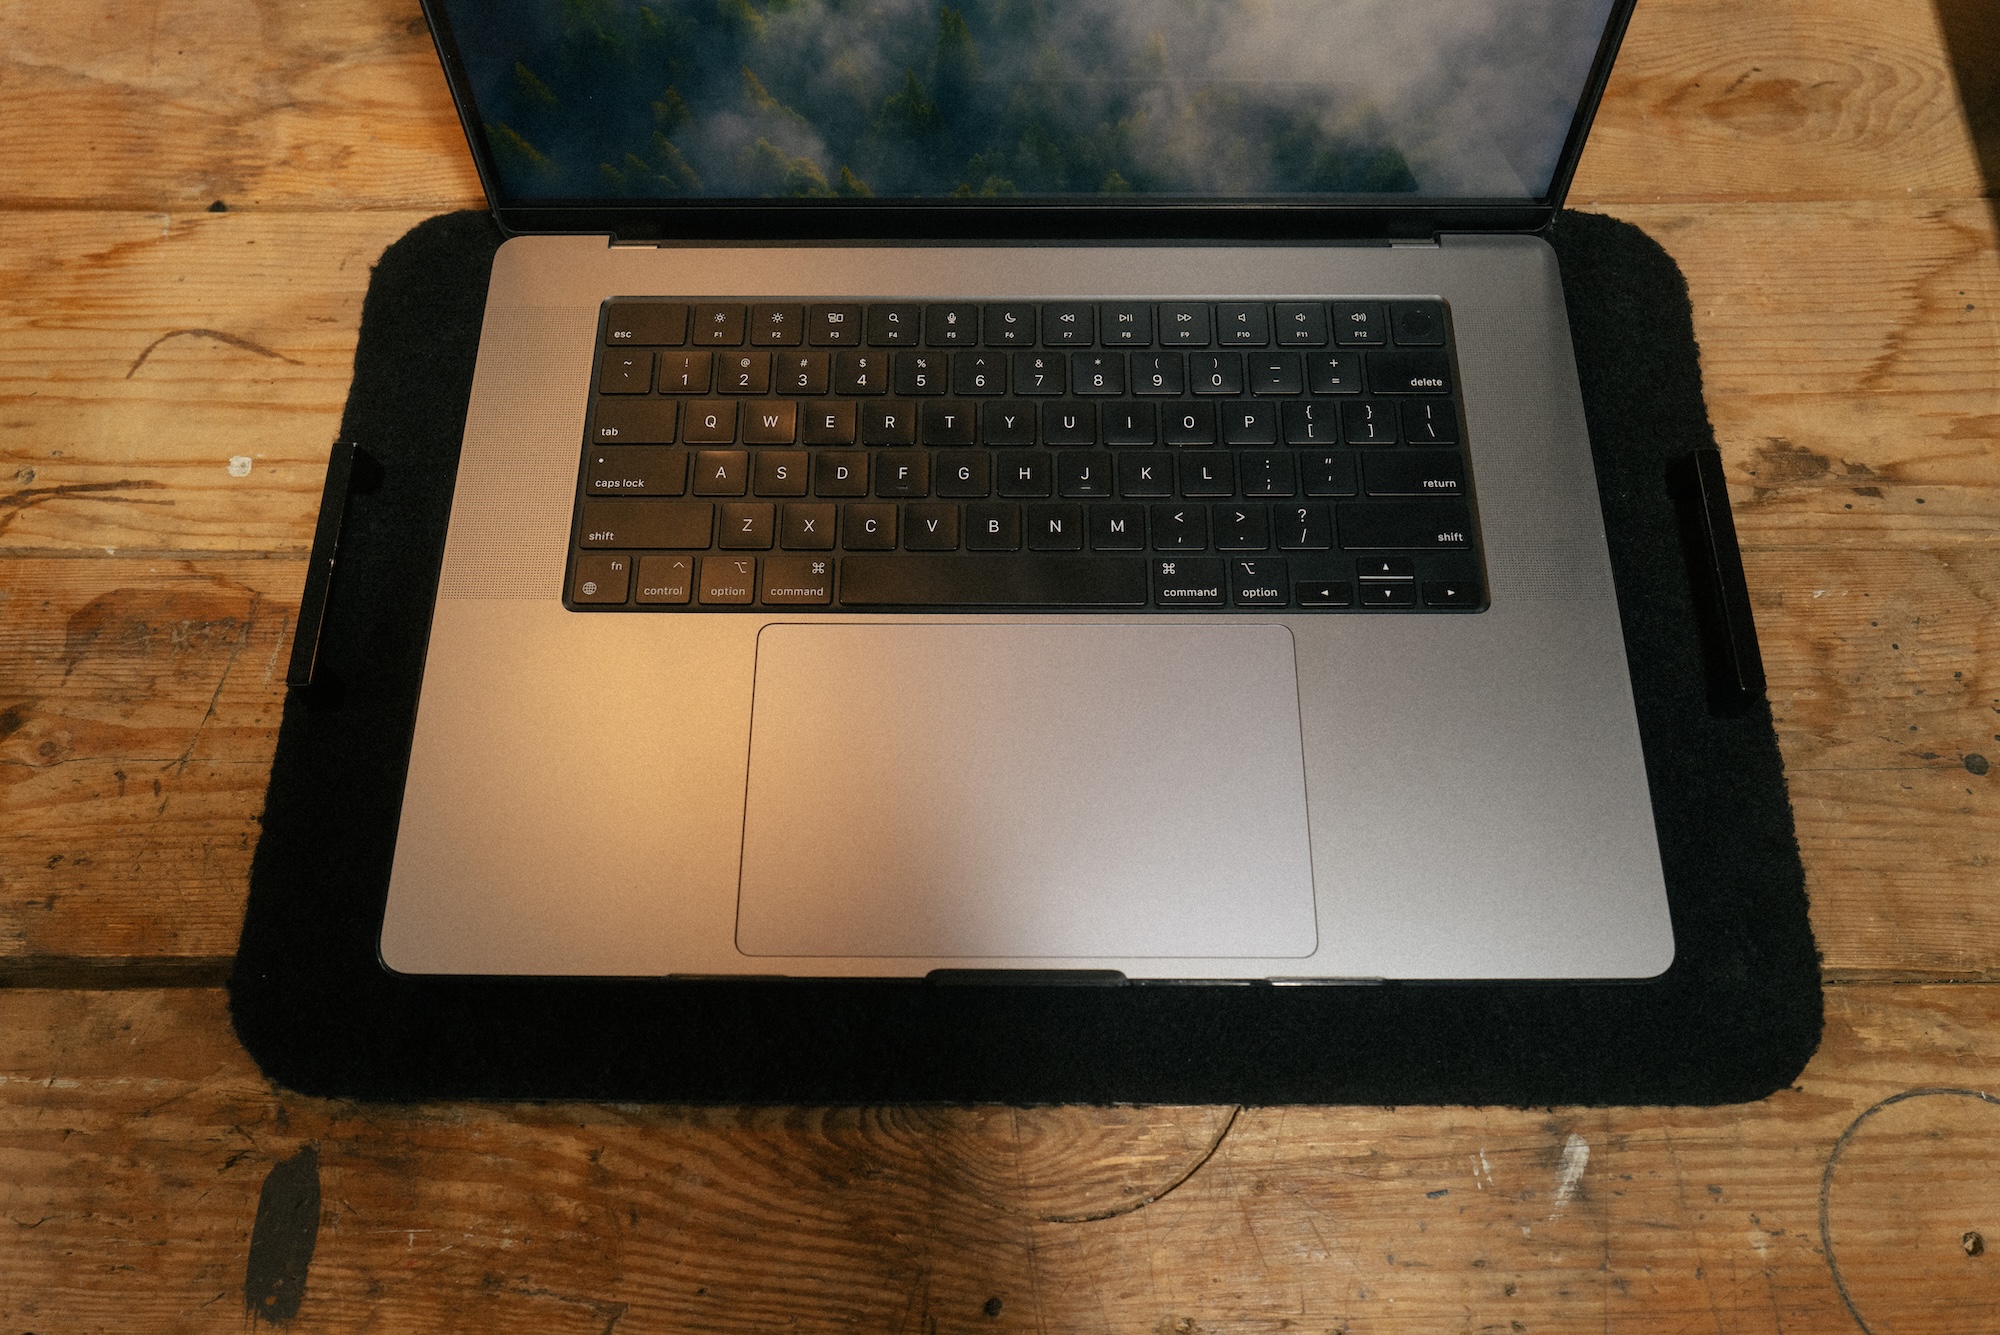
- Supporting the laptop on a platform seemed like the best solution to enable access the gear underneath and maximize the limited space. Initially I was thinking of getting something machined out of carbon fibre.
- Ended up using Dibond 3mm sheet and added the same material liner top and bottom
- I’d still like to figure out a way to lock the laptop down to the tray to stop it sliding around when the case is closed. I have some things I may try but any ideas here would be welcomed.
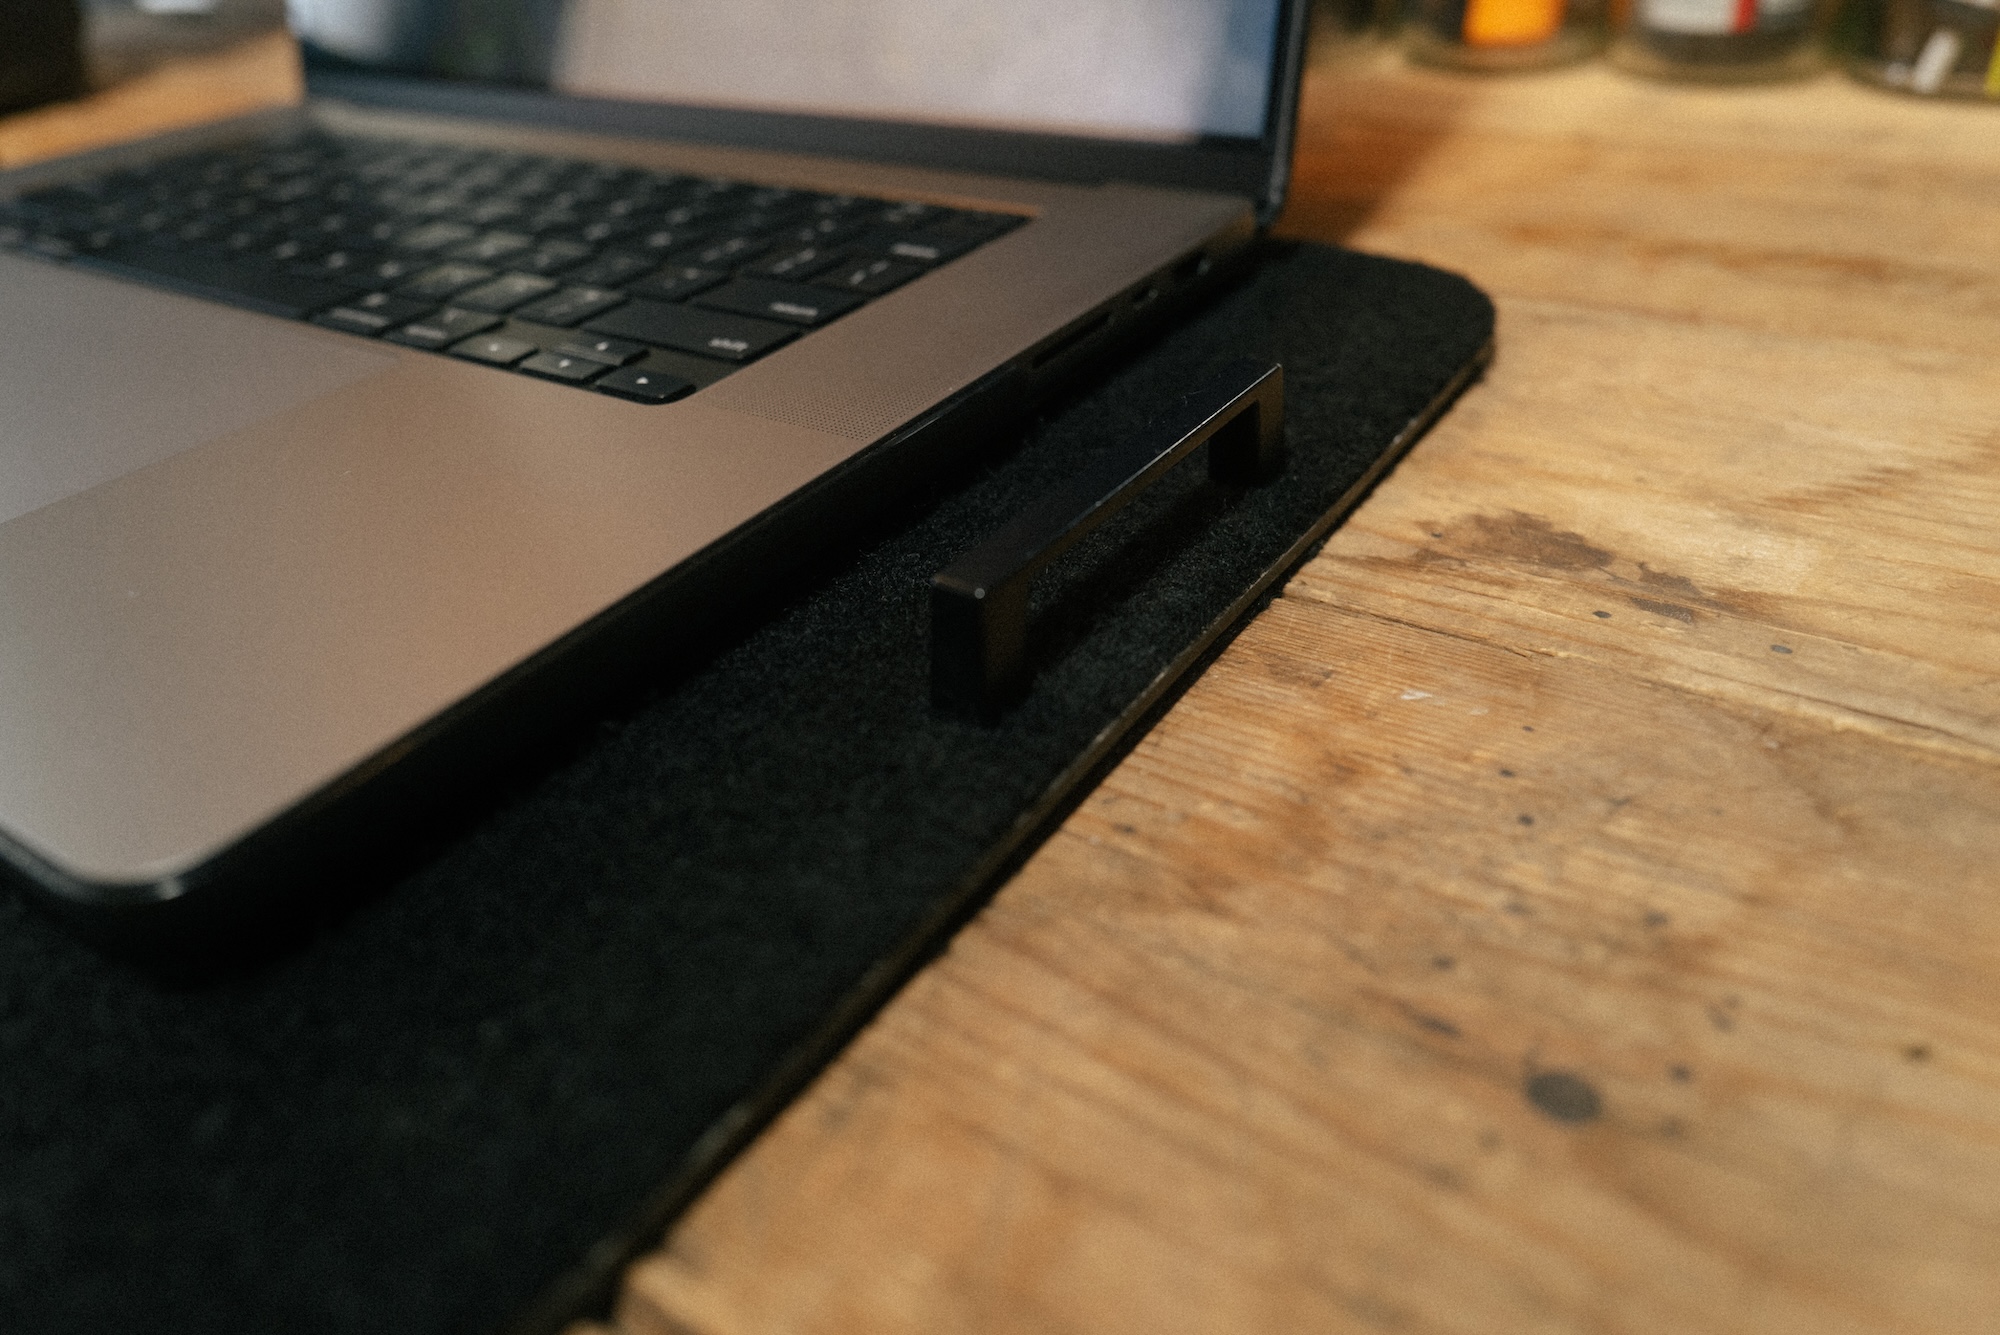
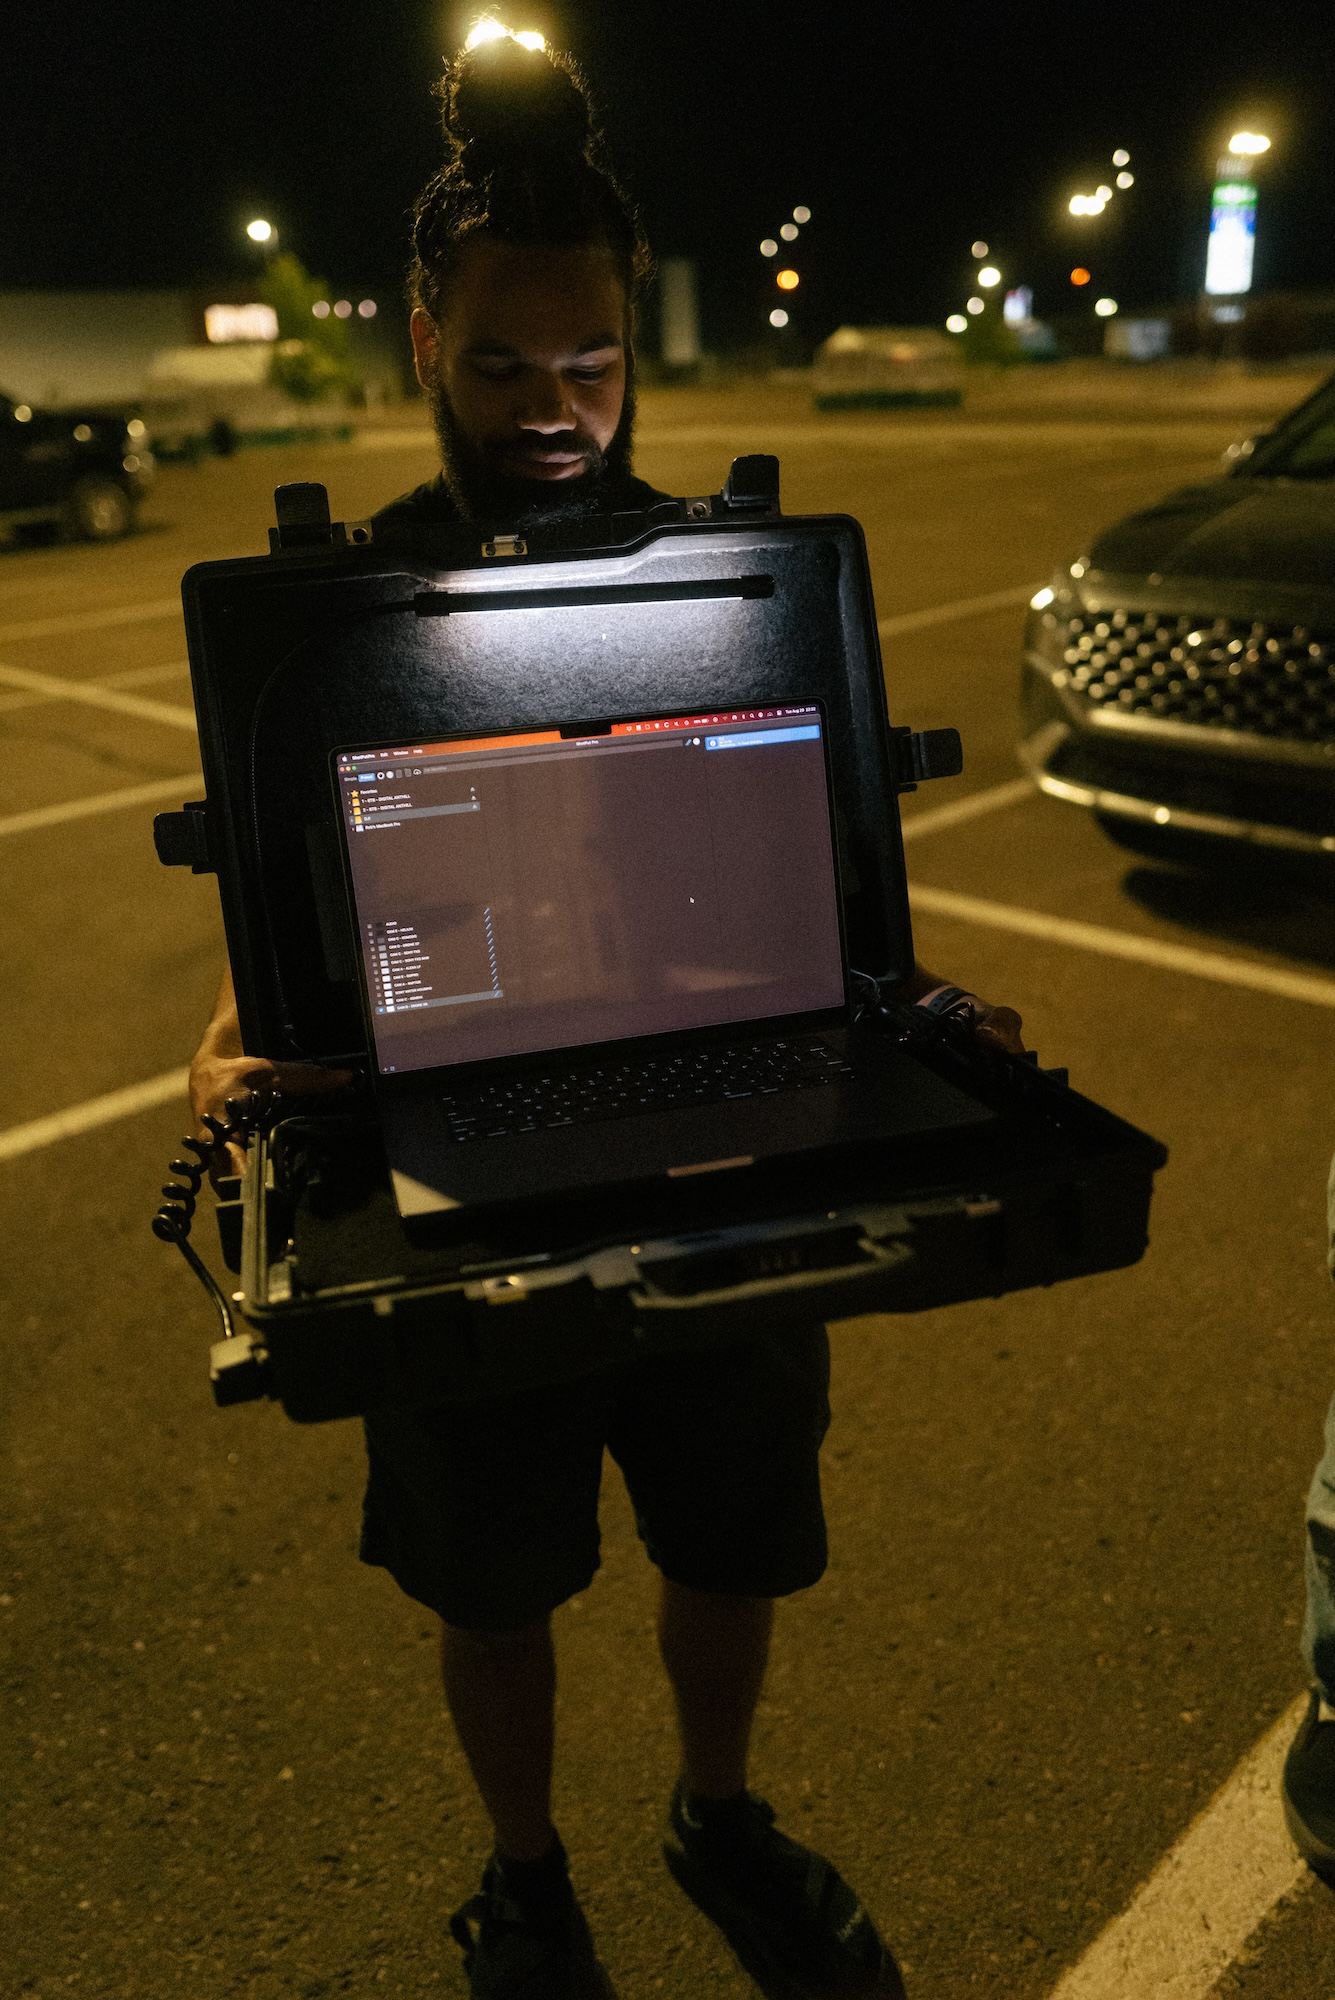
- Handles either side allow it to be removed easily

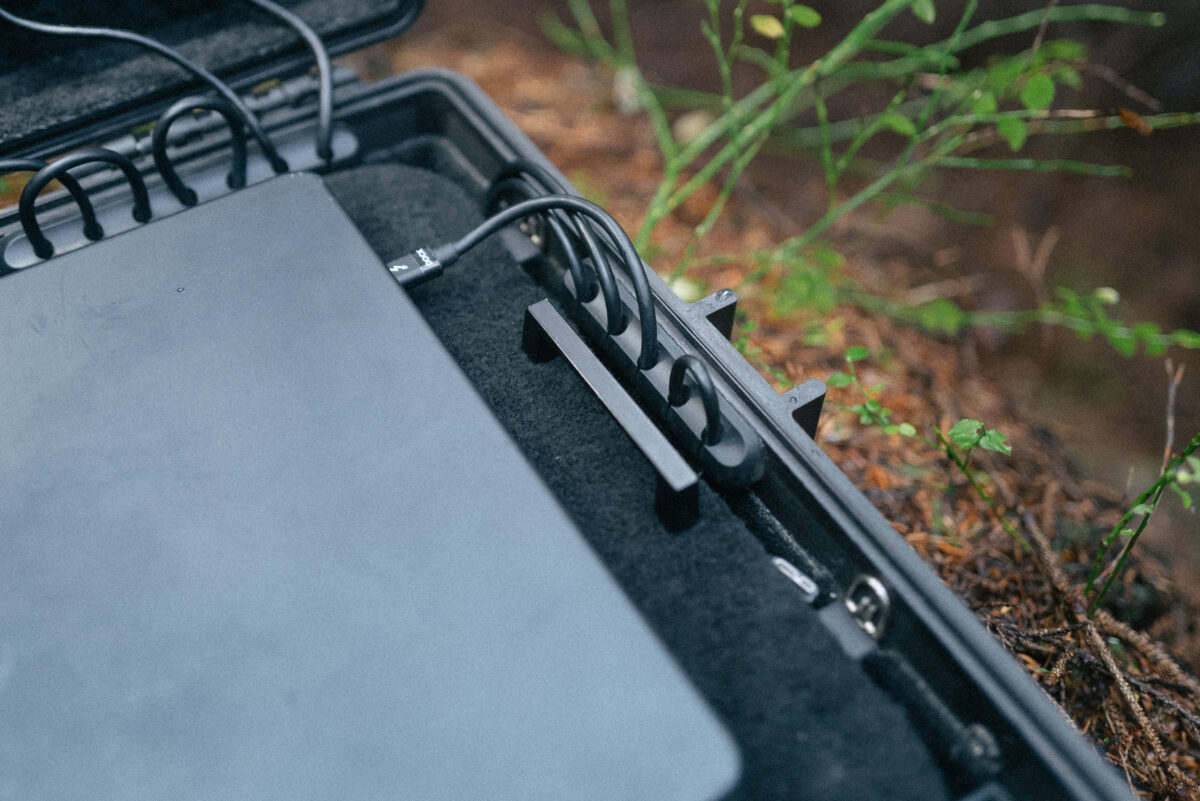
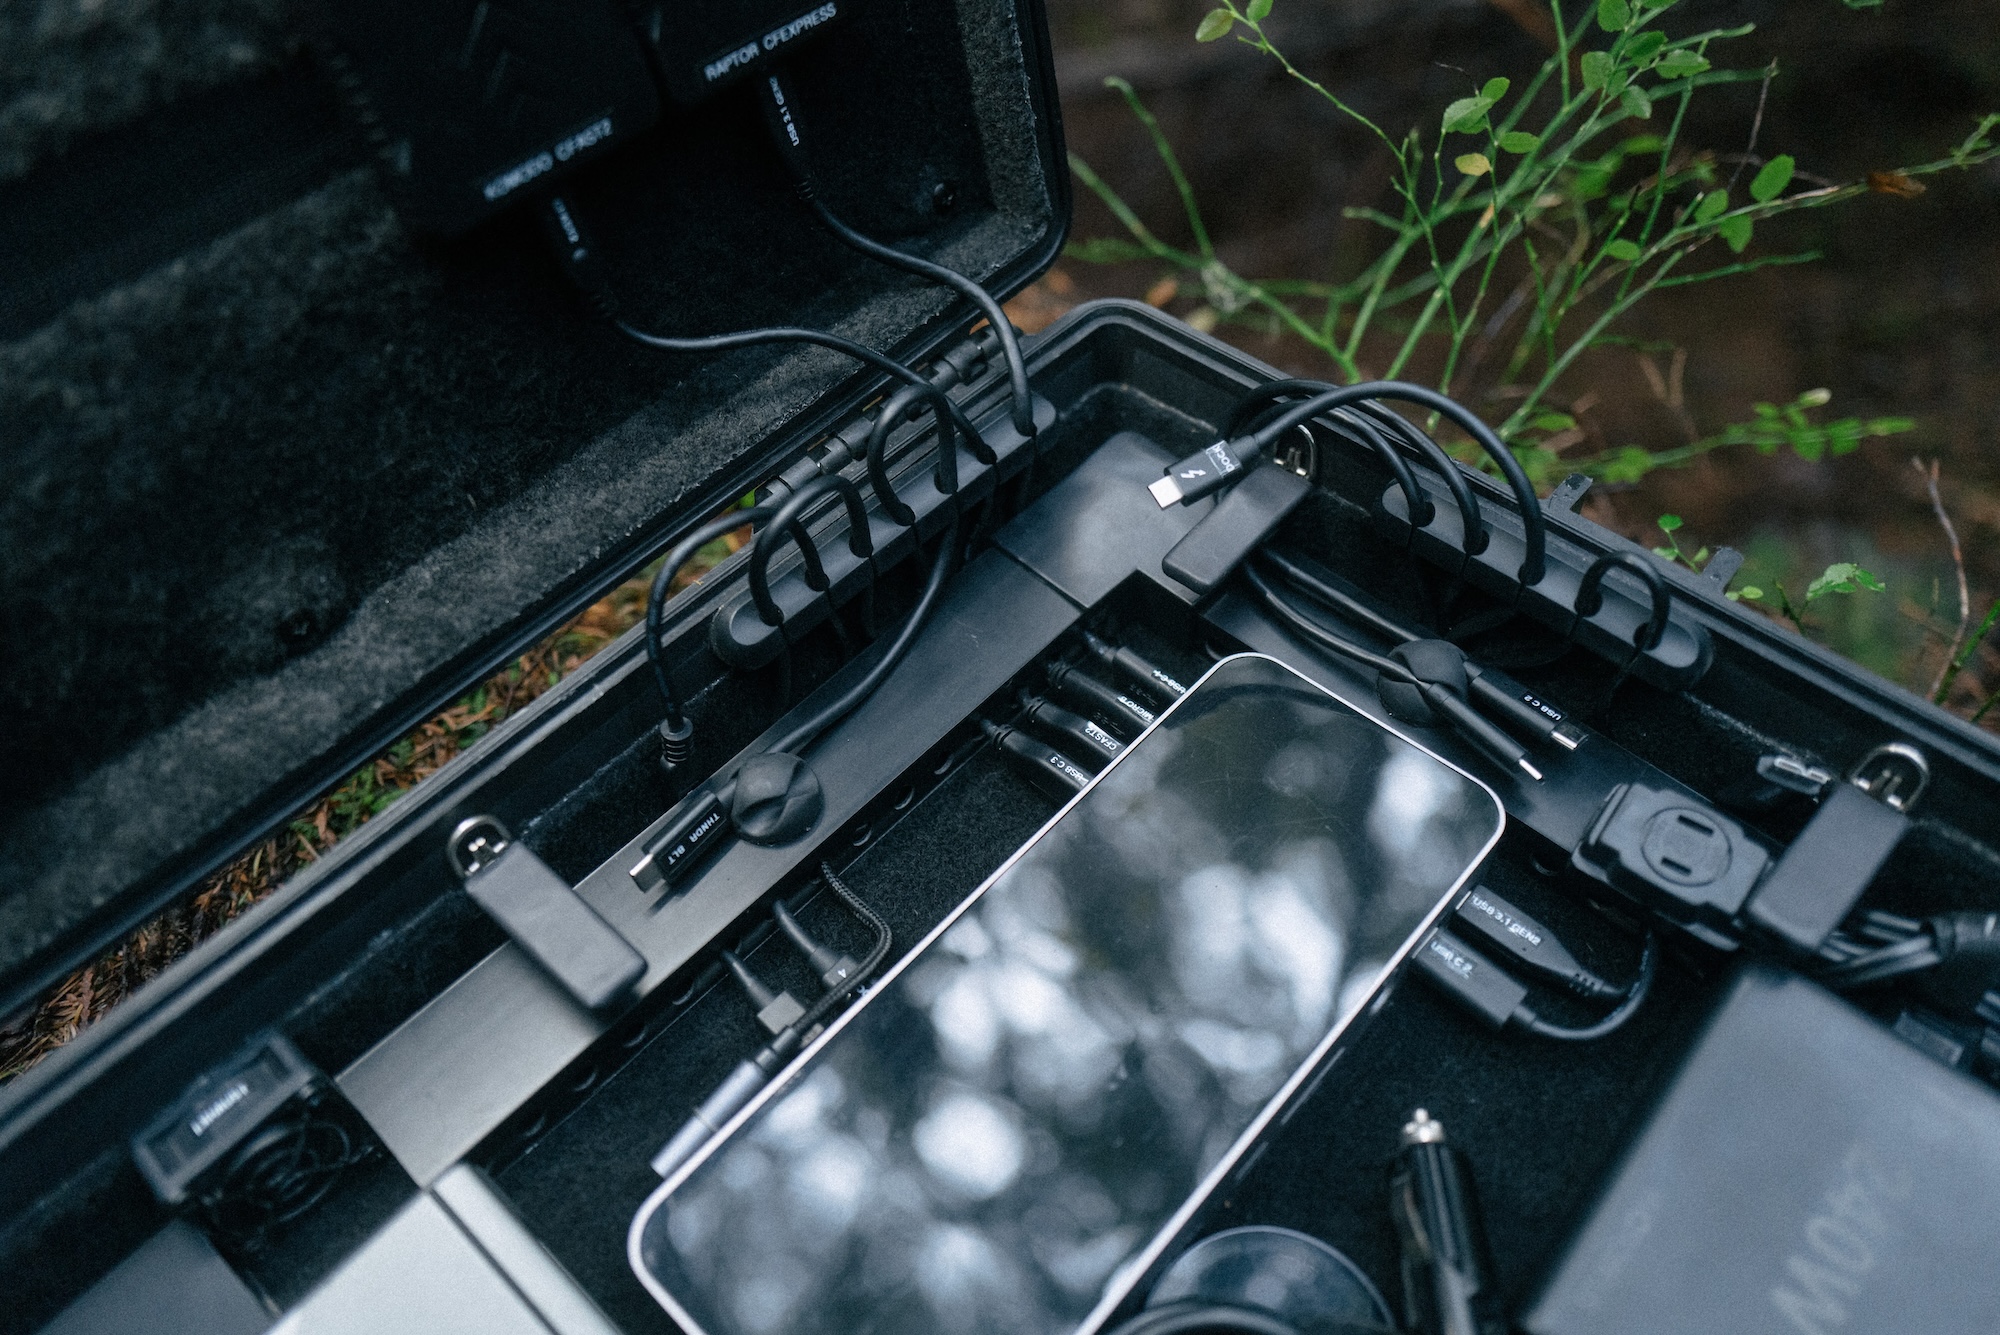
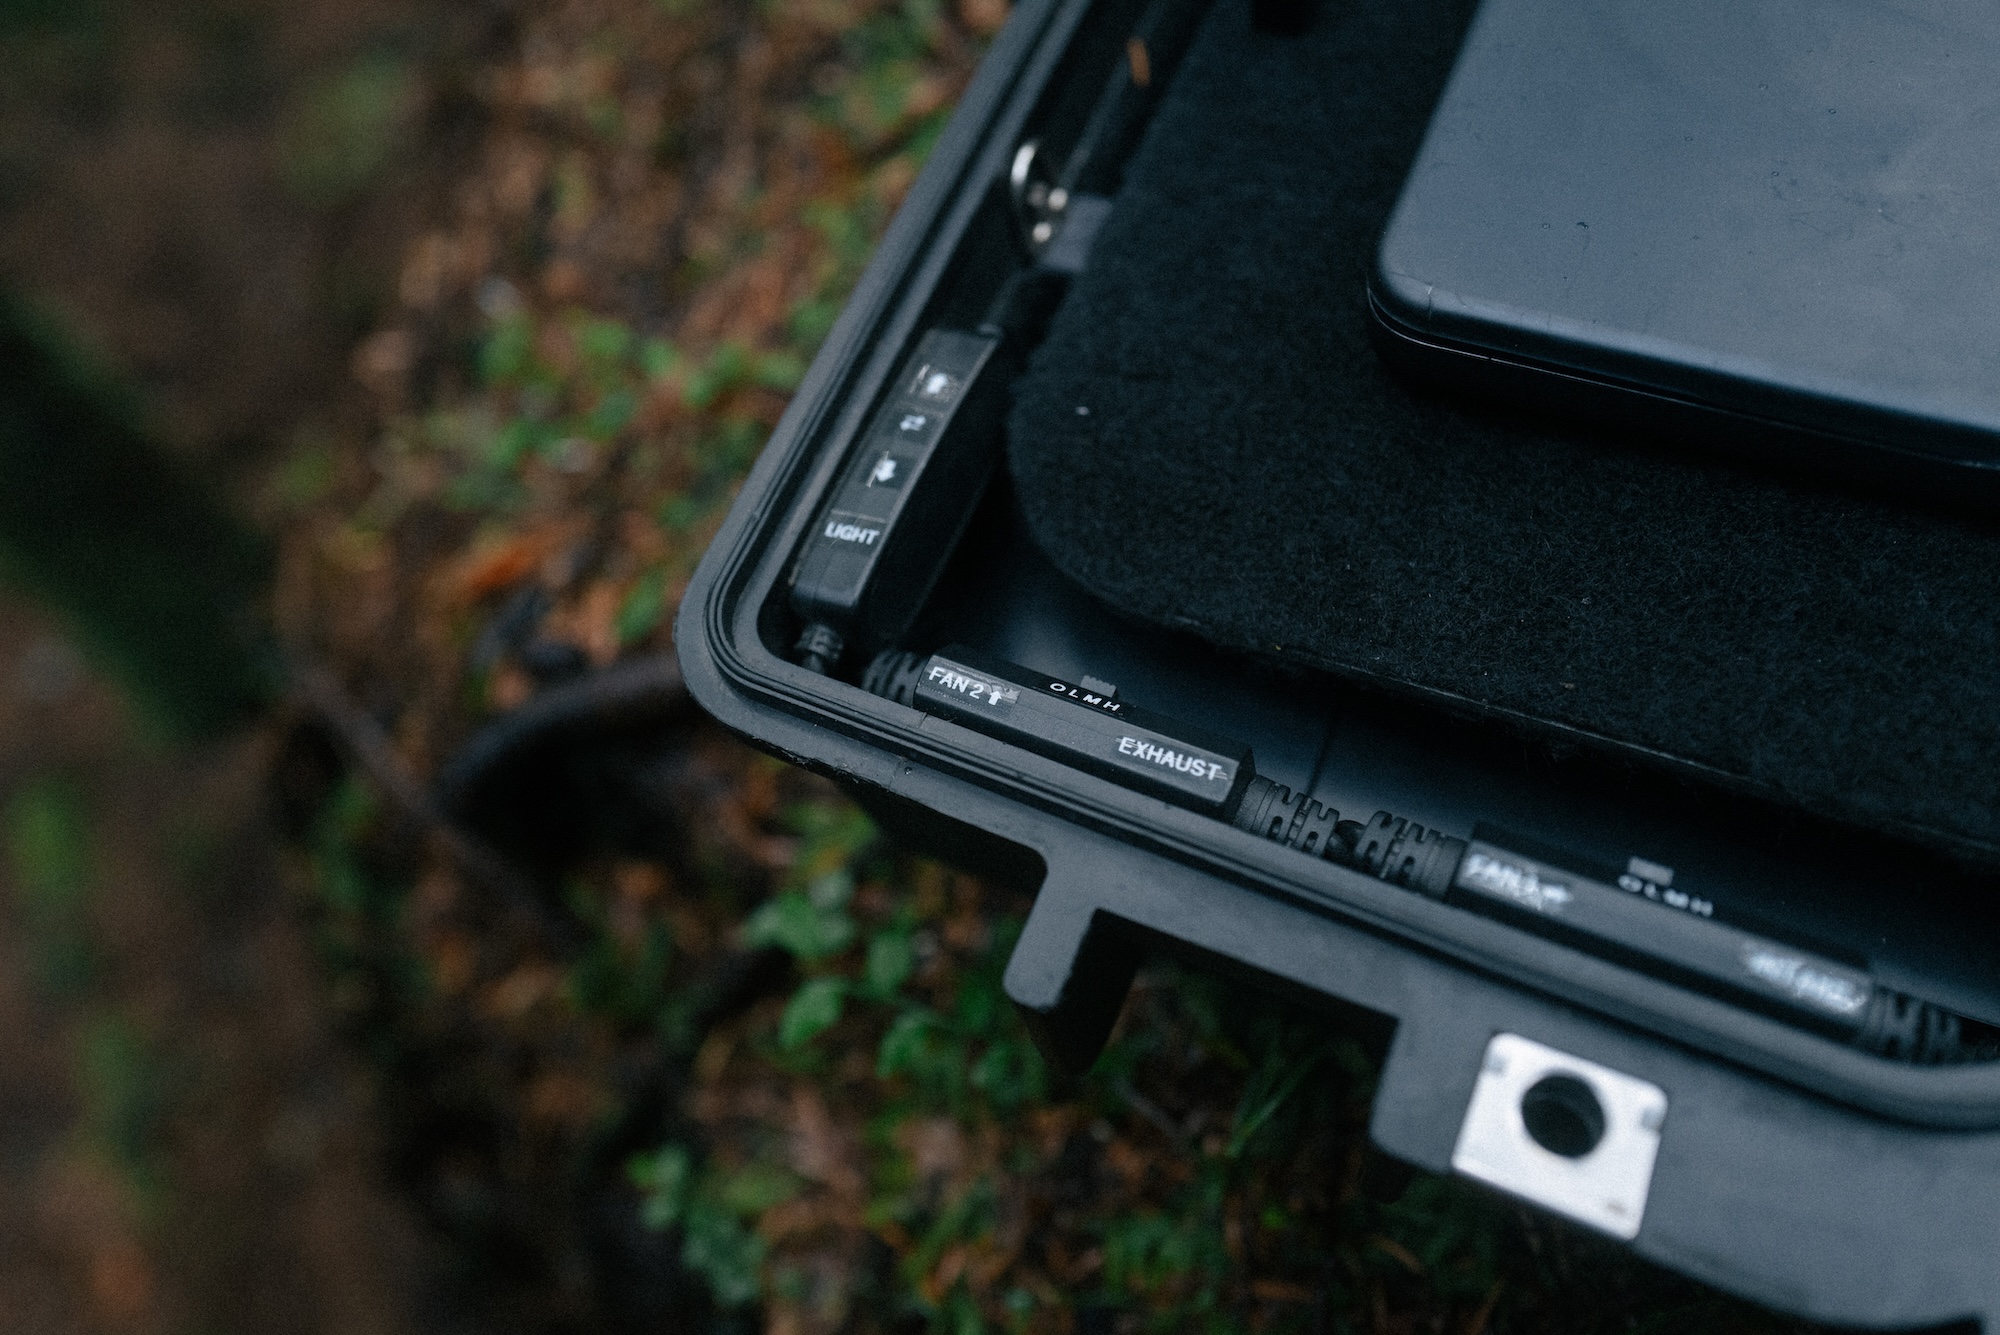
- Figuring out a way to manage all the cables was a challenge. Originally I just had them bundled up together and running around the inside perimeter of the case.
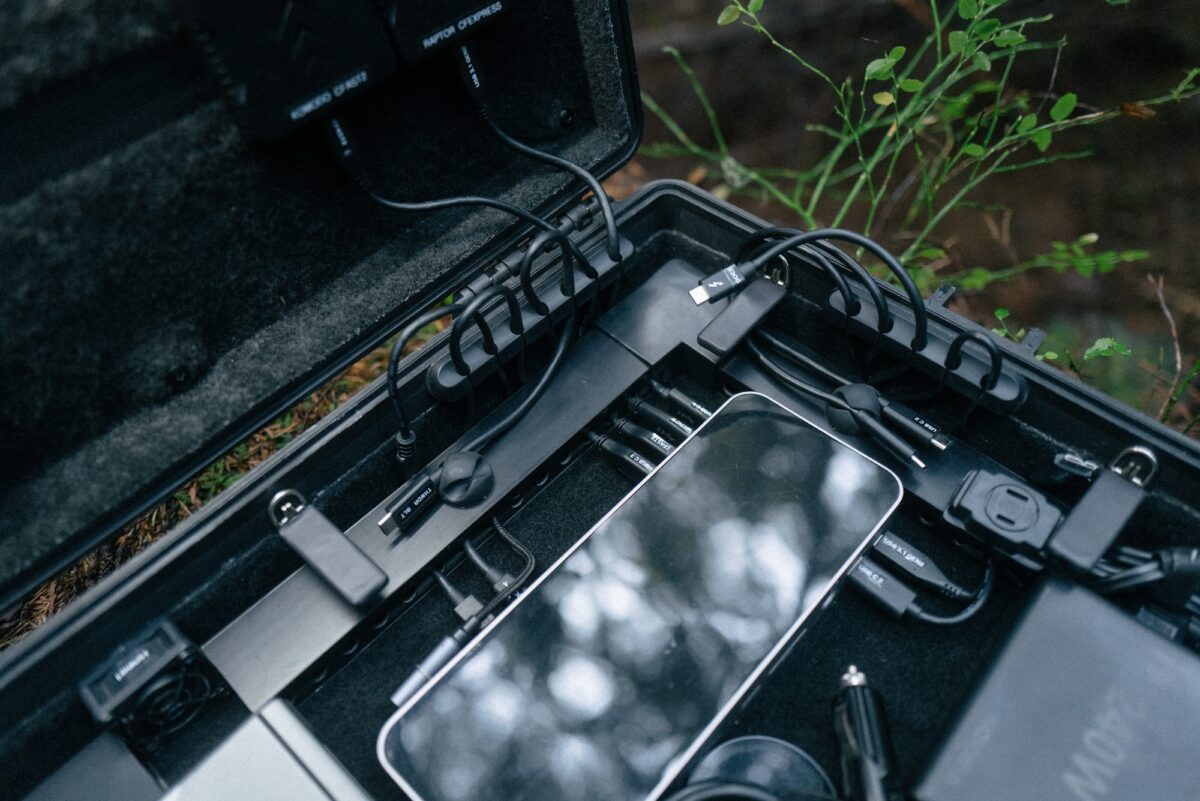
- I discovered this cable trunking with pre drilled holes that allows you to bring cables in or out at most locations.
- I had to cut the trunking to get it to fit. It’s held in place with Velcro so is removable if modifications need to be made.
- Wondering if there would be RF interference with all the cables close to each other but don’t notice a significant speed loss.
- I found these rubber cable management holders that are the perfect fit and keep the cables from getting caught in the lip of the lid.
- Earlier version, things taking shape, placement of the tech pretty locked in now. Here is a smaller power supply I was running for a while, but didn’t provide enough juice so I switched it out for one with more capacity.
- Trying out placement of two 4TB SSD drives and card readers. I liked this configuration but discovered that 4TB wasn’t going be enough and that this velcro solution for the drives and readers wouldn’t provide enough of a bind. I later upgraded to 3M Dual Lock, which is amazing.
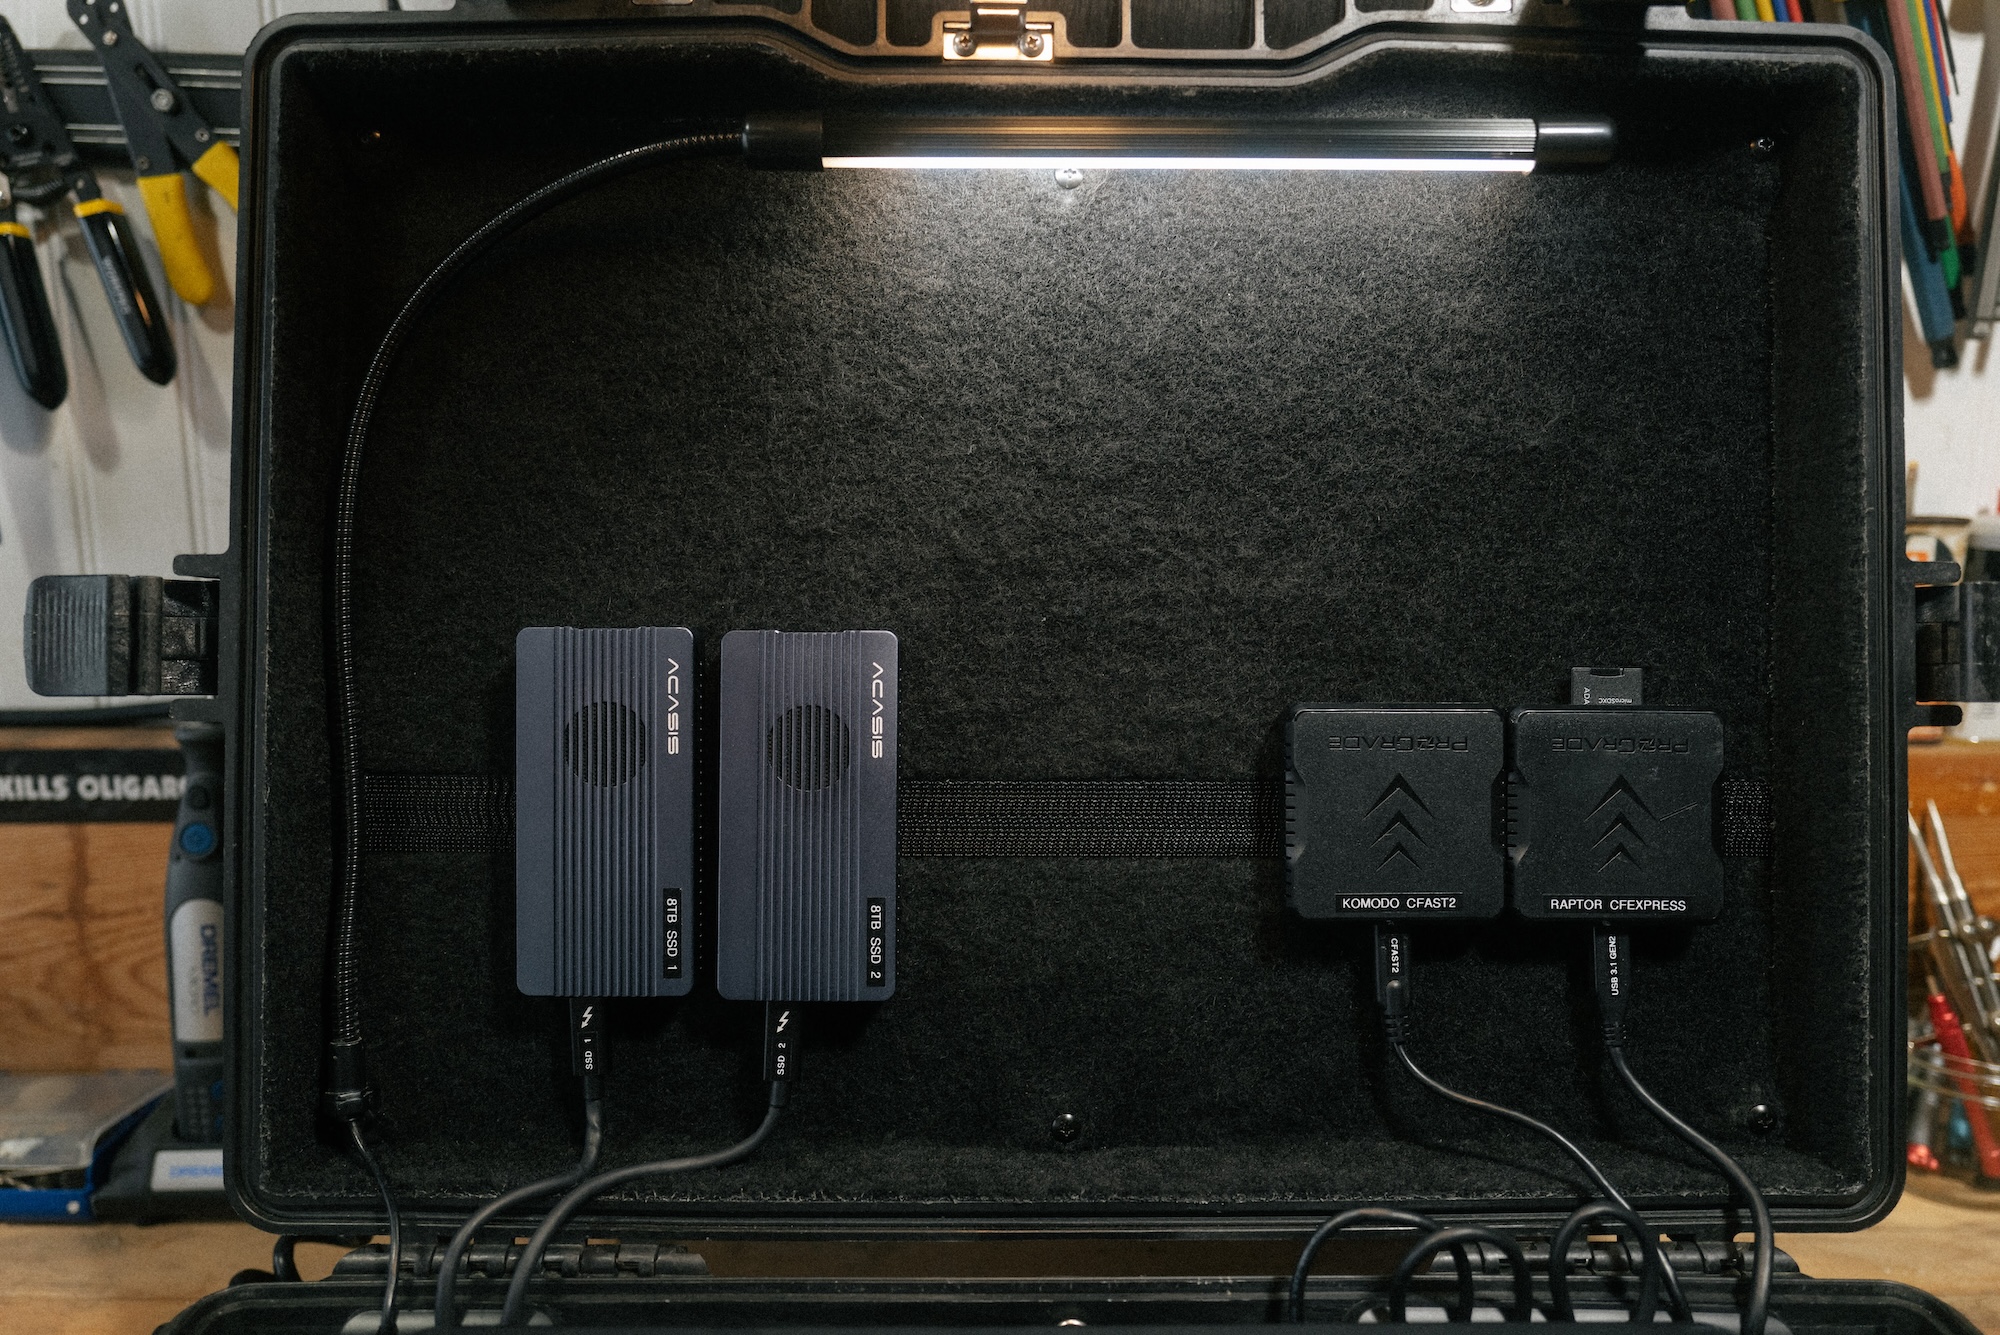
- Having the strip of 3M allows for different configurations of drives and card readers for future upgrades.
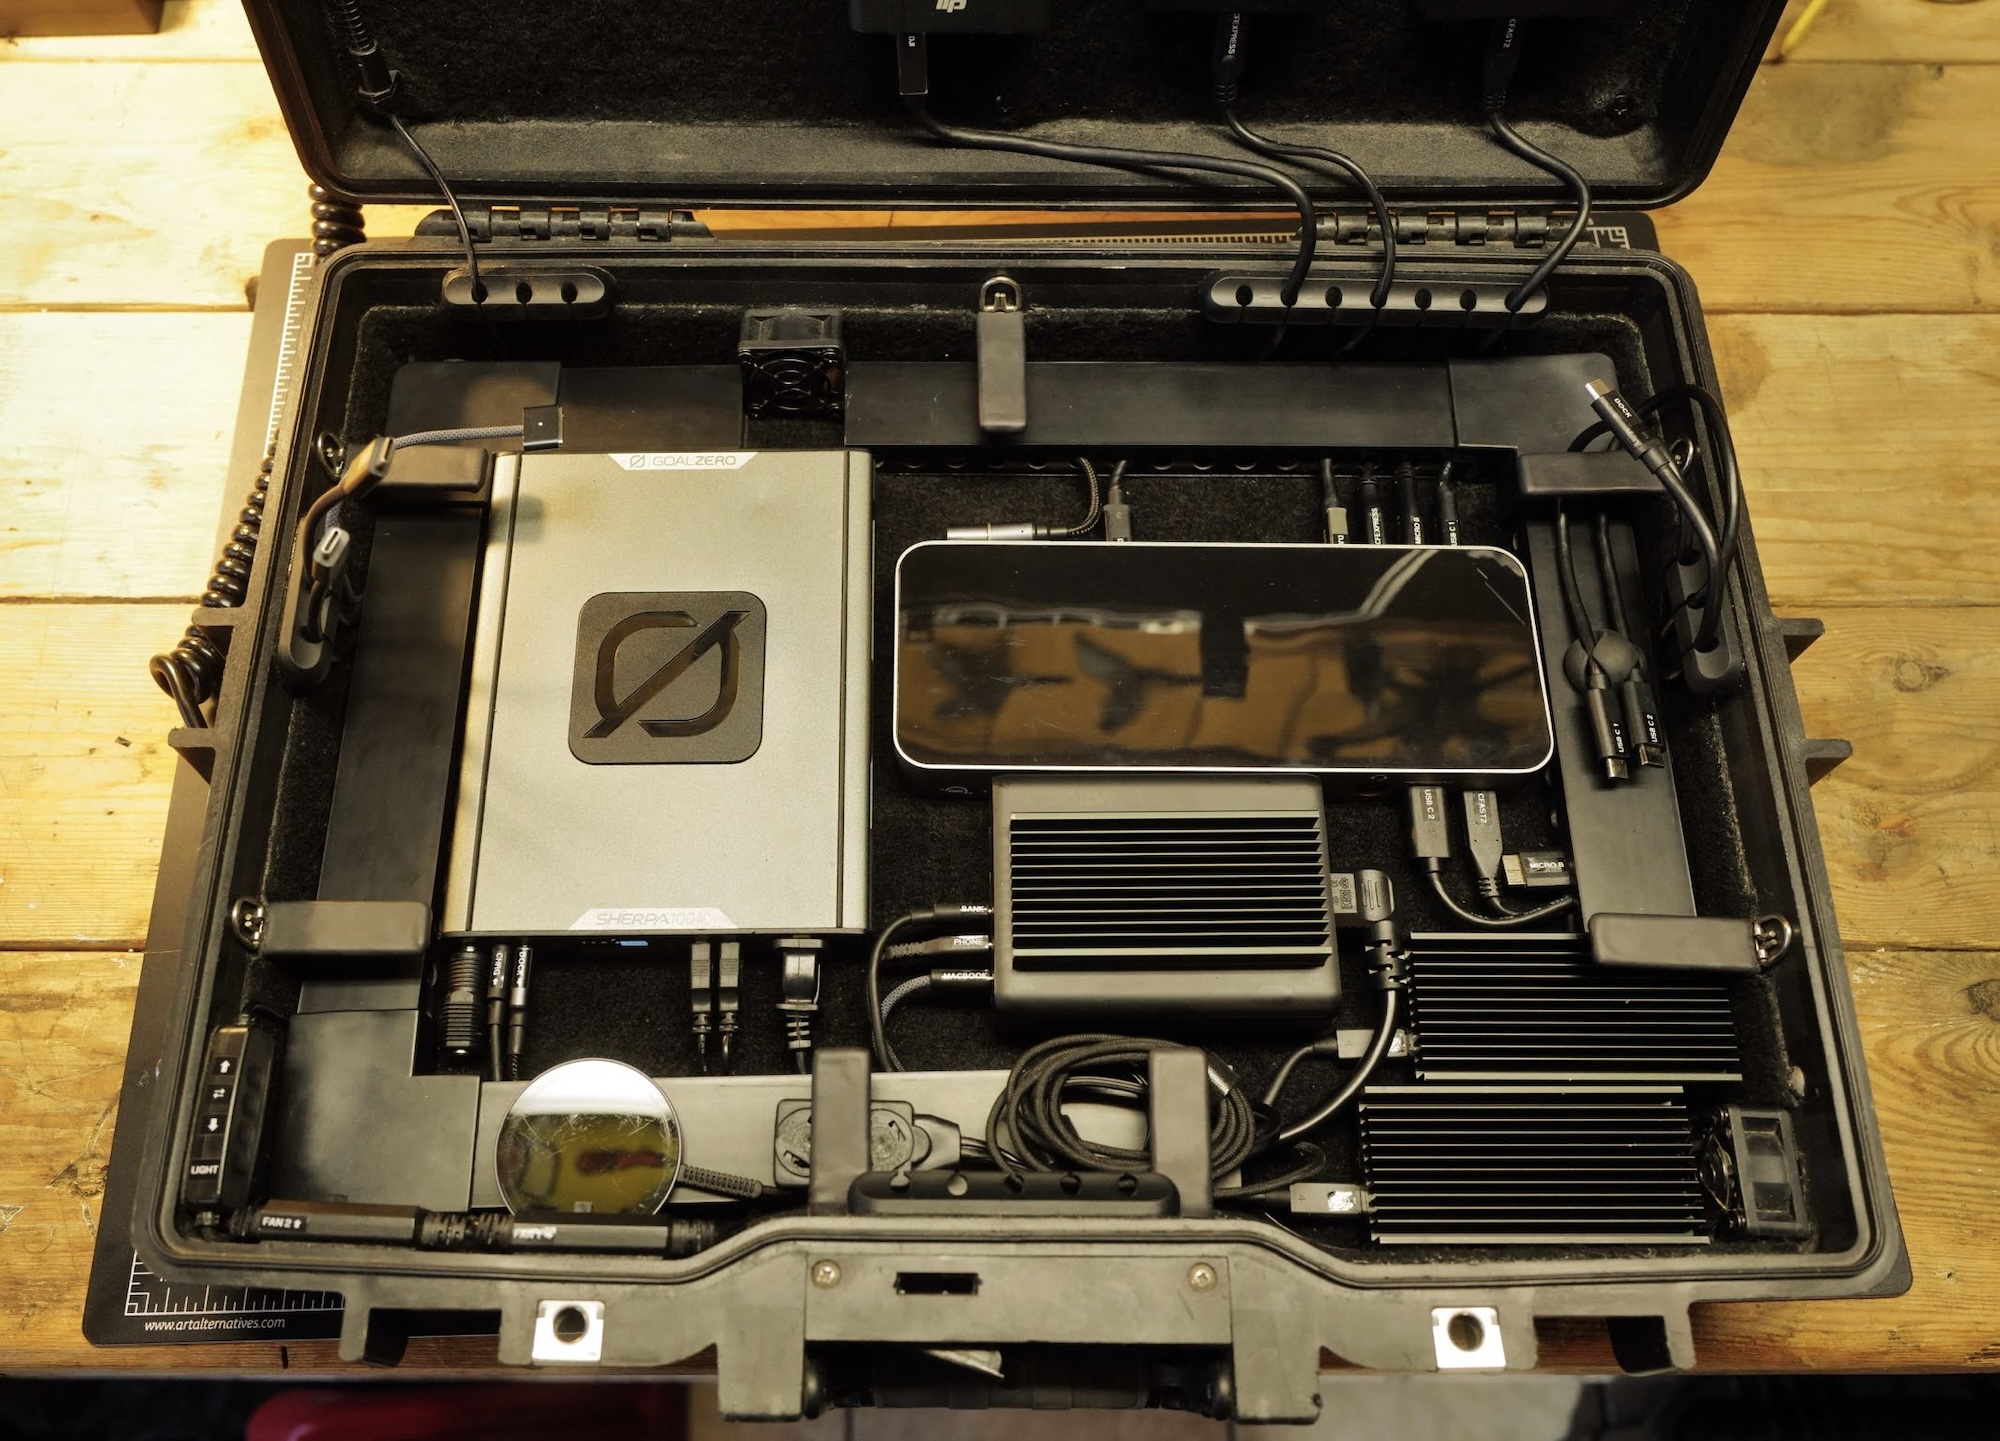
- When I upgraded the SSDs to 8TB NVMe drives the speed increase was amazing but they also generated a lot more heat. I found these small heat sinks that I mounted to the drives and PSU. I put them next to the intake fan, which helped keep them cooler, but I didn’t like that they were no longer as easy to access, plus the added weight wasn’t super ideal. More on that in the next section..
DATA

- This one was one of the biggest ???? of the project, it sent me down endless rabbit holes trying to work out how get the fastest and biggest capacity bus powered drives available. Really happy where I landed with it.
- Wanted to max out the read speed of the cards and readers which meant super fast SSDs
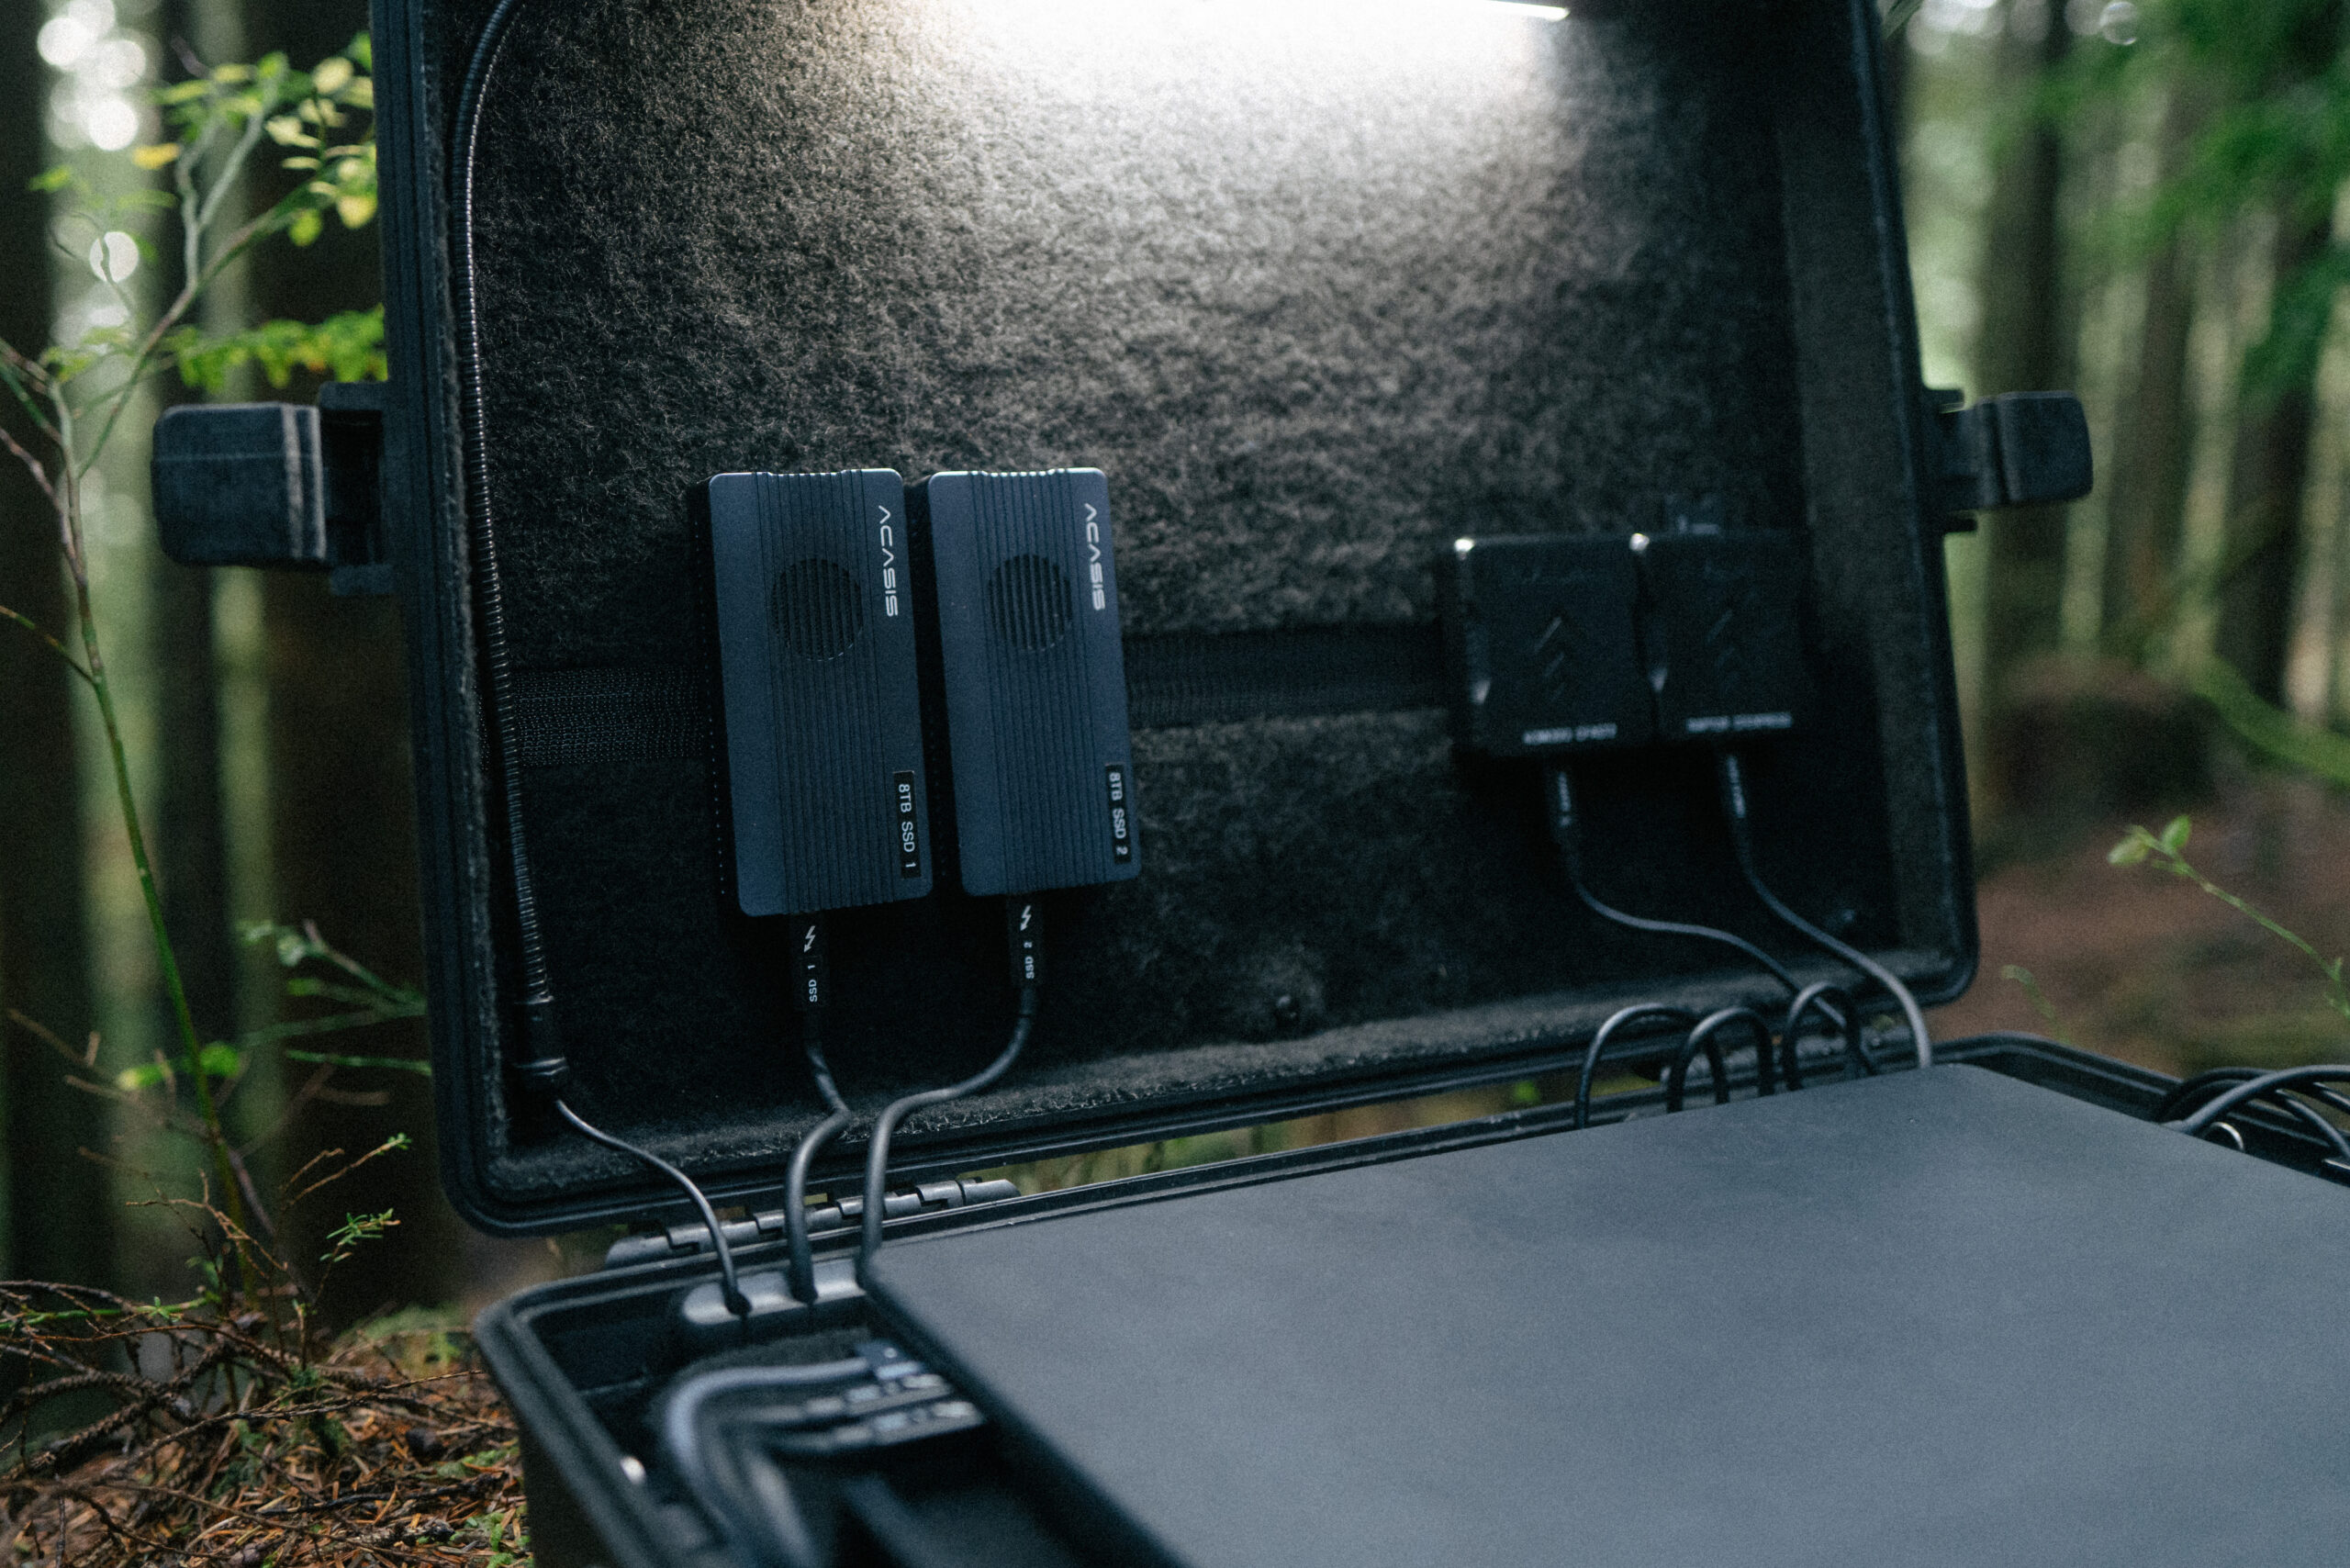
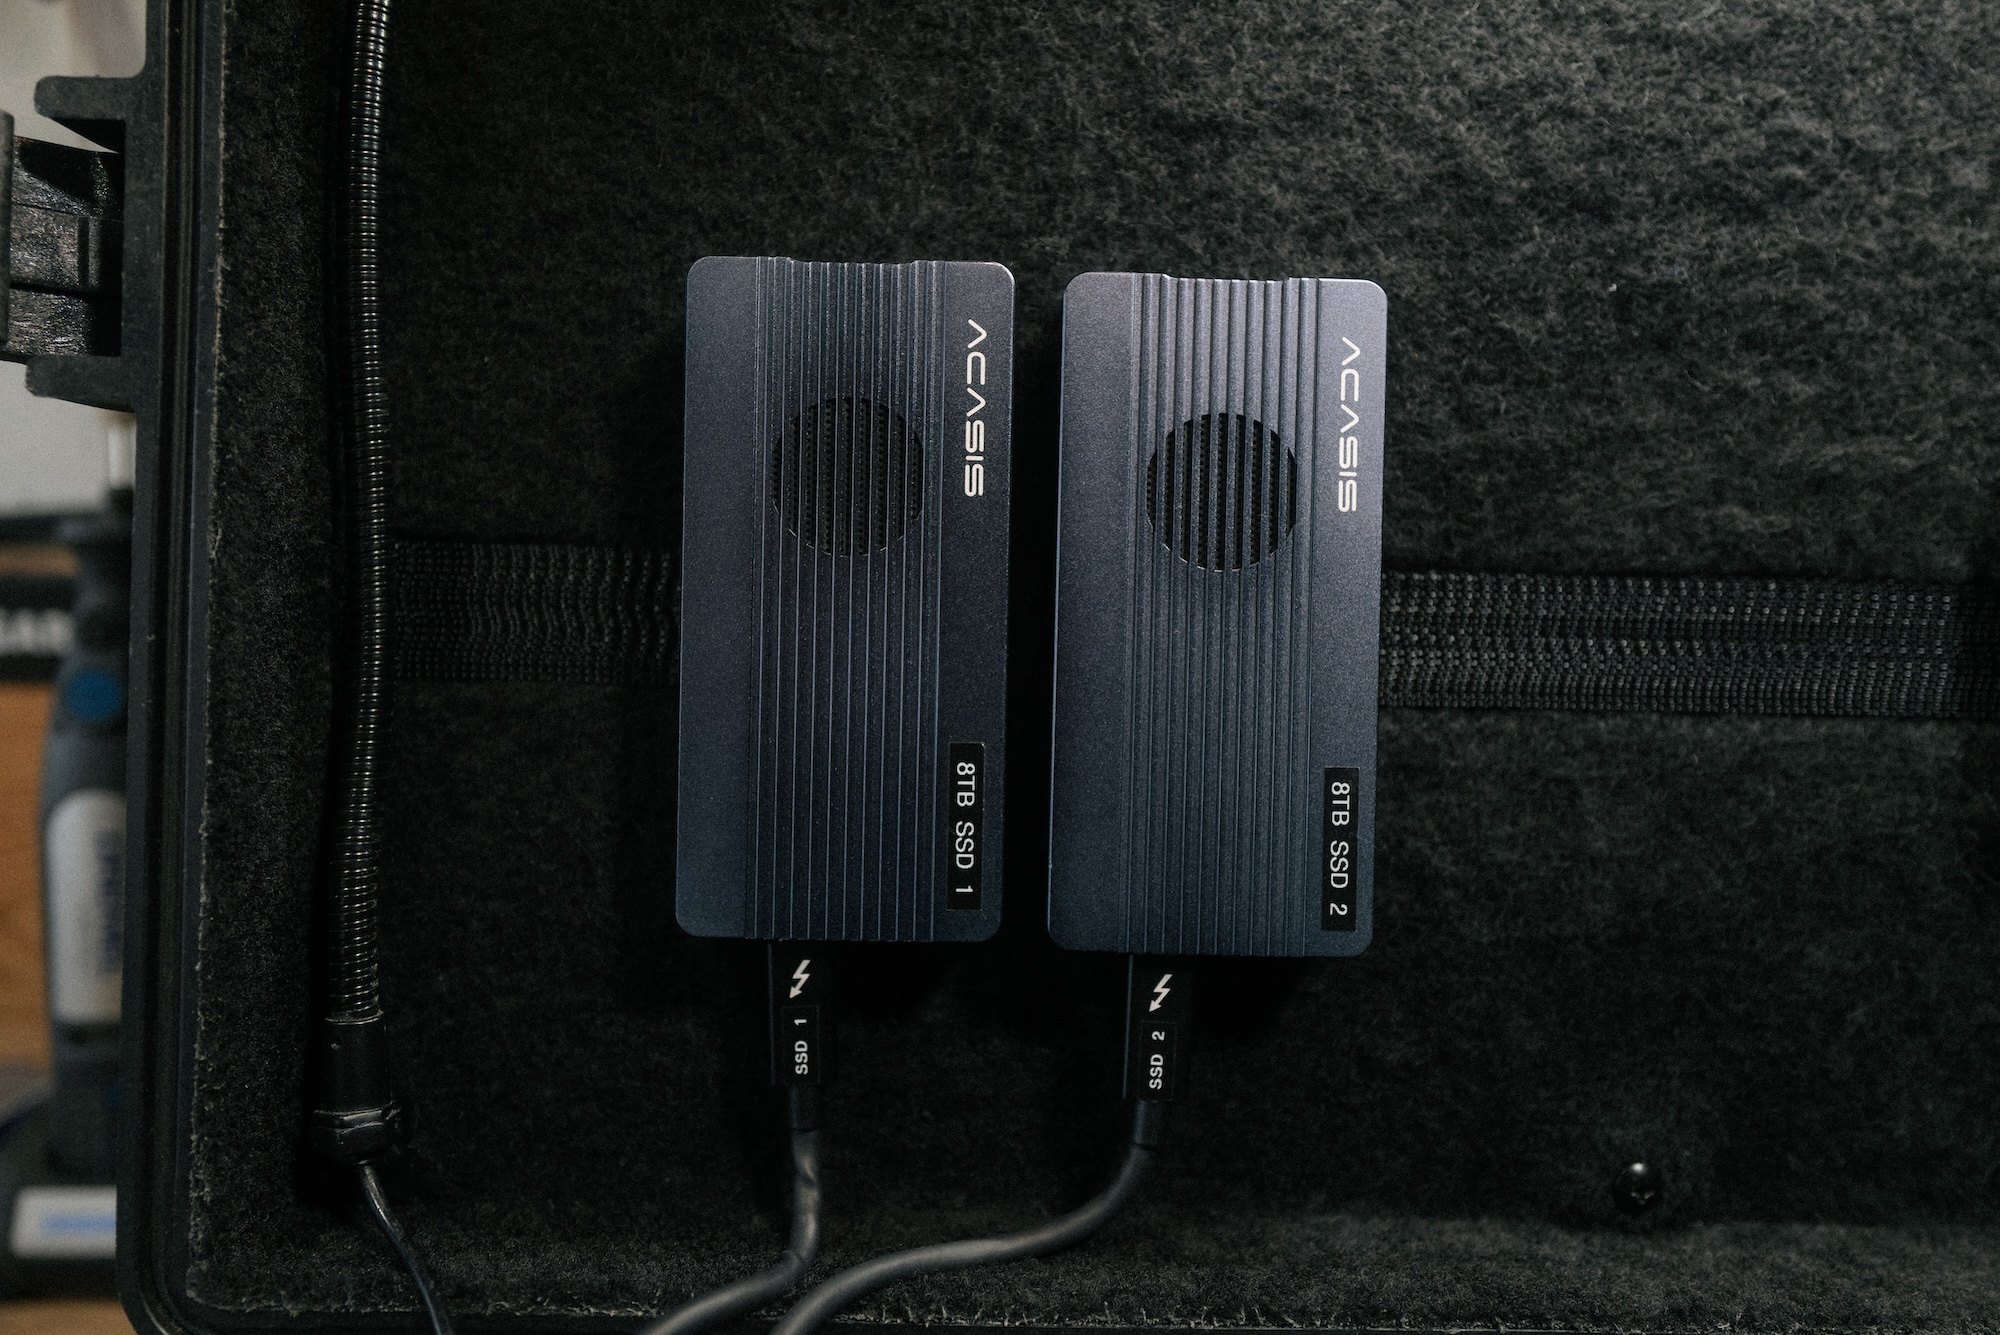
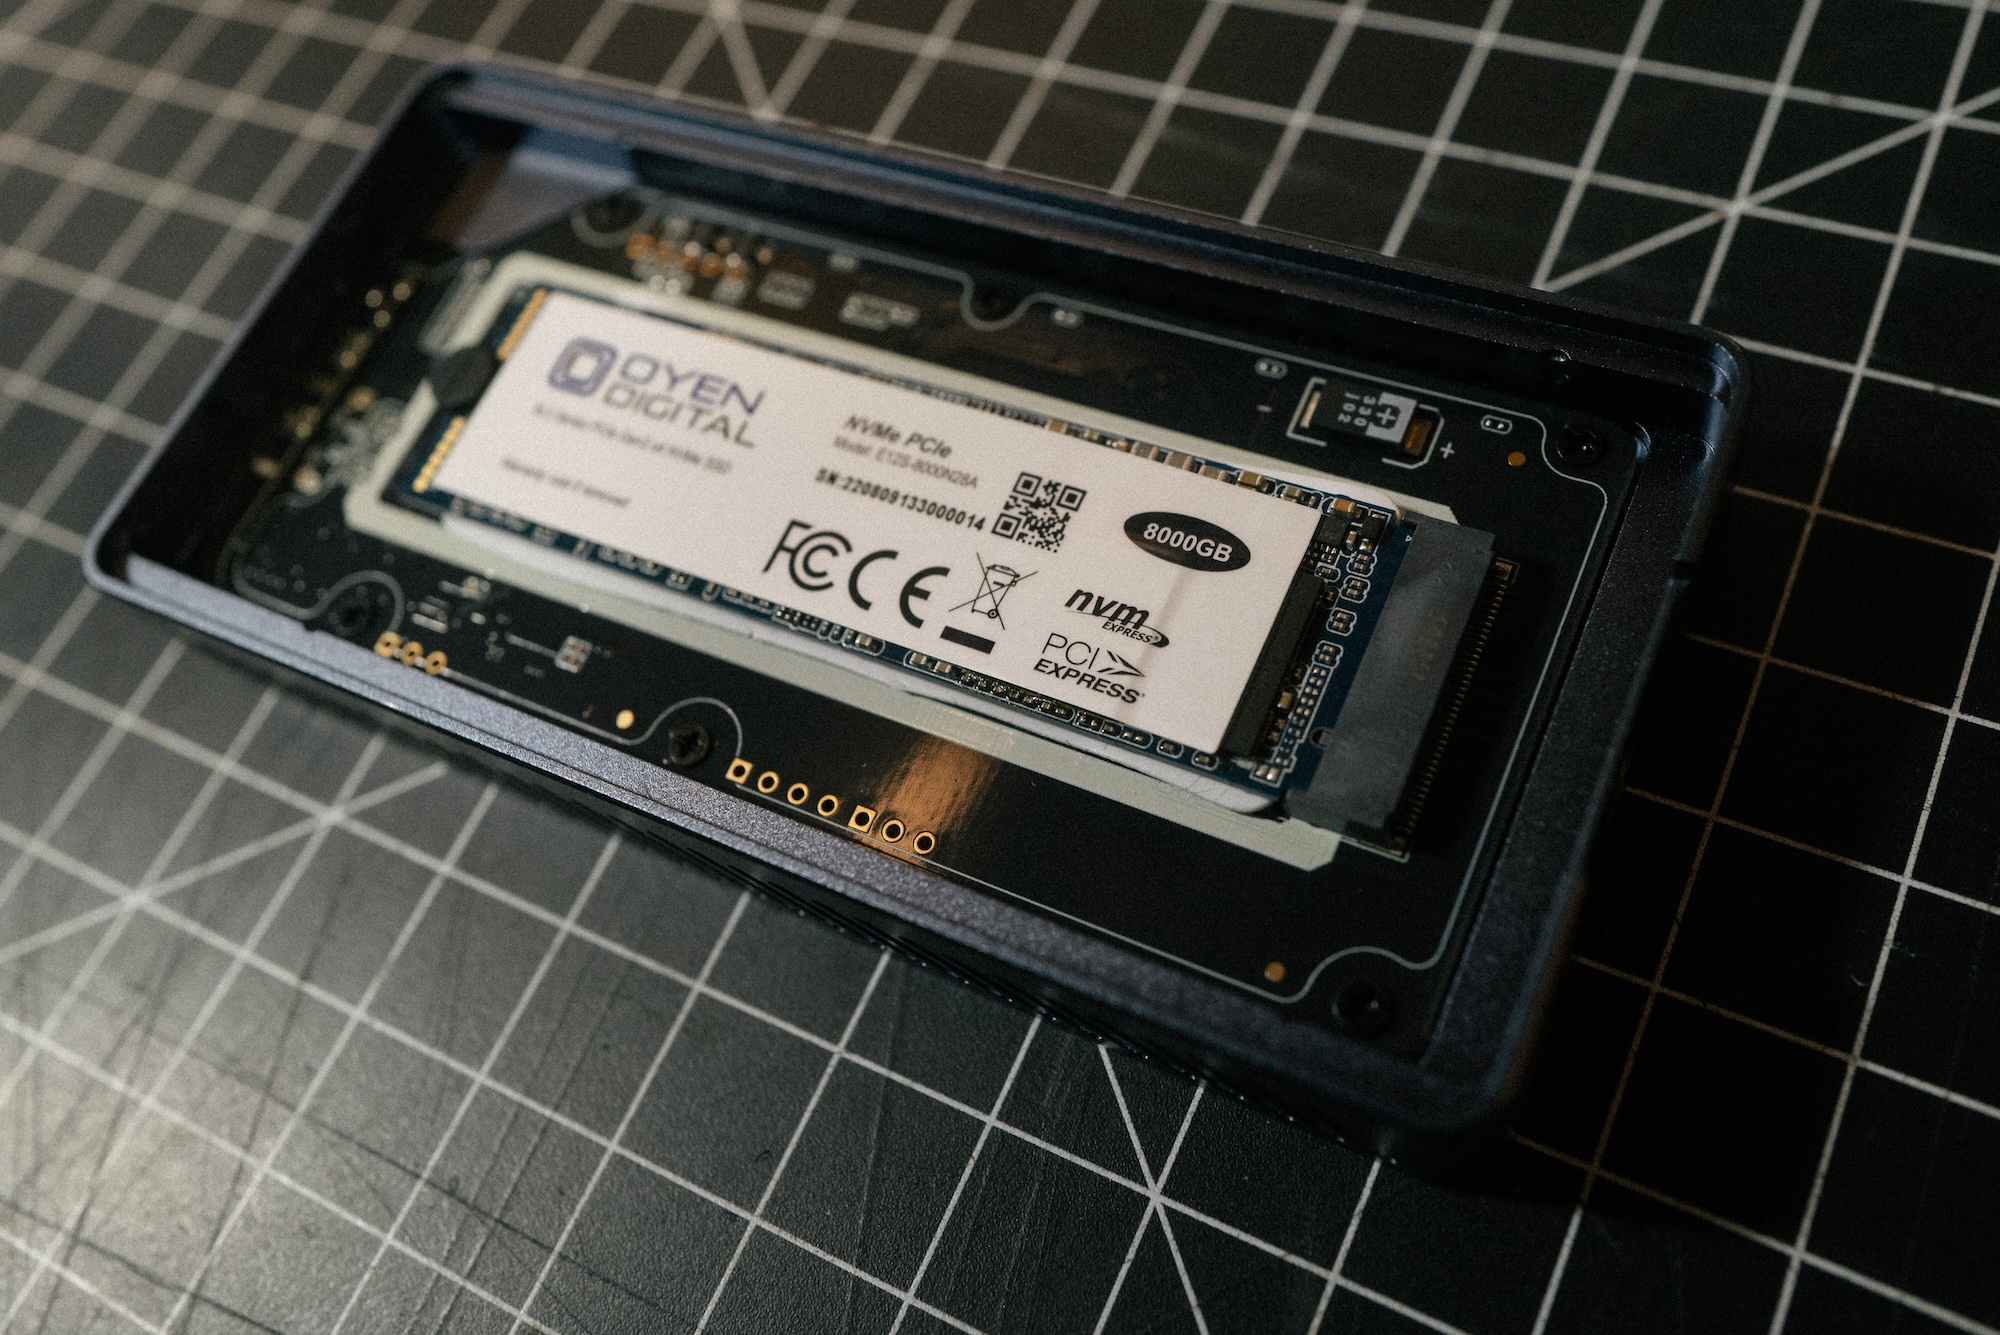
- This lead me to getting 2 x 8TB (largest available) NVMe SSD drives (which at the time of writing blows my mind that 8TB SSD drives even exist)
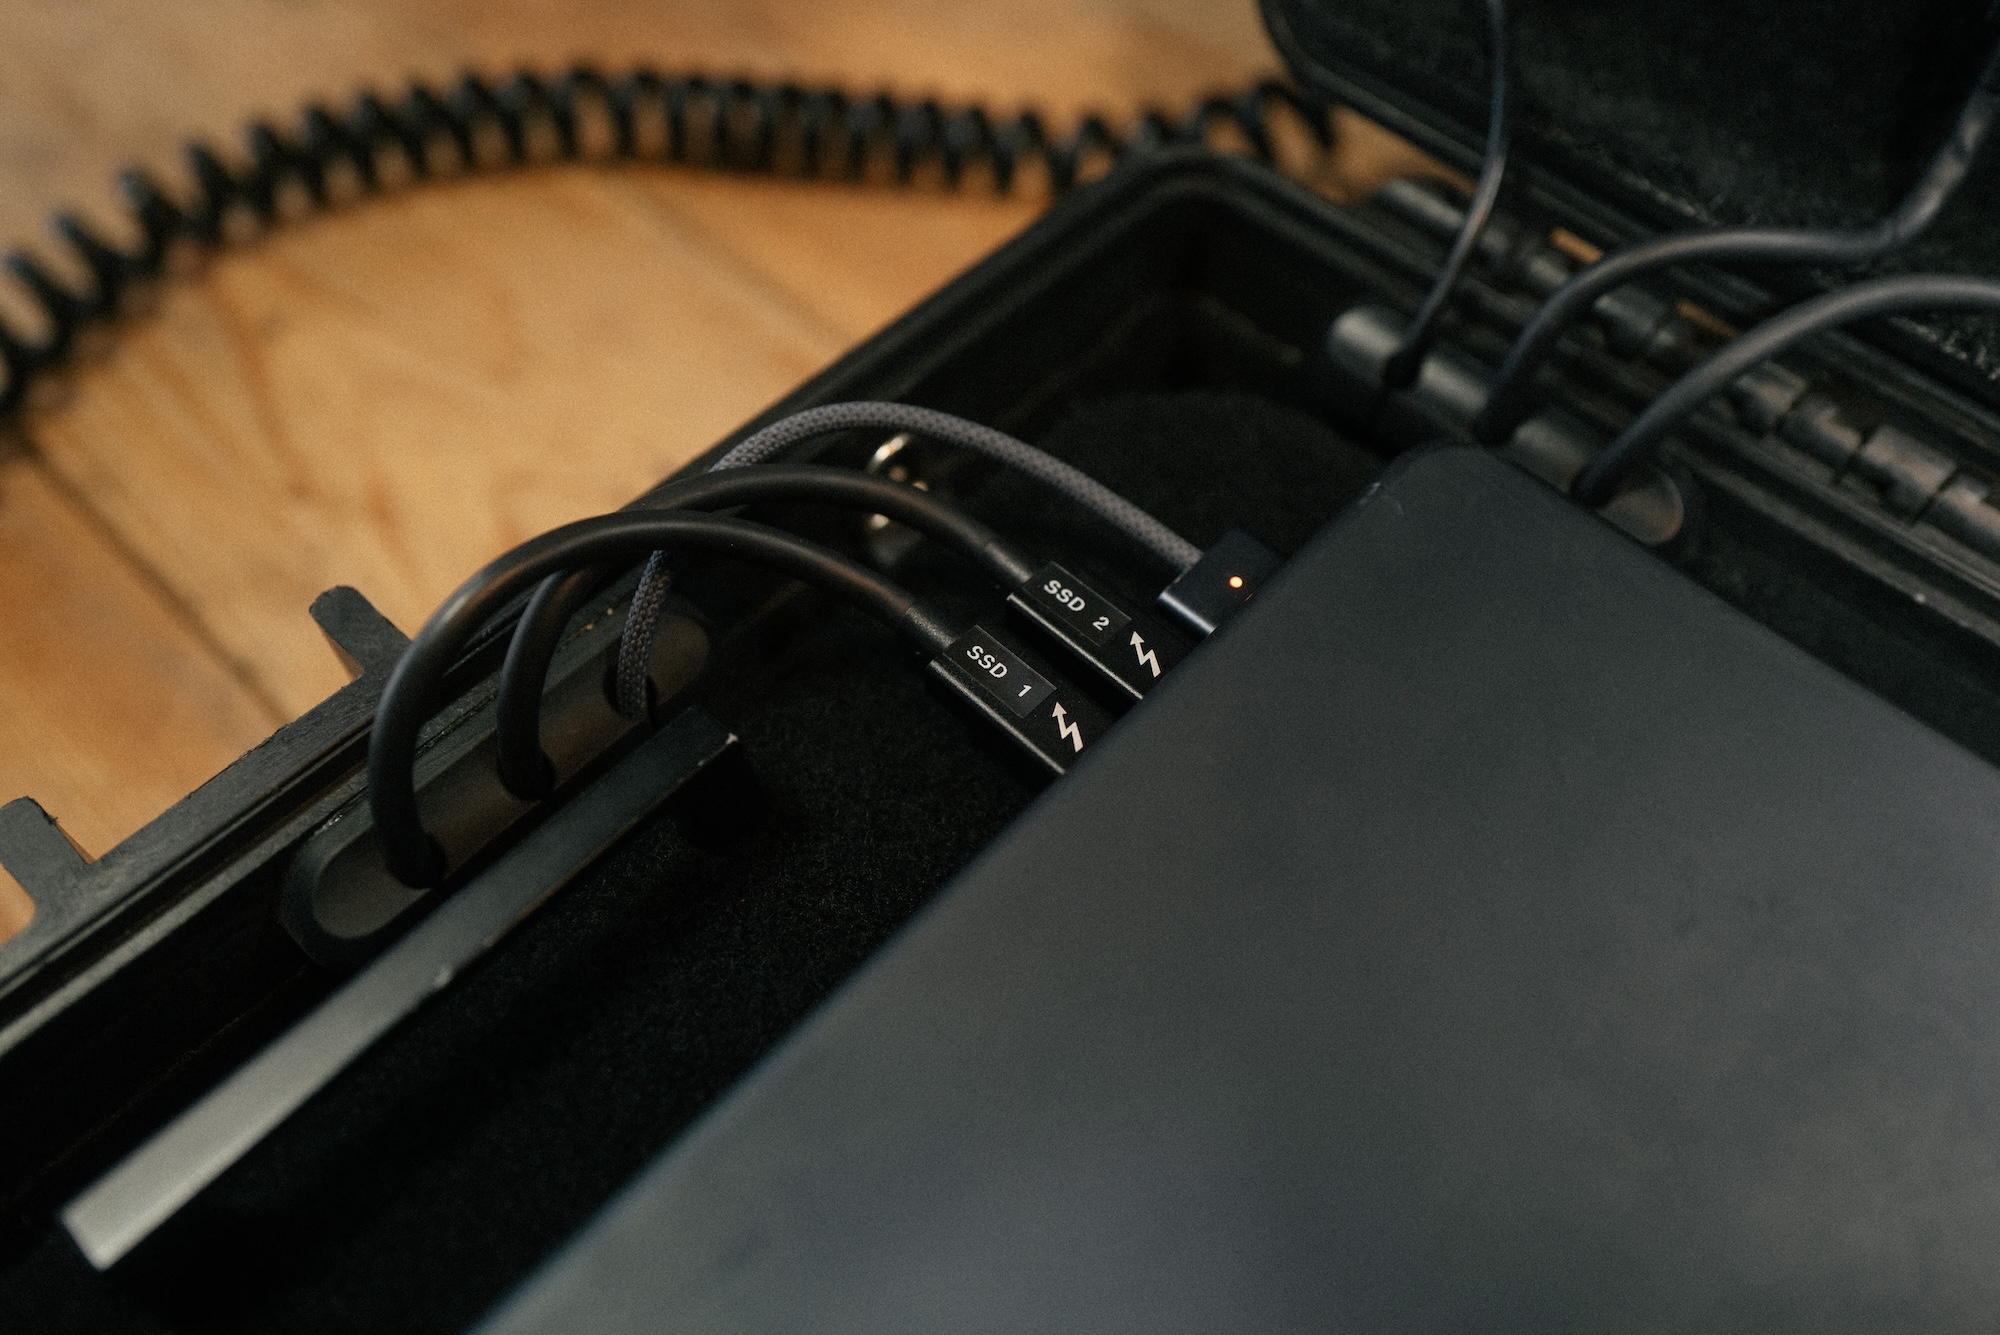
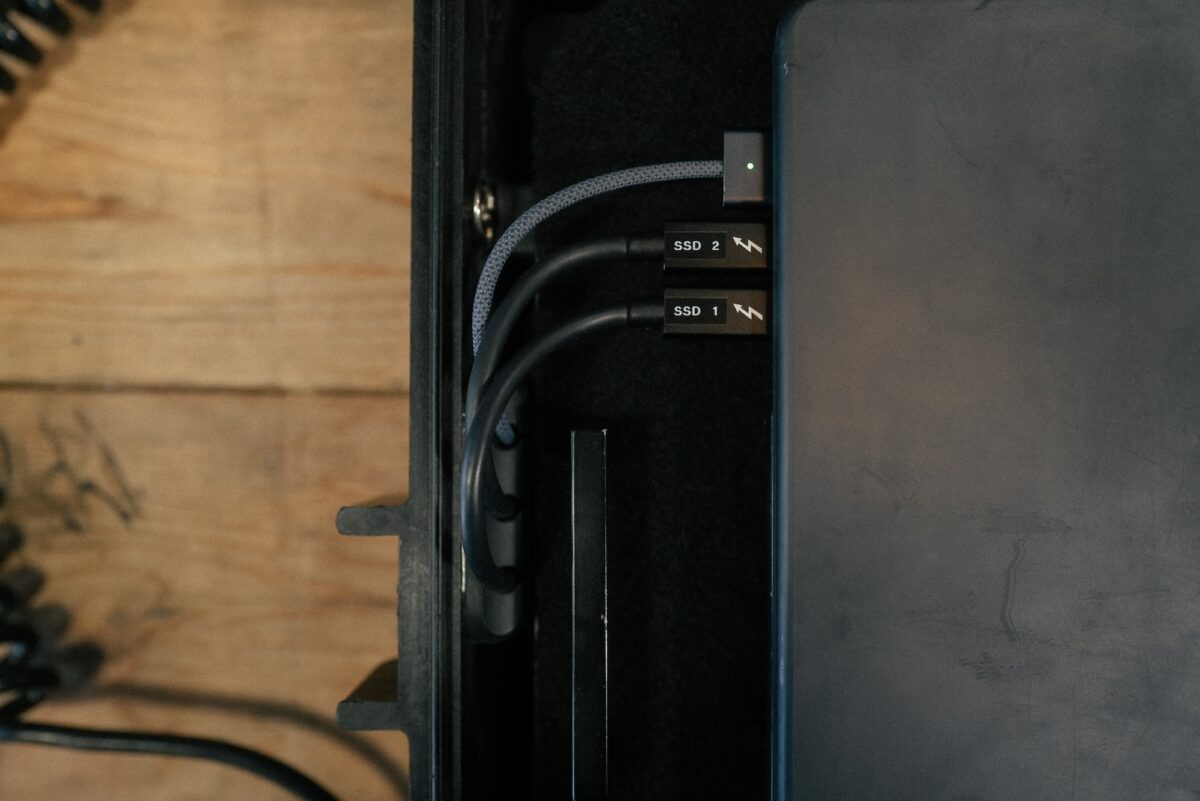
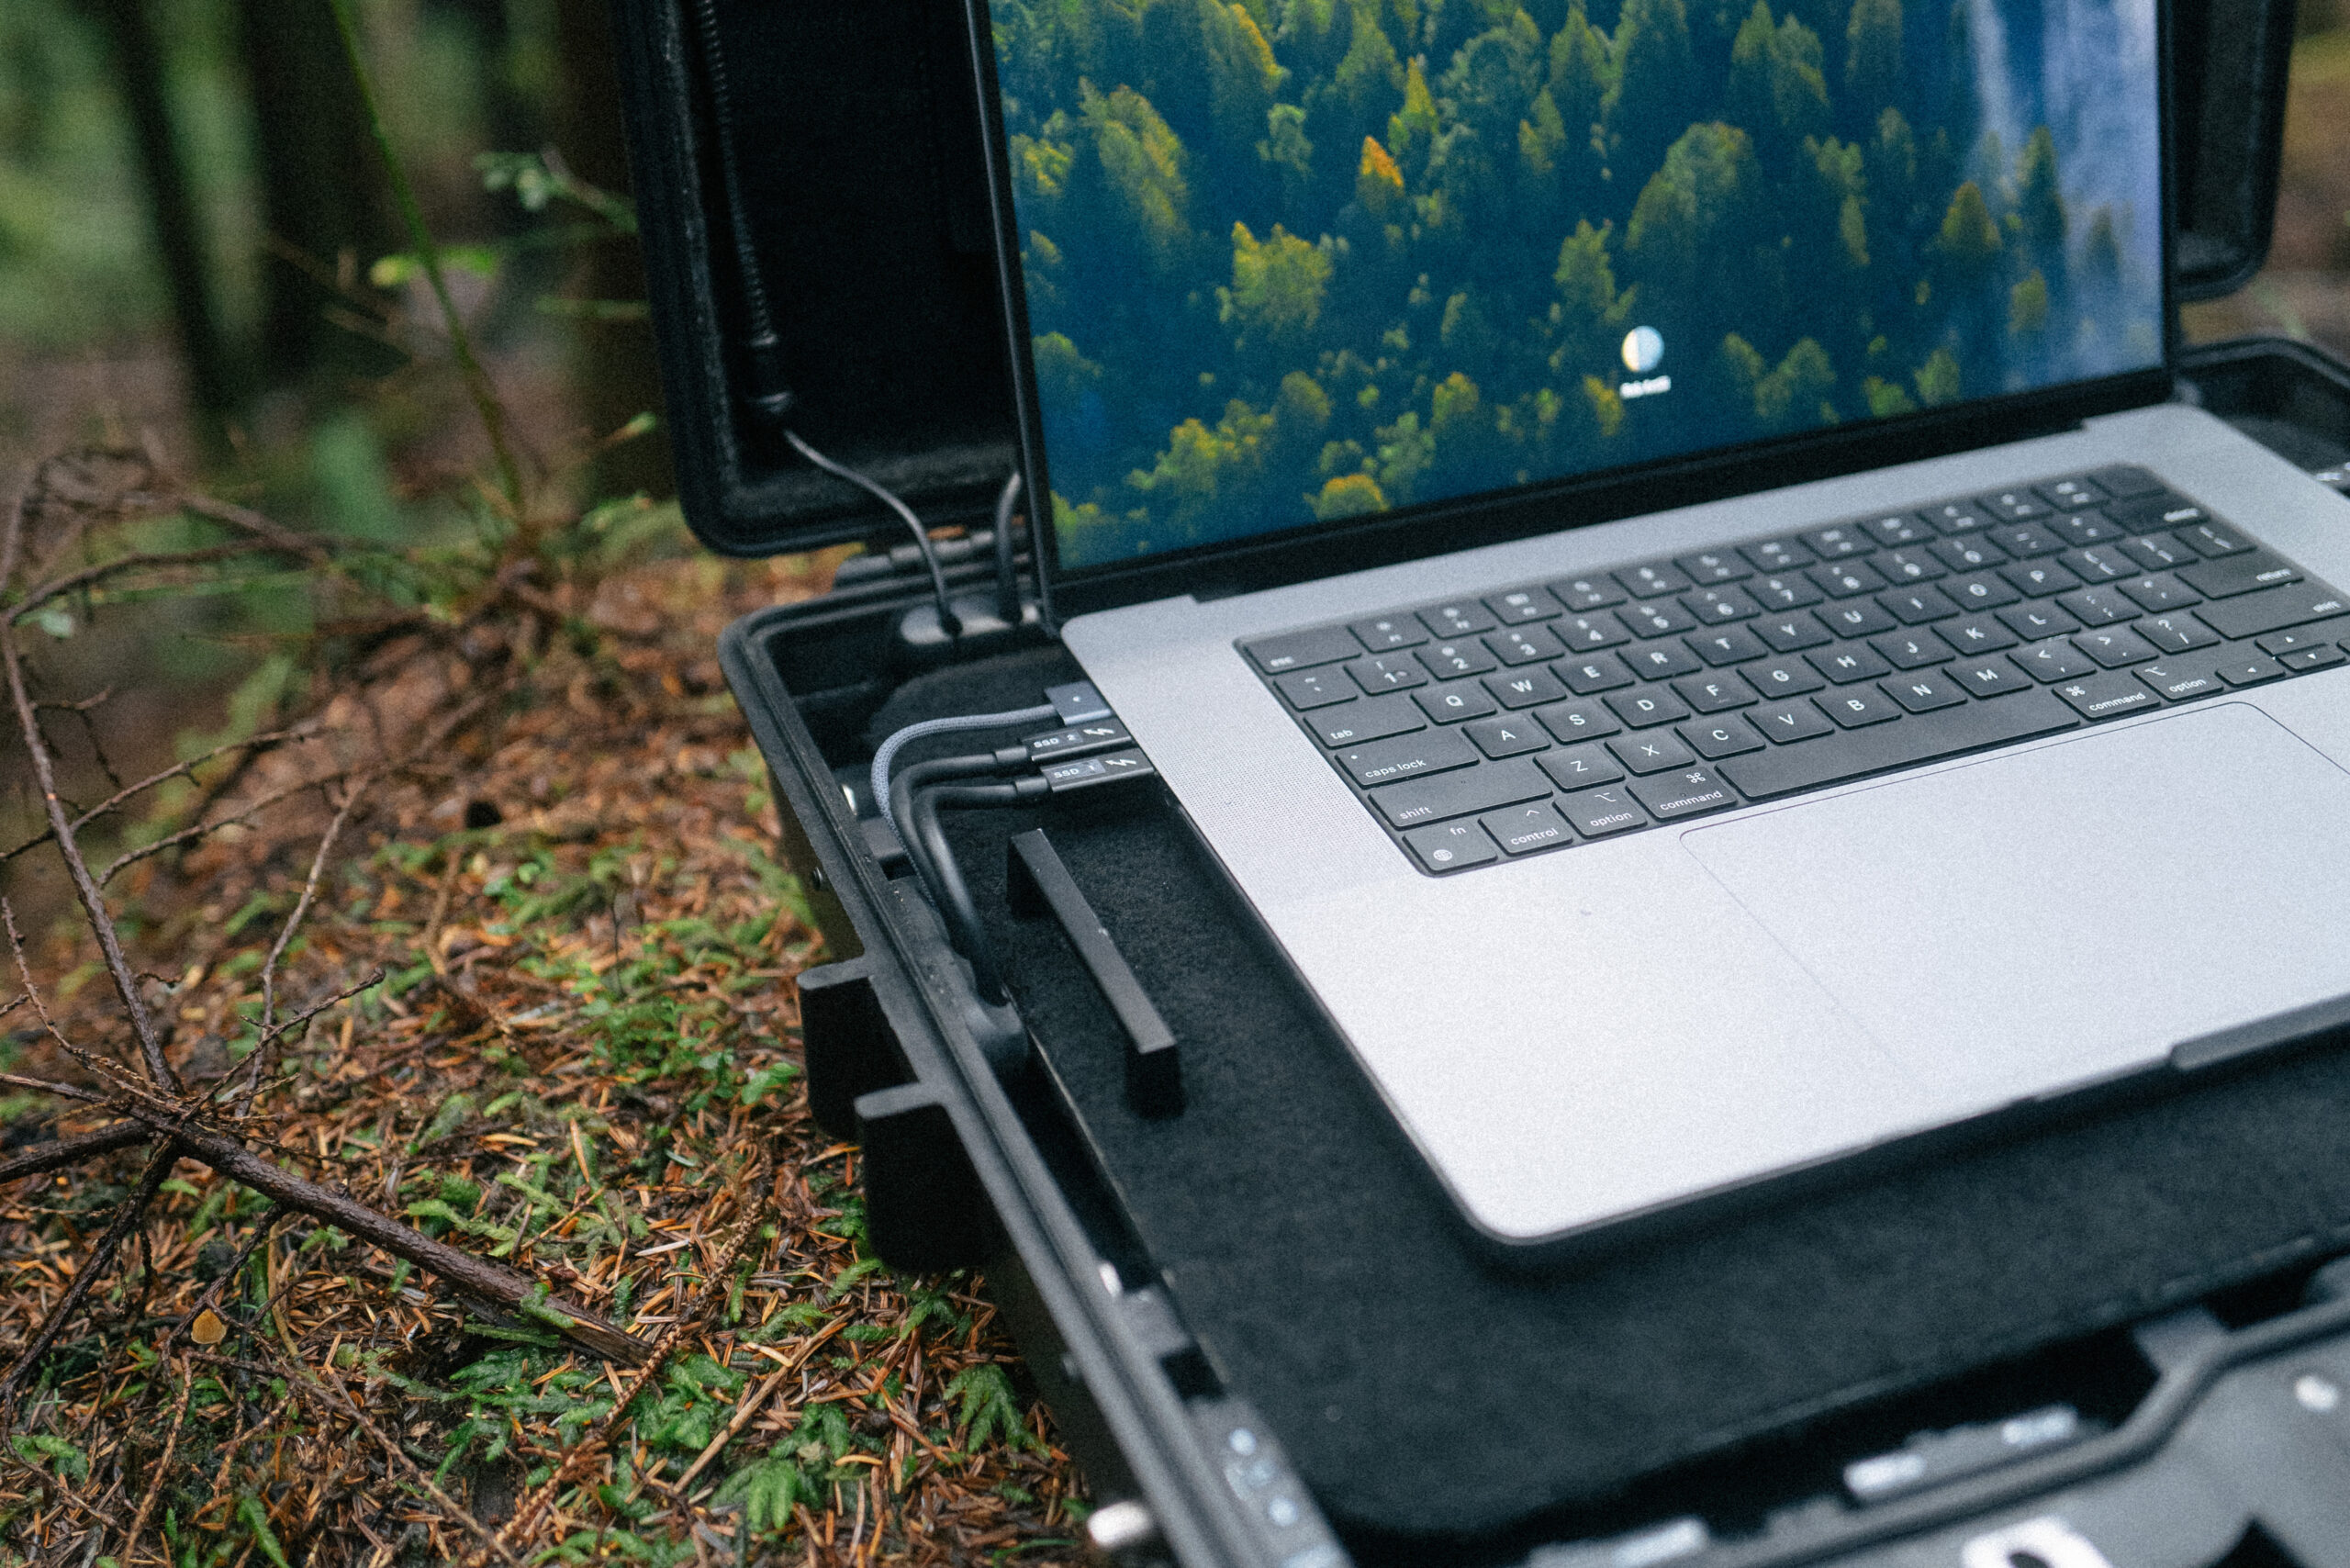
- SSDs connected directly to laptop via thunderbolt 3 for max speed
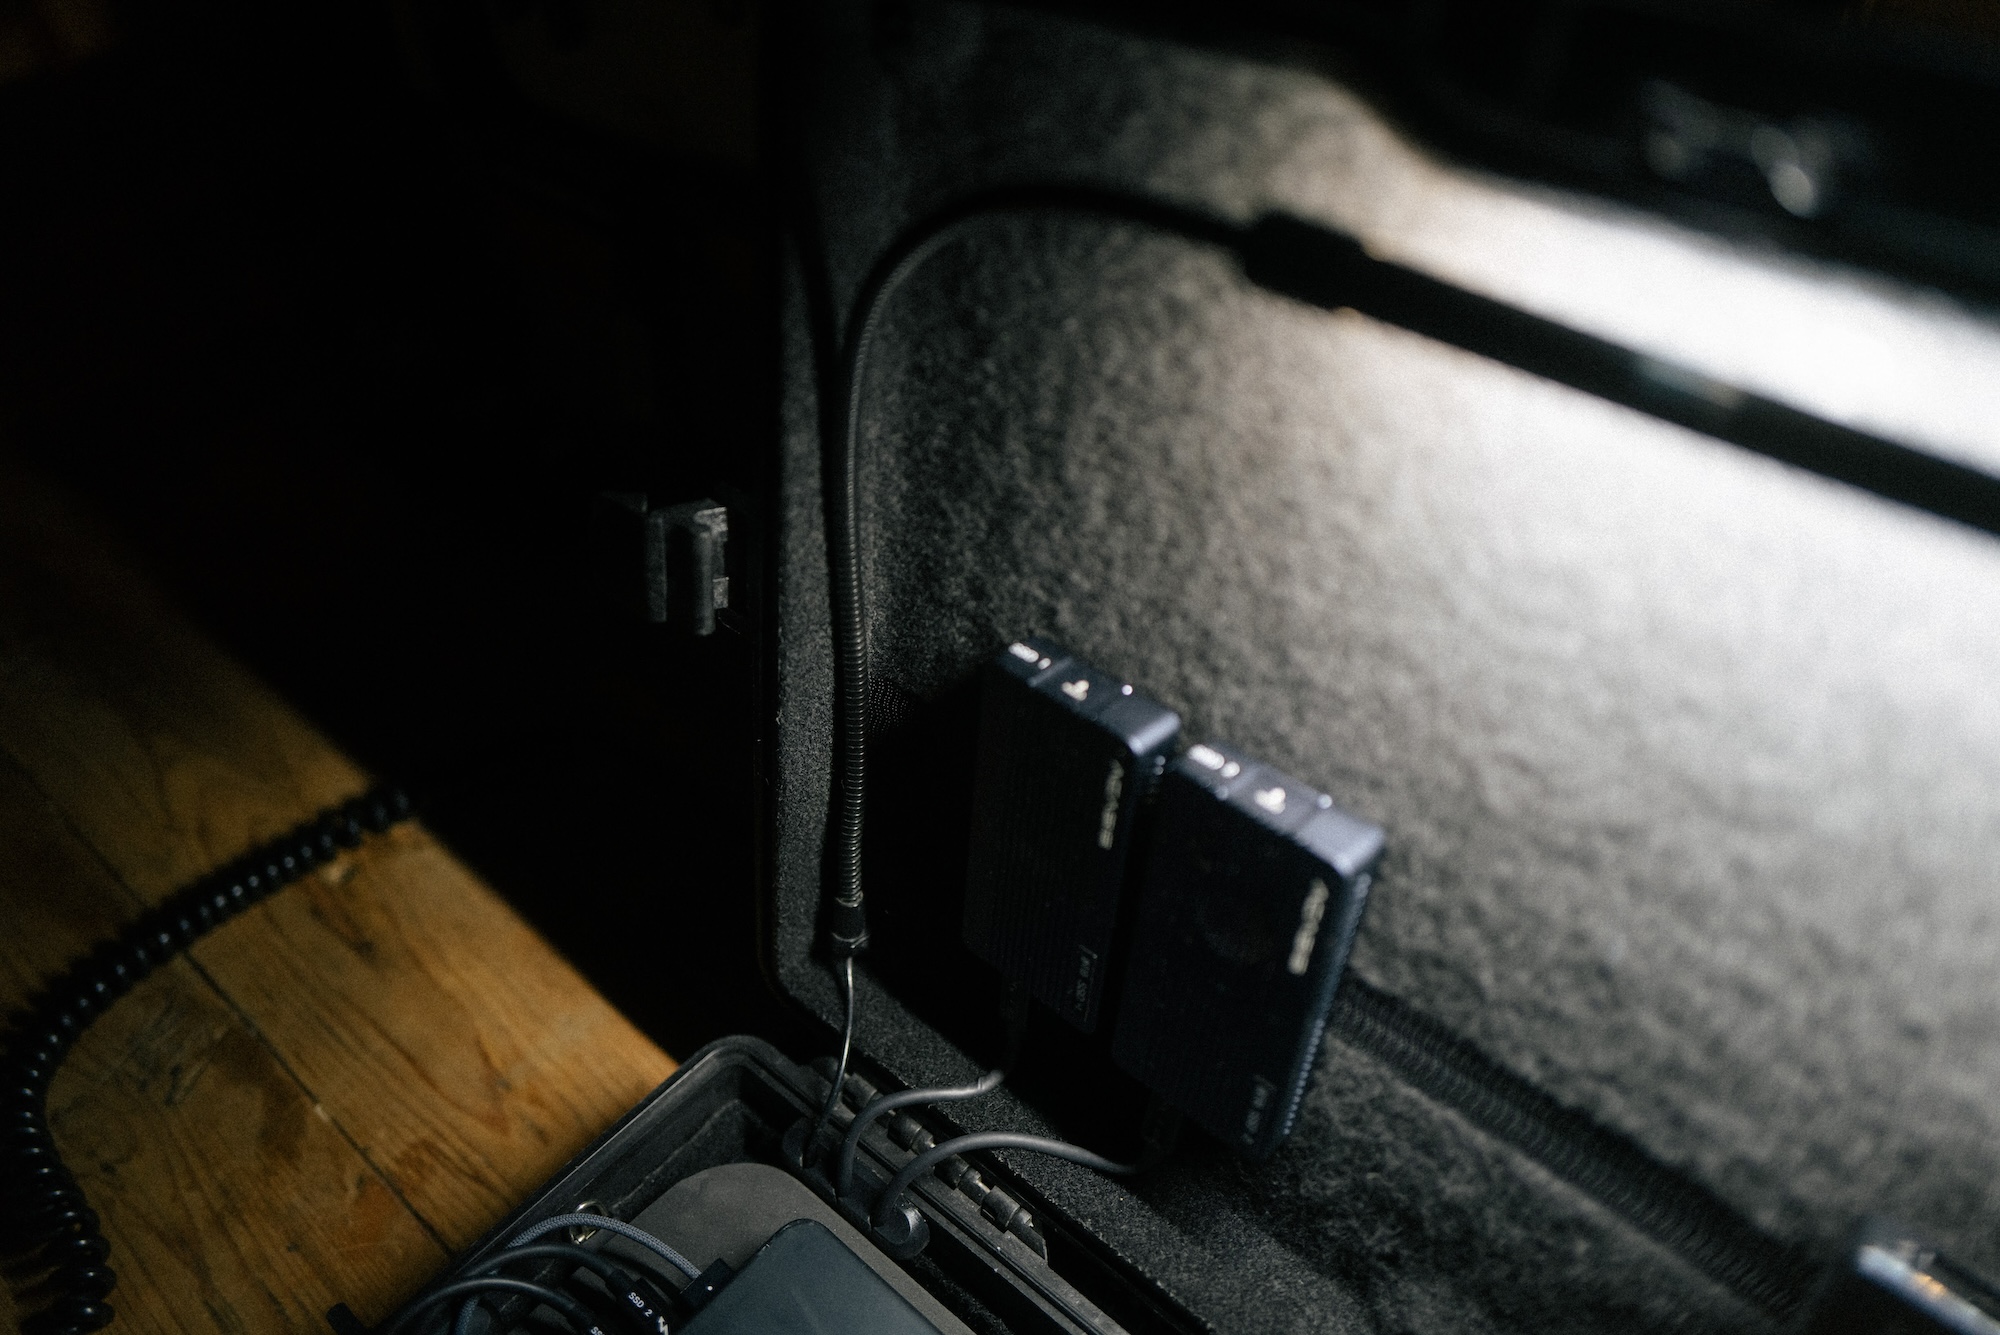
- Figuring out enclosures for the drives was a learning curve. Originally I got Thunderbolt 3 only cases from Sabrent. These were okay, but then discovered Thunderbolt/ USB 3 cases by a company called Acasis, having the option of both interfaces seemed a good idea, plus faster transfer speeds via Thunderbolt when I did some tests. The issue I ran into with both these companies was heat. When doing a large transfer the drives were getting up to nearly 70c which is way too hot for comfort. Also as the drives heat up they throttle the speed. Luckily Acasis developed an updated version of the enclosure I was using which has a built in fan. This meant I could ditch the heat sinks I added to the previous versions. With these, the drives run about 20c cooler which is great.
- Example of transfer speed – Thunderbolt Inspire 2 Mag Reader to NVMe drive runs at 1.88Gb/s. The transfer speed of other cards is limited to read speed of the card or reader, anywhere between 300Mb/s to 800Mb/s. Still miles above the 150Mb/s write speed of spinning disks. Transfers from the laptops insanely fast SSD (6Gb/s) to these external NVMe run at over 2Gb/s.Transfer times have been slashed!! Result
- The drives are secured in place with Dual Lock, so are easily removable which is handy if needing to hand data to someone else or work on a project outside the case.
- I’m running the drives independently and not in a RAID config. One is the master and the other as a backup. Data is transferred from the cards to each drive via Shotput Pro.
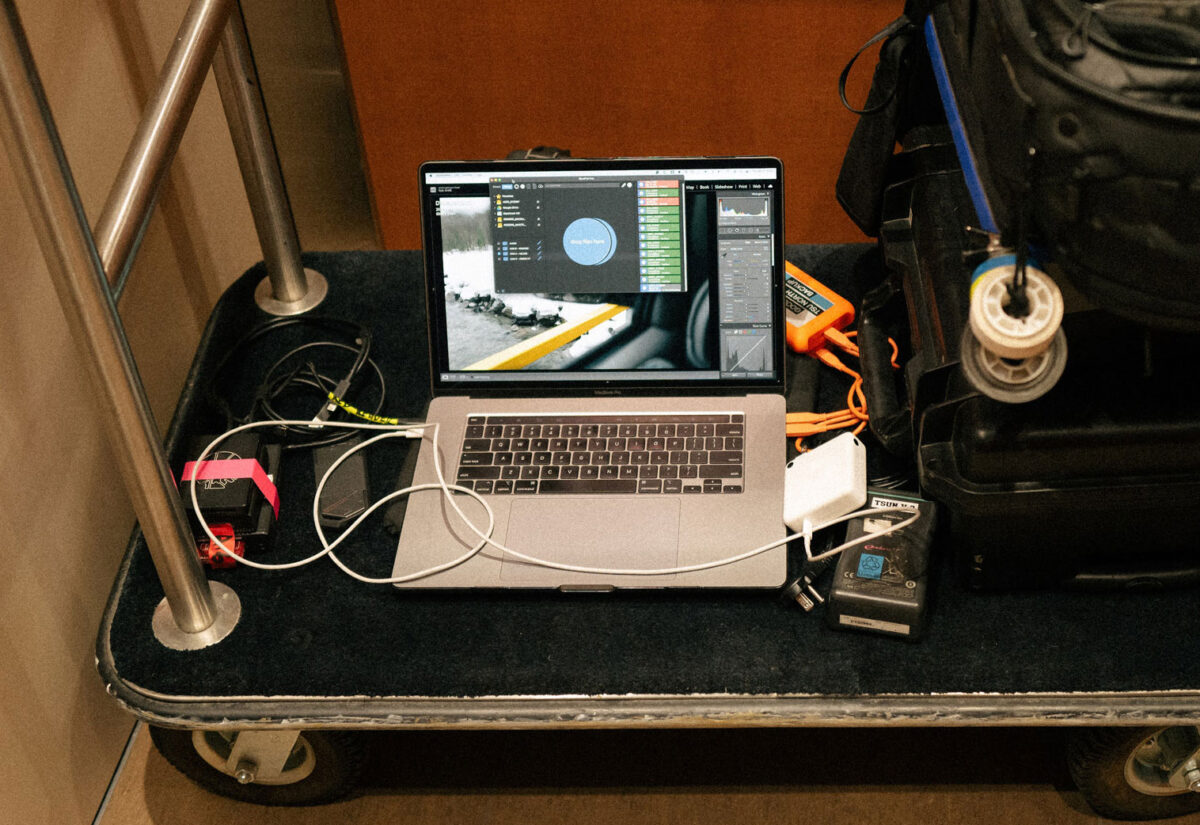
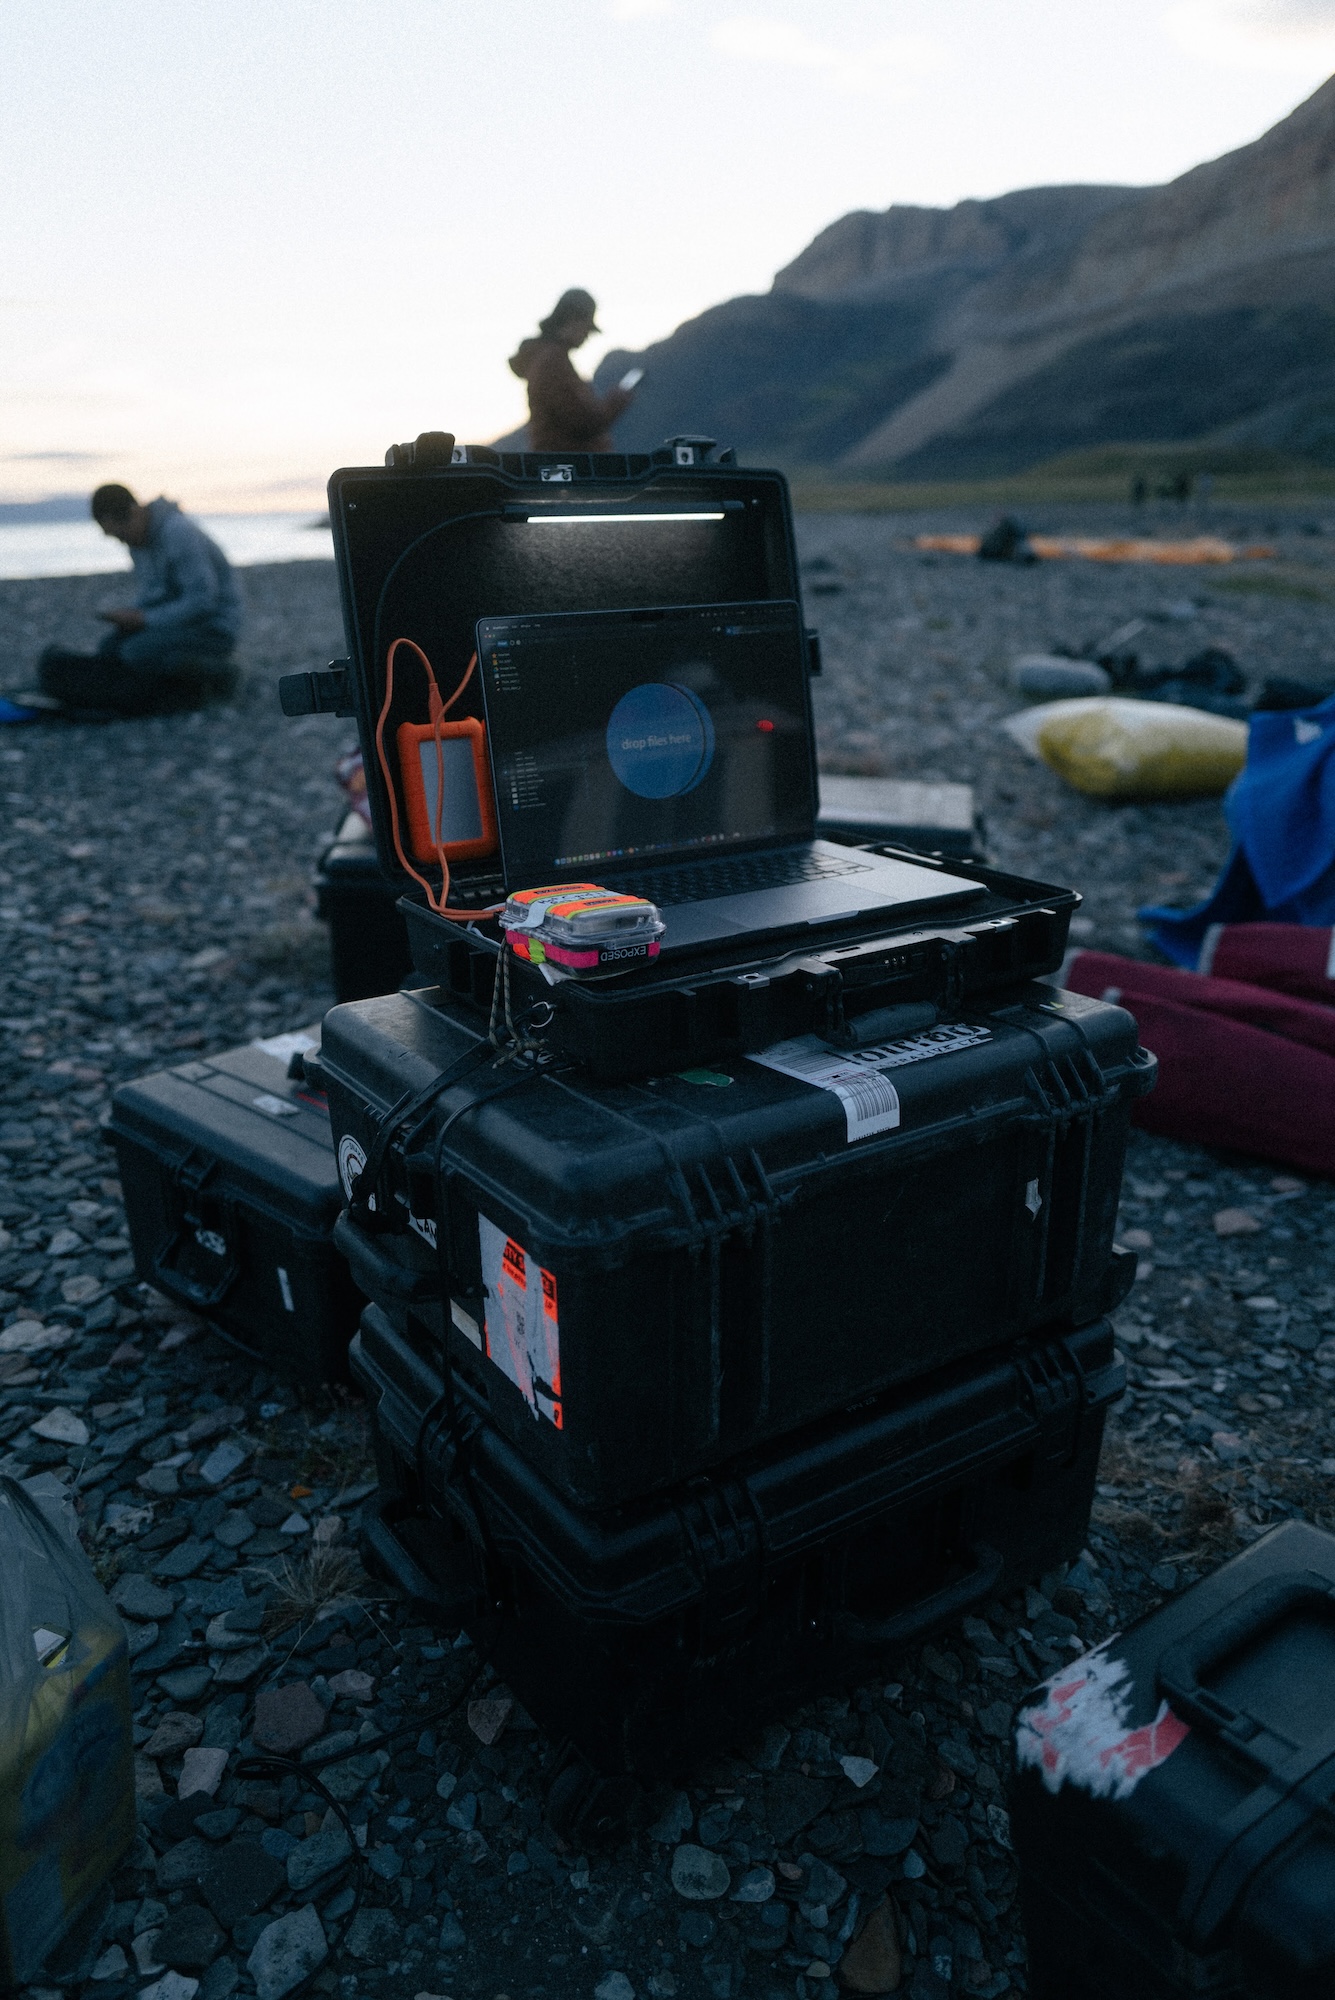
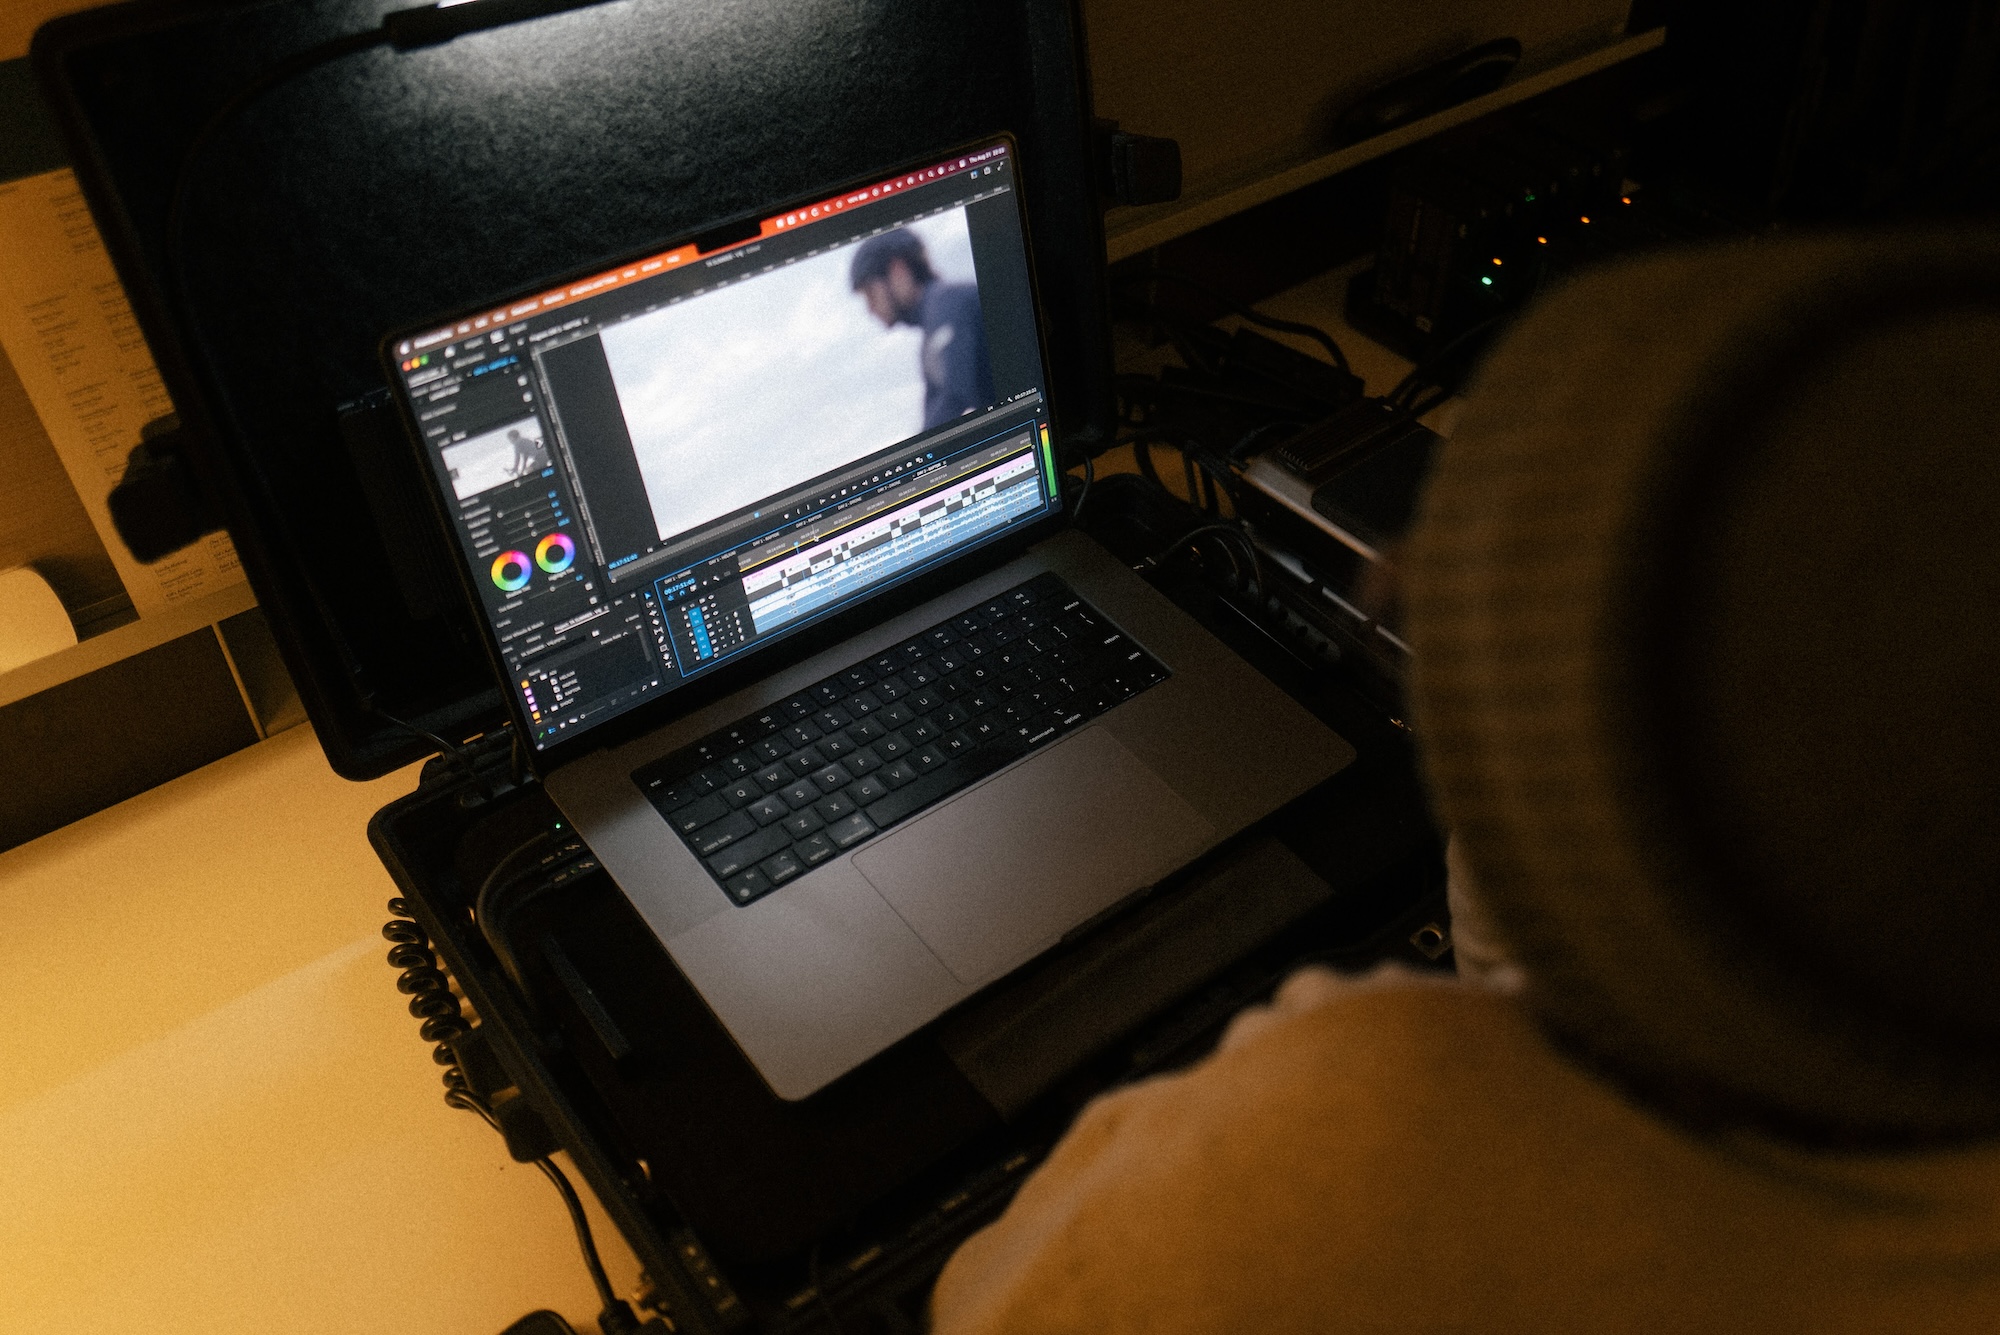
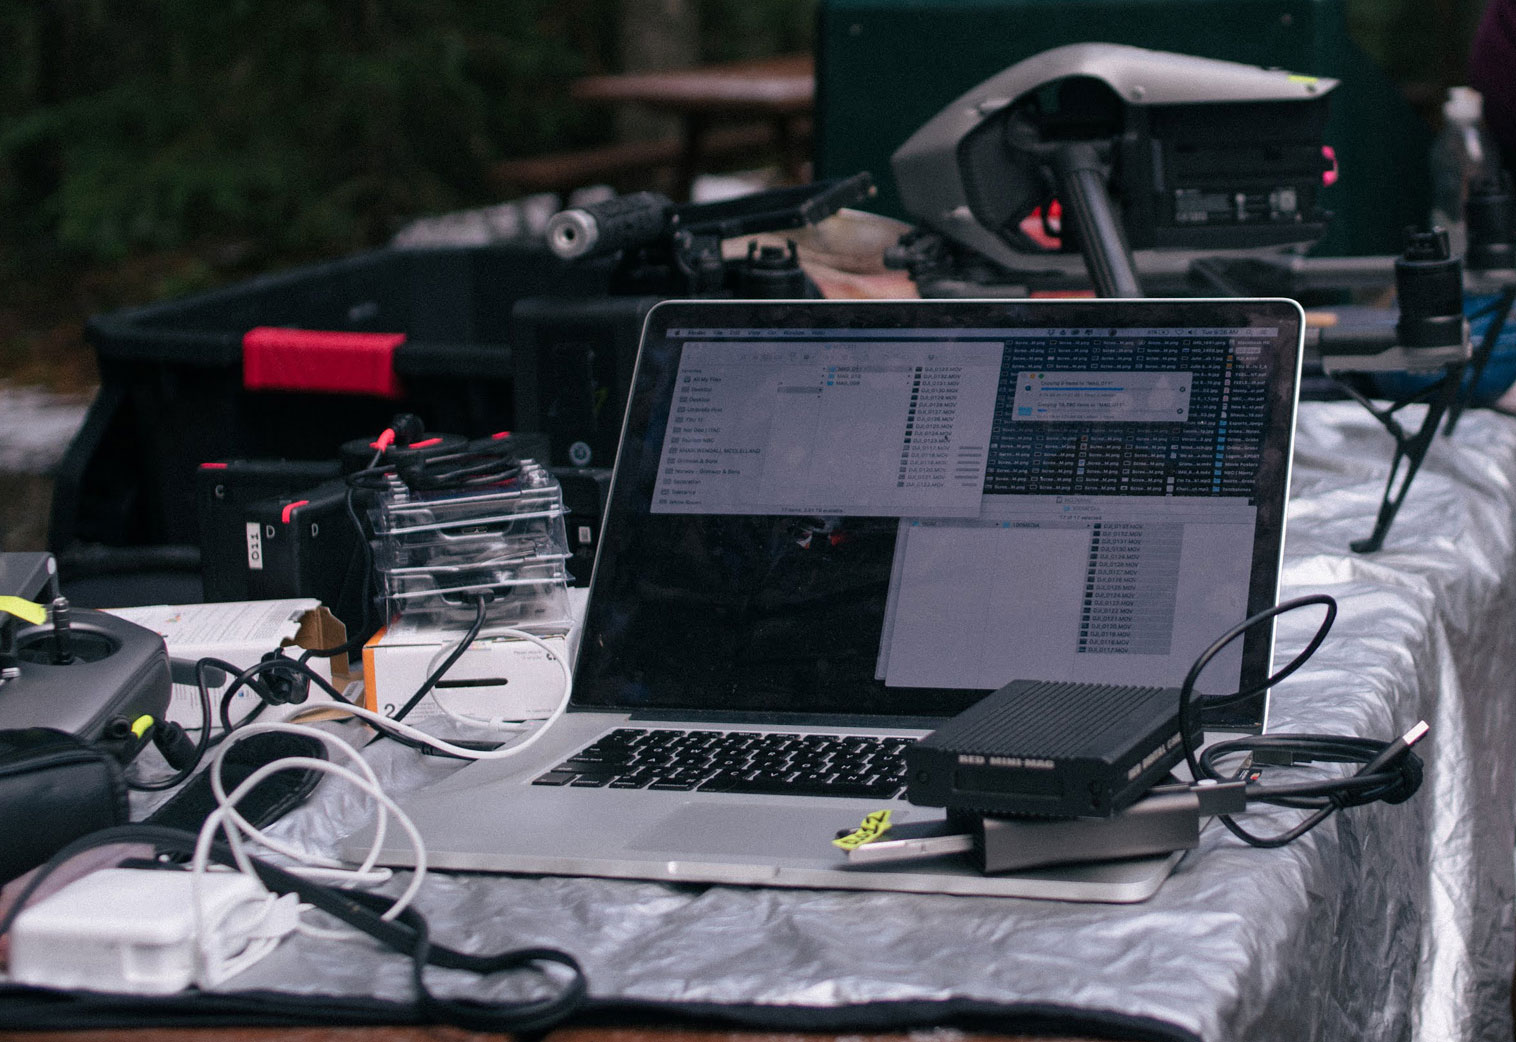
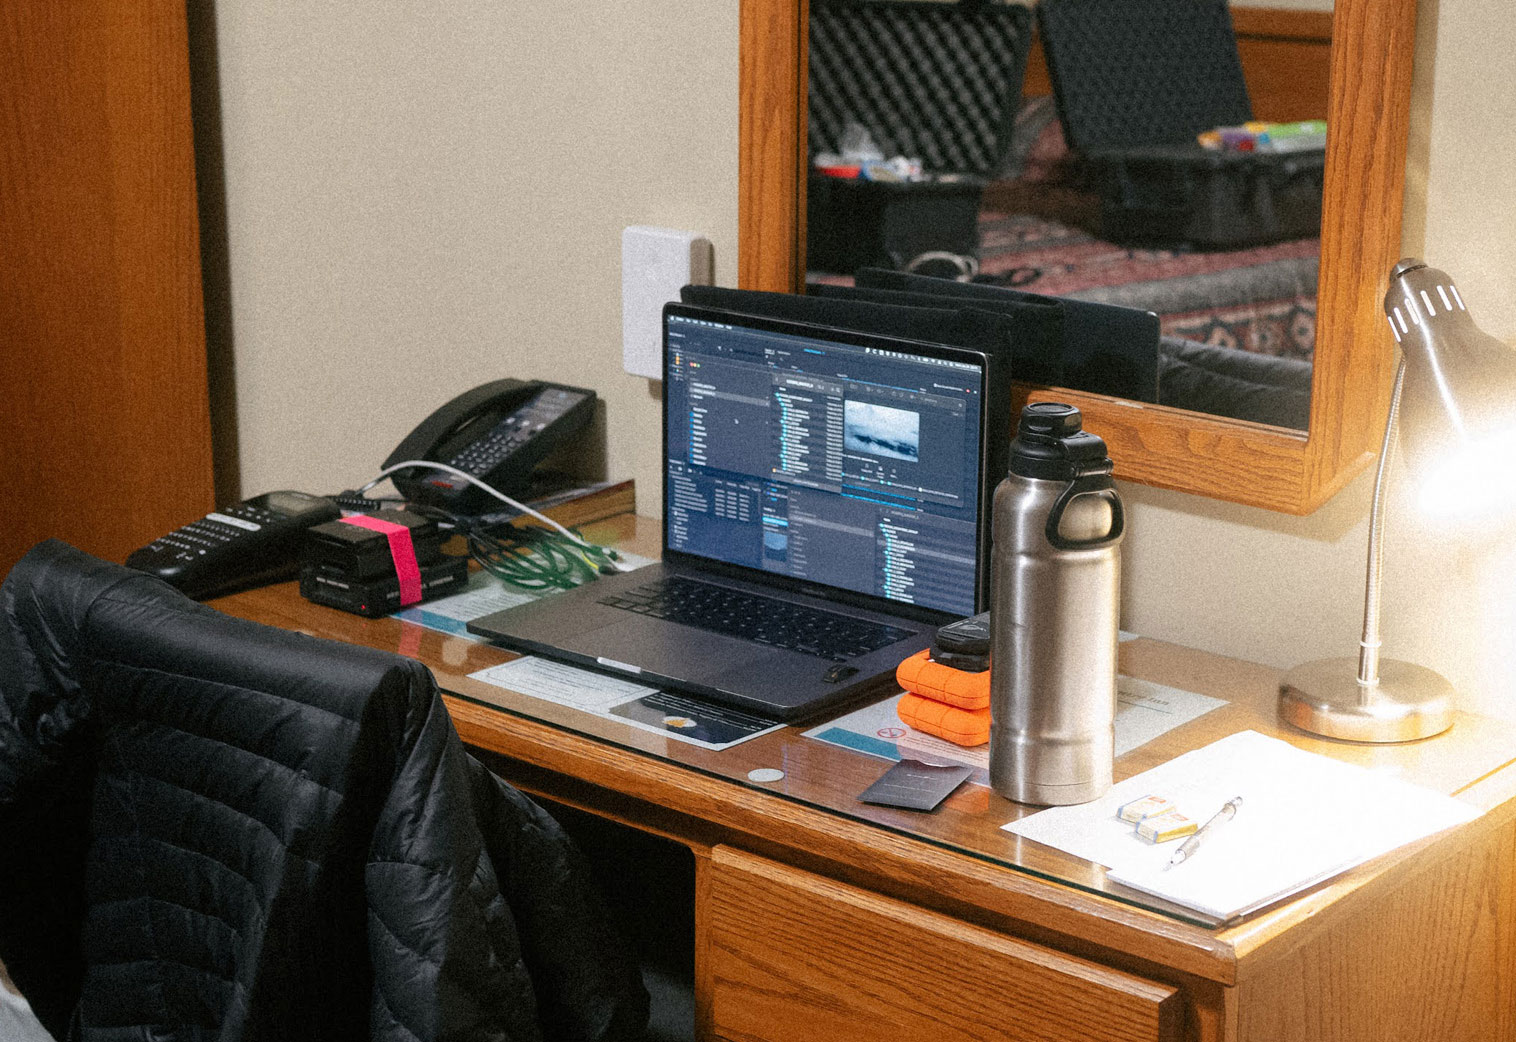
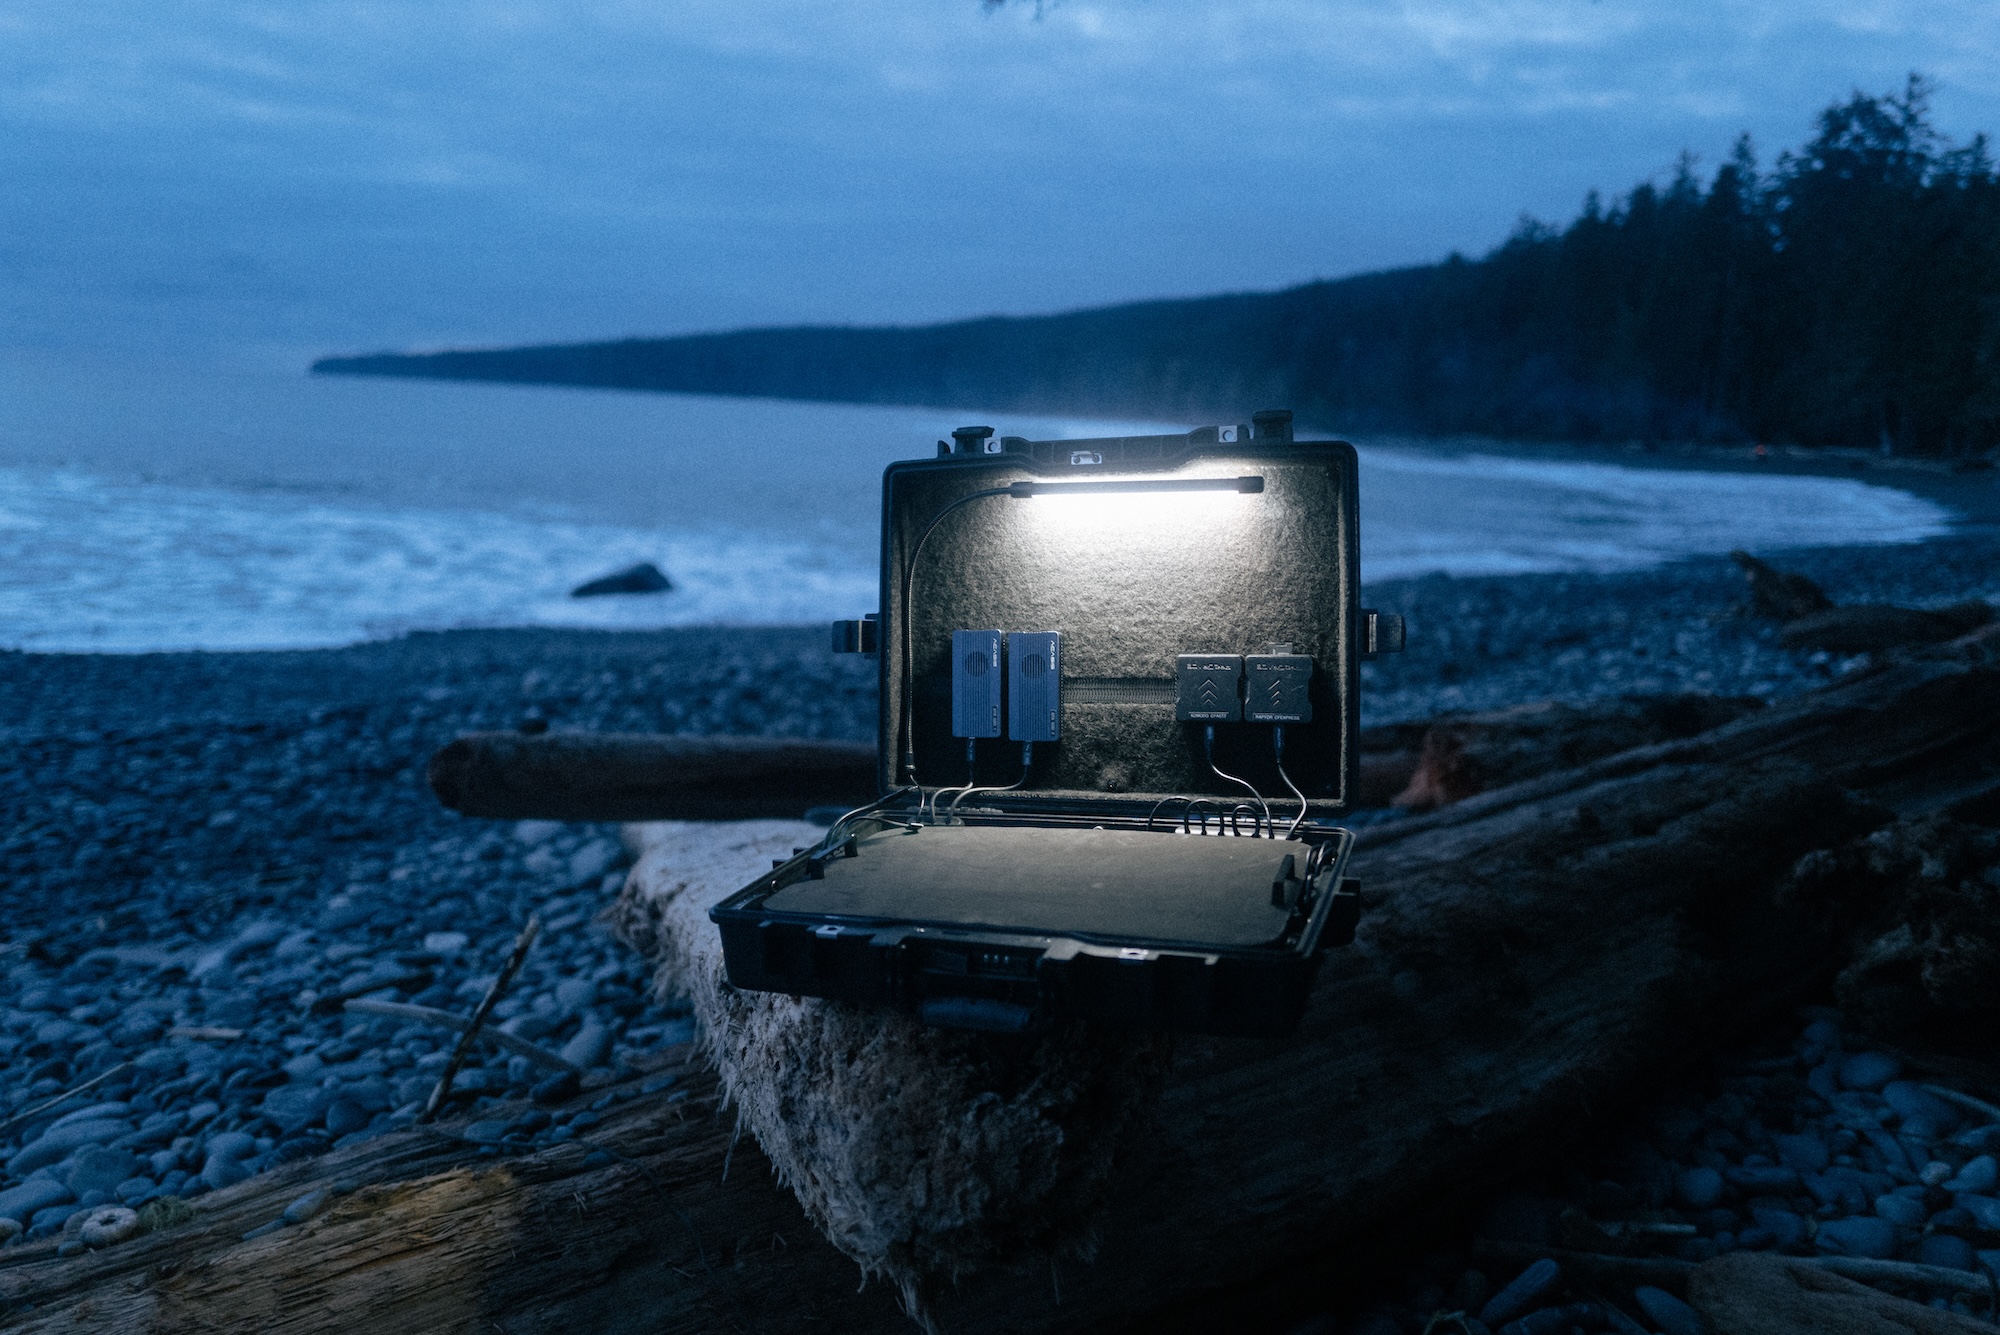
- Even with 8TB drives, some shoots require more space. Here’s where traditional external spinning drives come into play. At the end of the day and usually over night I transfer the data from the SSDs to the client master and backup drives.
- On a recent shoot (pictured here) we were using the latest 18TB SanDisk G-Drive Professional with a thunderbolt interface. This is great as it takes full advantage of the daisy chaining capability of Thunderbolt.. so it went Macbook > OWC dock > G-Drive 1 > G-Drive 2
DOCK


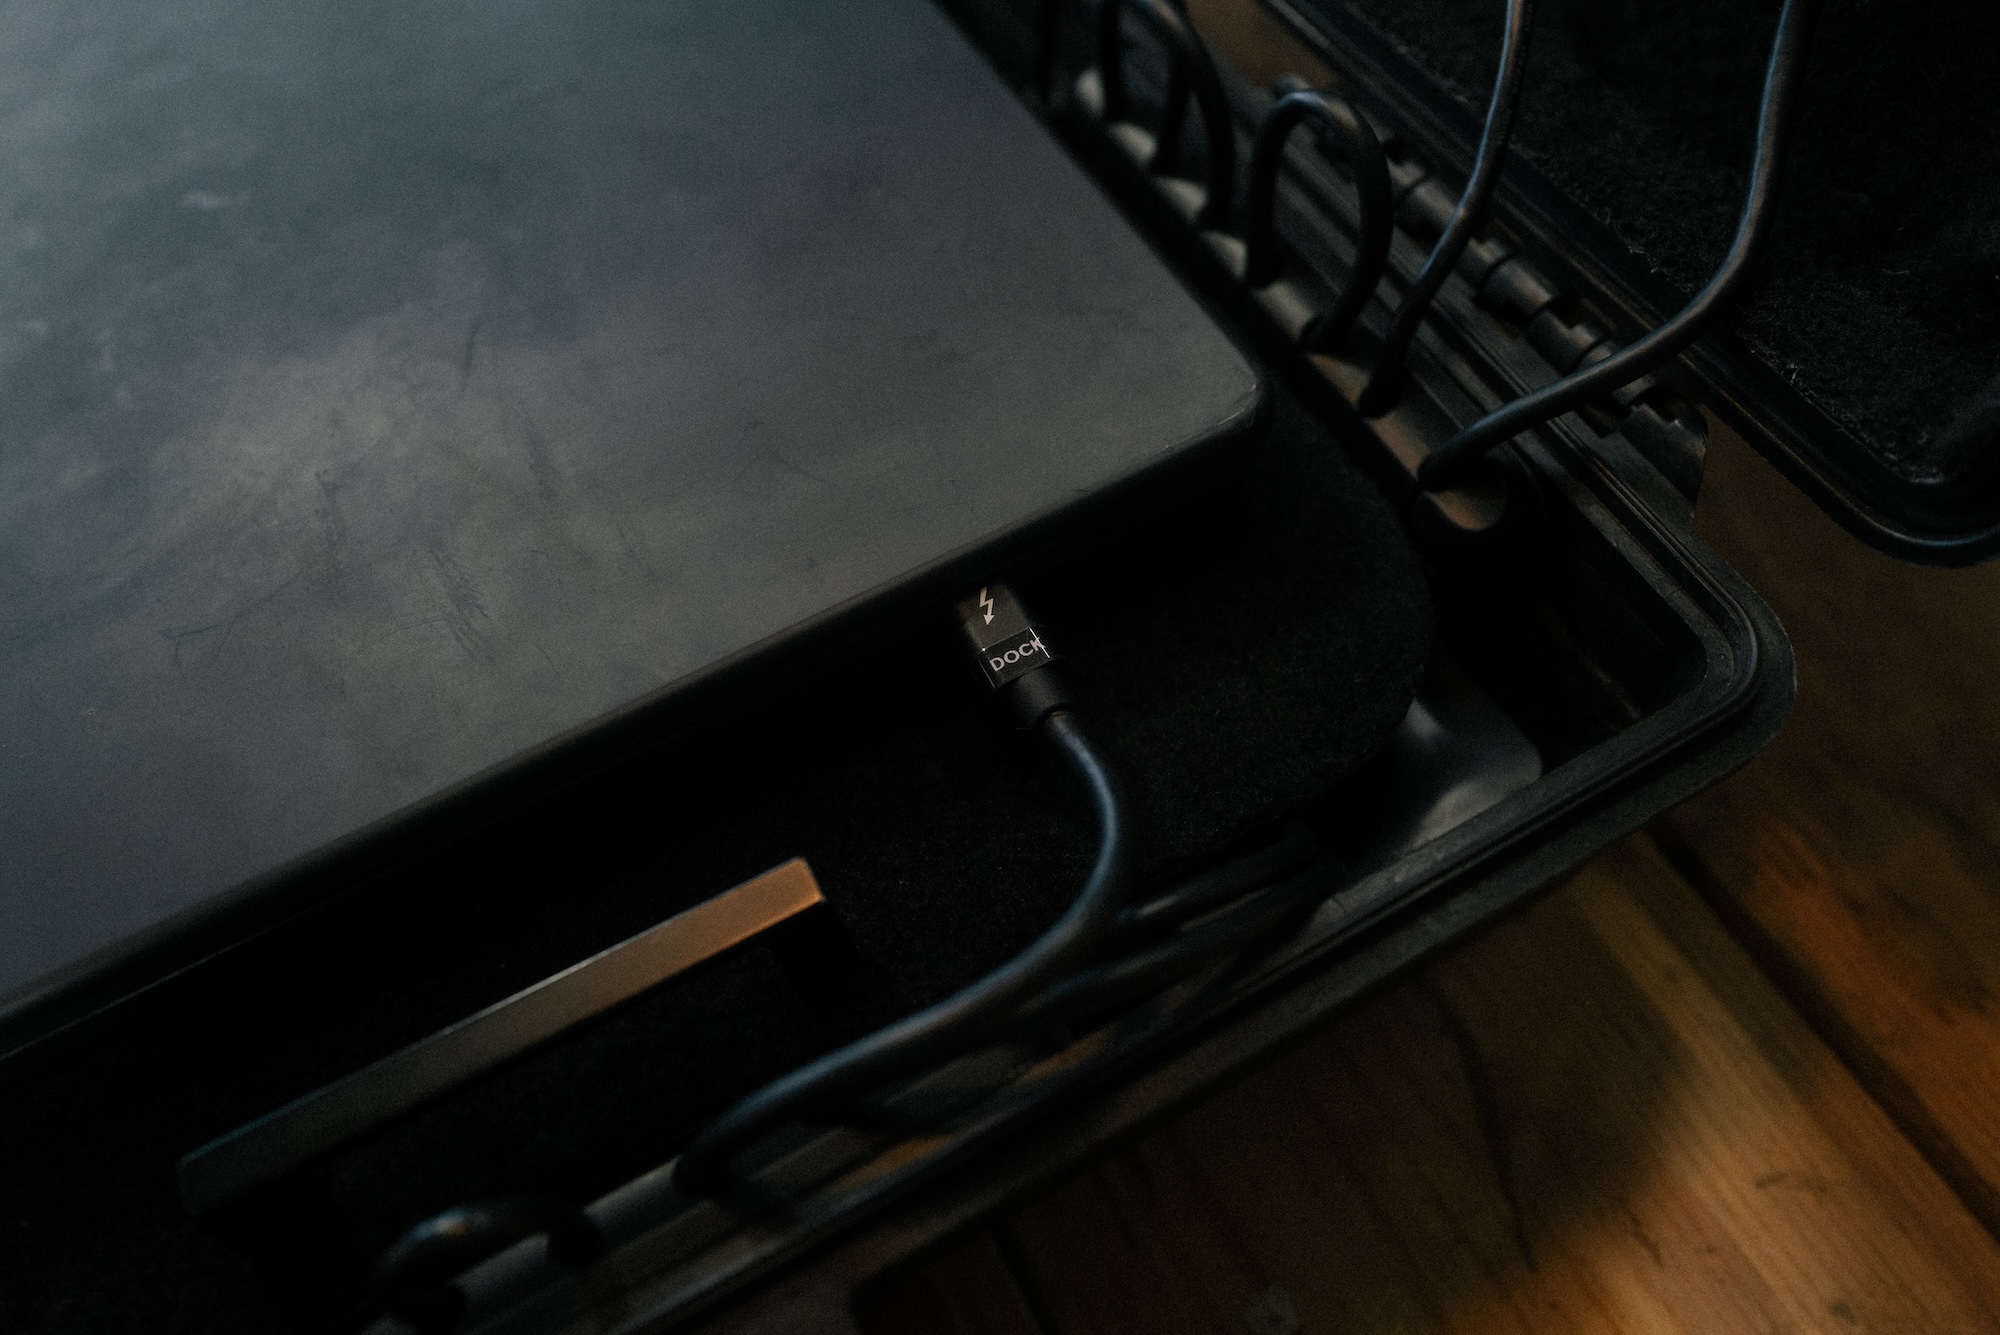
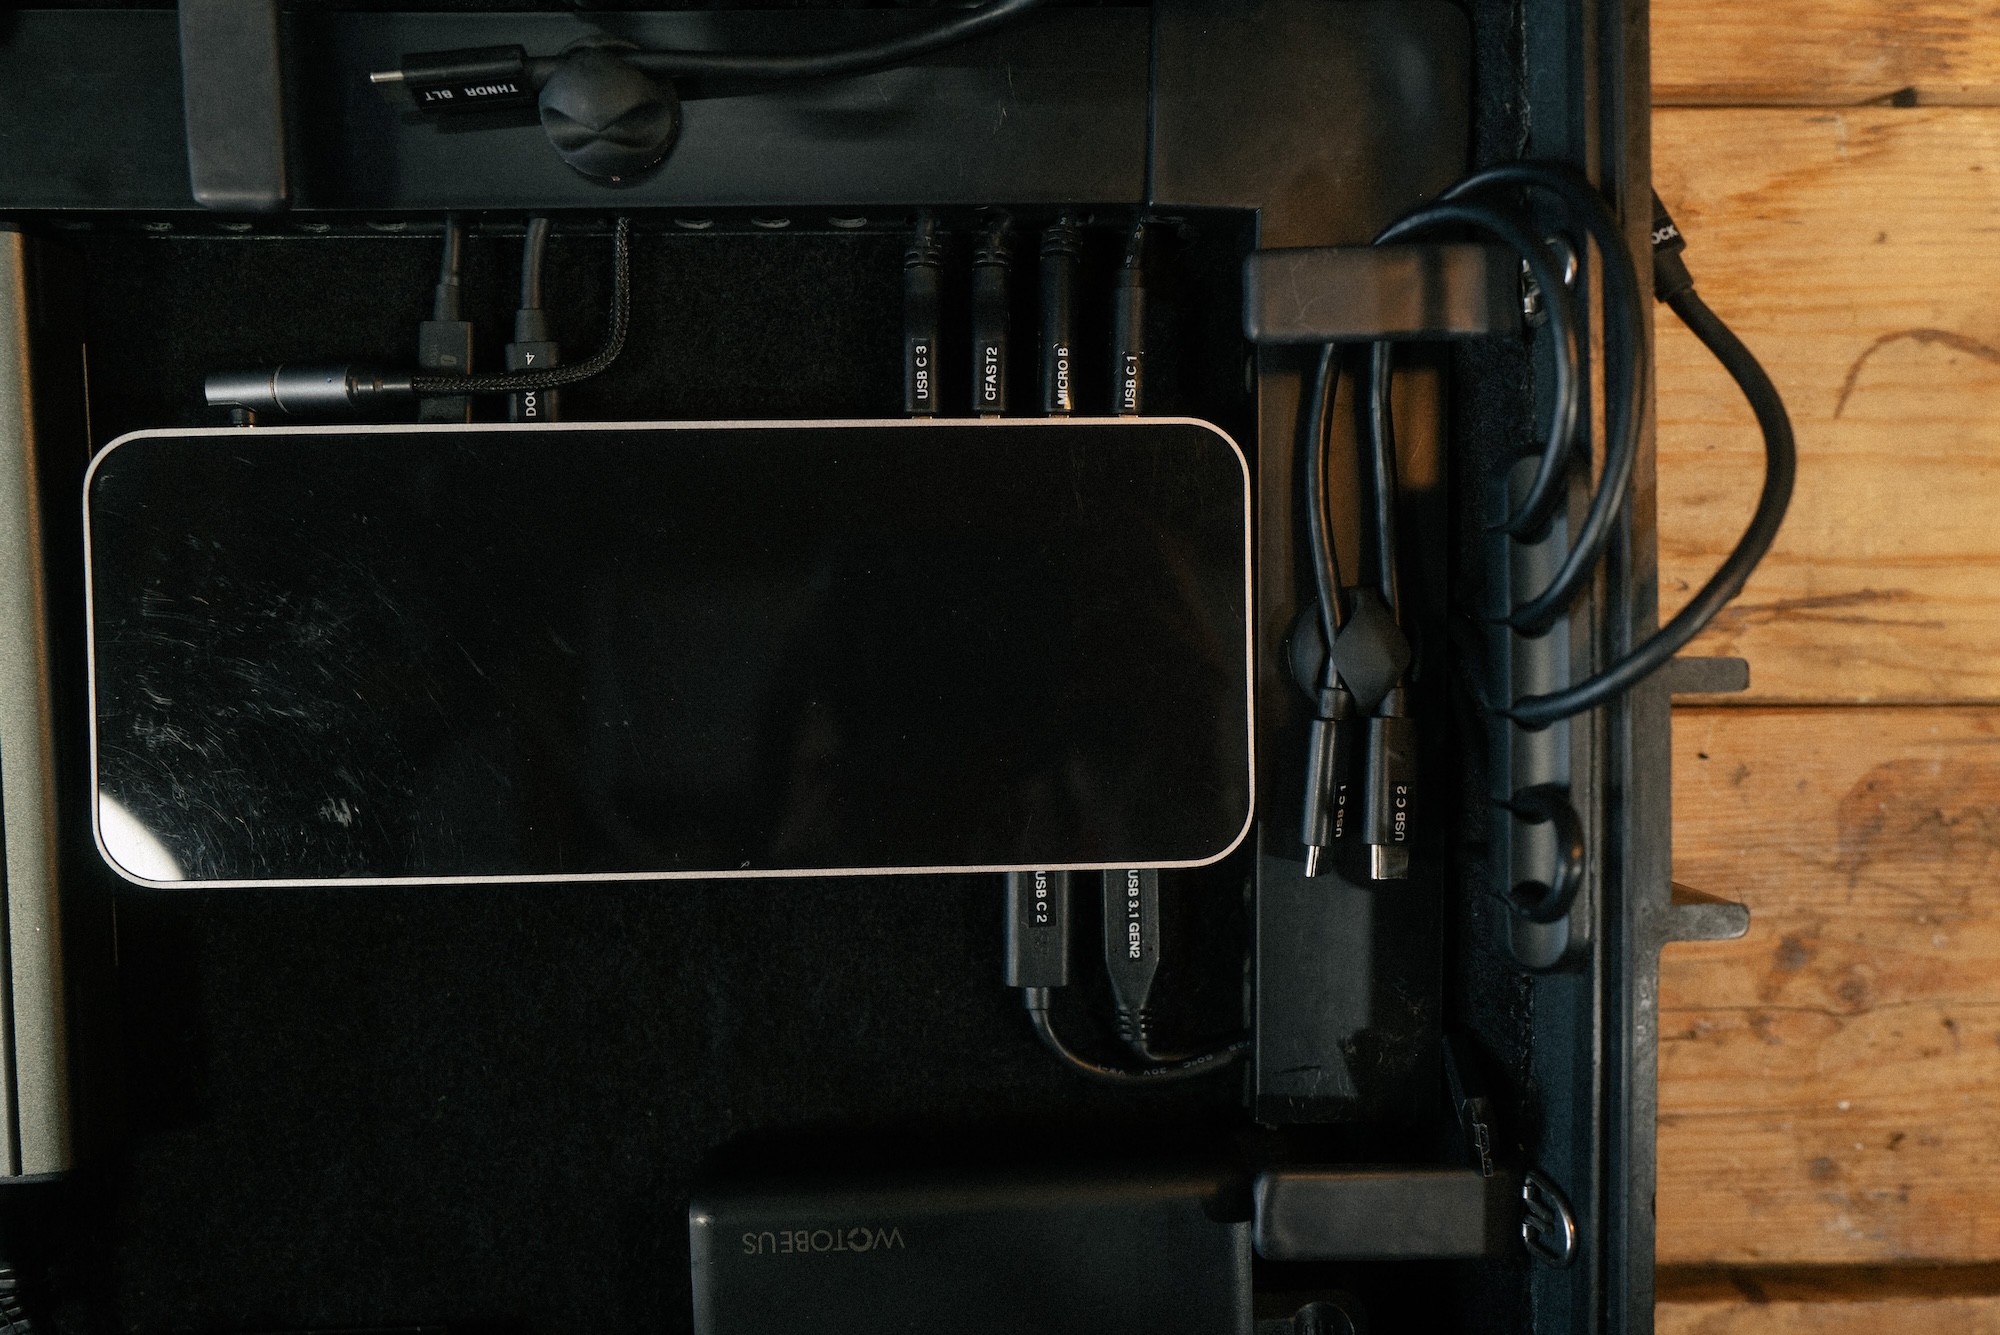
- This OWC Thunderbolt 3 dock seemed like the ideal solution to running all the peripherals, taking the last remaining port on the laptop and expanding it.
- 1 x Thunderbolt cable to run Thunderbolt enabled card readers or Thunderbolt spinning drives – super fast at over a Gig a second
- 1 x USB C 3.1 Gen 2 to get max speed out of the CFexpress Reader and DJI Inspire 3 Mags 600 – 800 MB/s
- 4 x USB C cables – 1 for CFAST Card Reader, 1 for misc use and two for external secondary backup spinning drives
- 1 x USB Micro B cable for older crappy slower drives
POWER
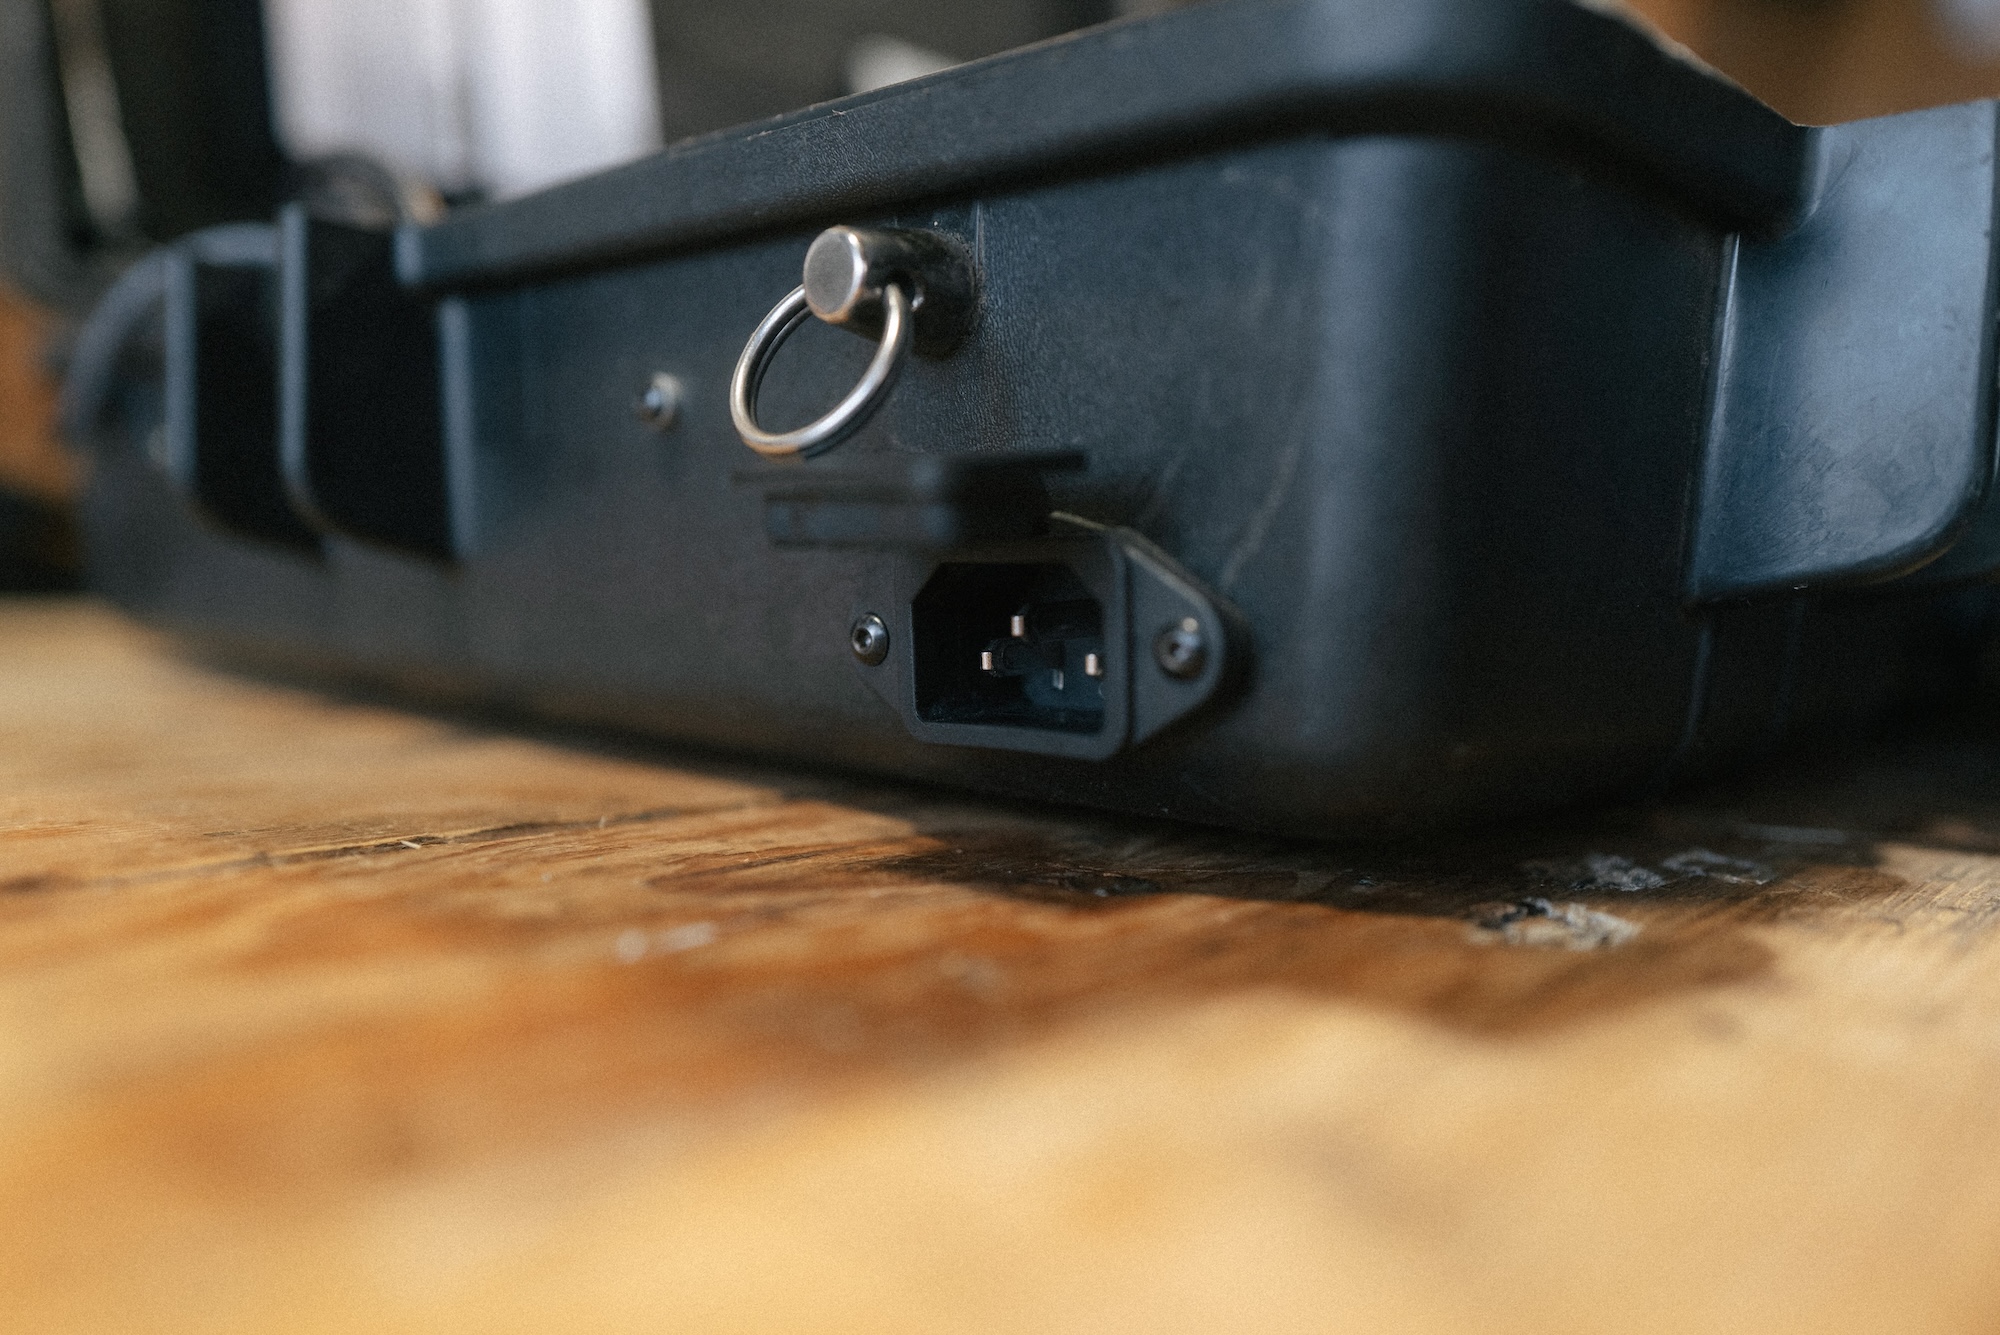
- AC power comes into the case at 110 or 230v via a C14 connection. V1 had a 2 pin C8 connection but I discovered the C14 is sturdier and also has a ground which is necessary to keep things from building up static.

- I found a coiled cable works well in most situations to reach an outlet and then can be stored in the case when travelling.
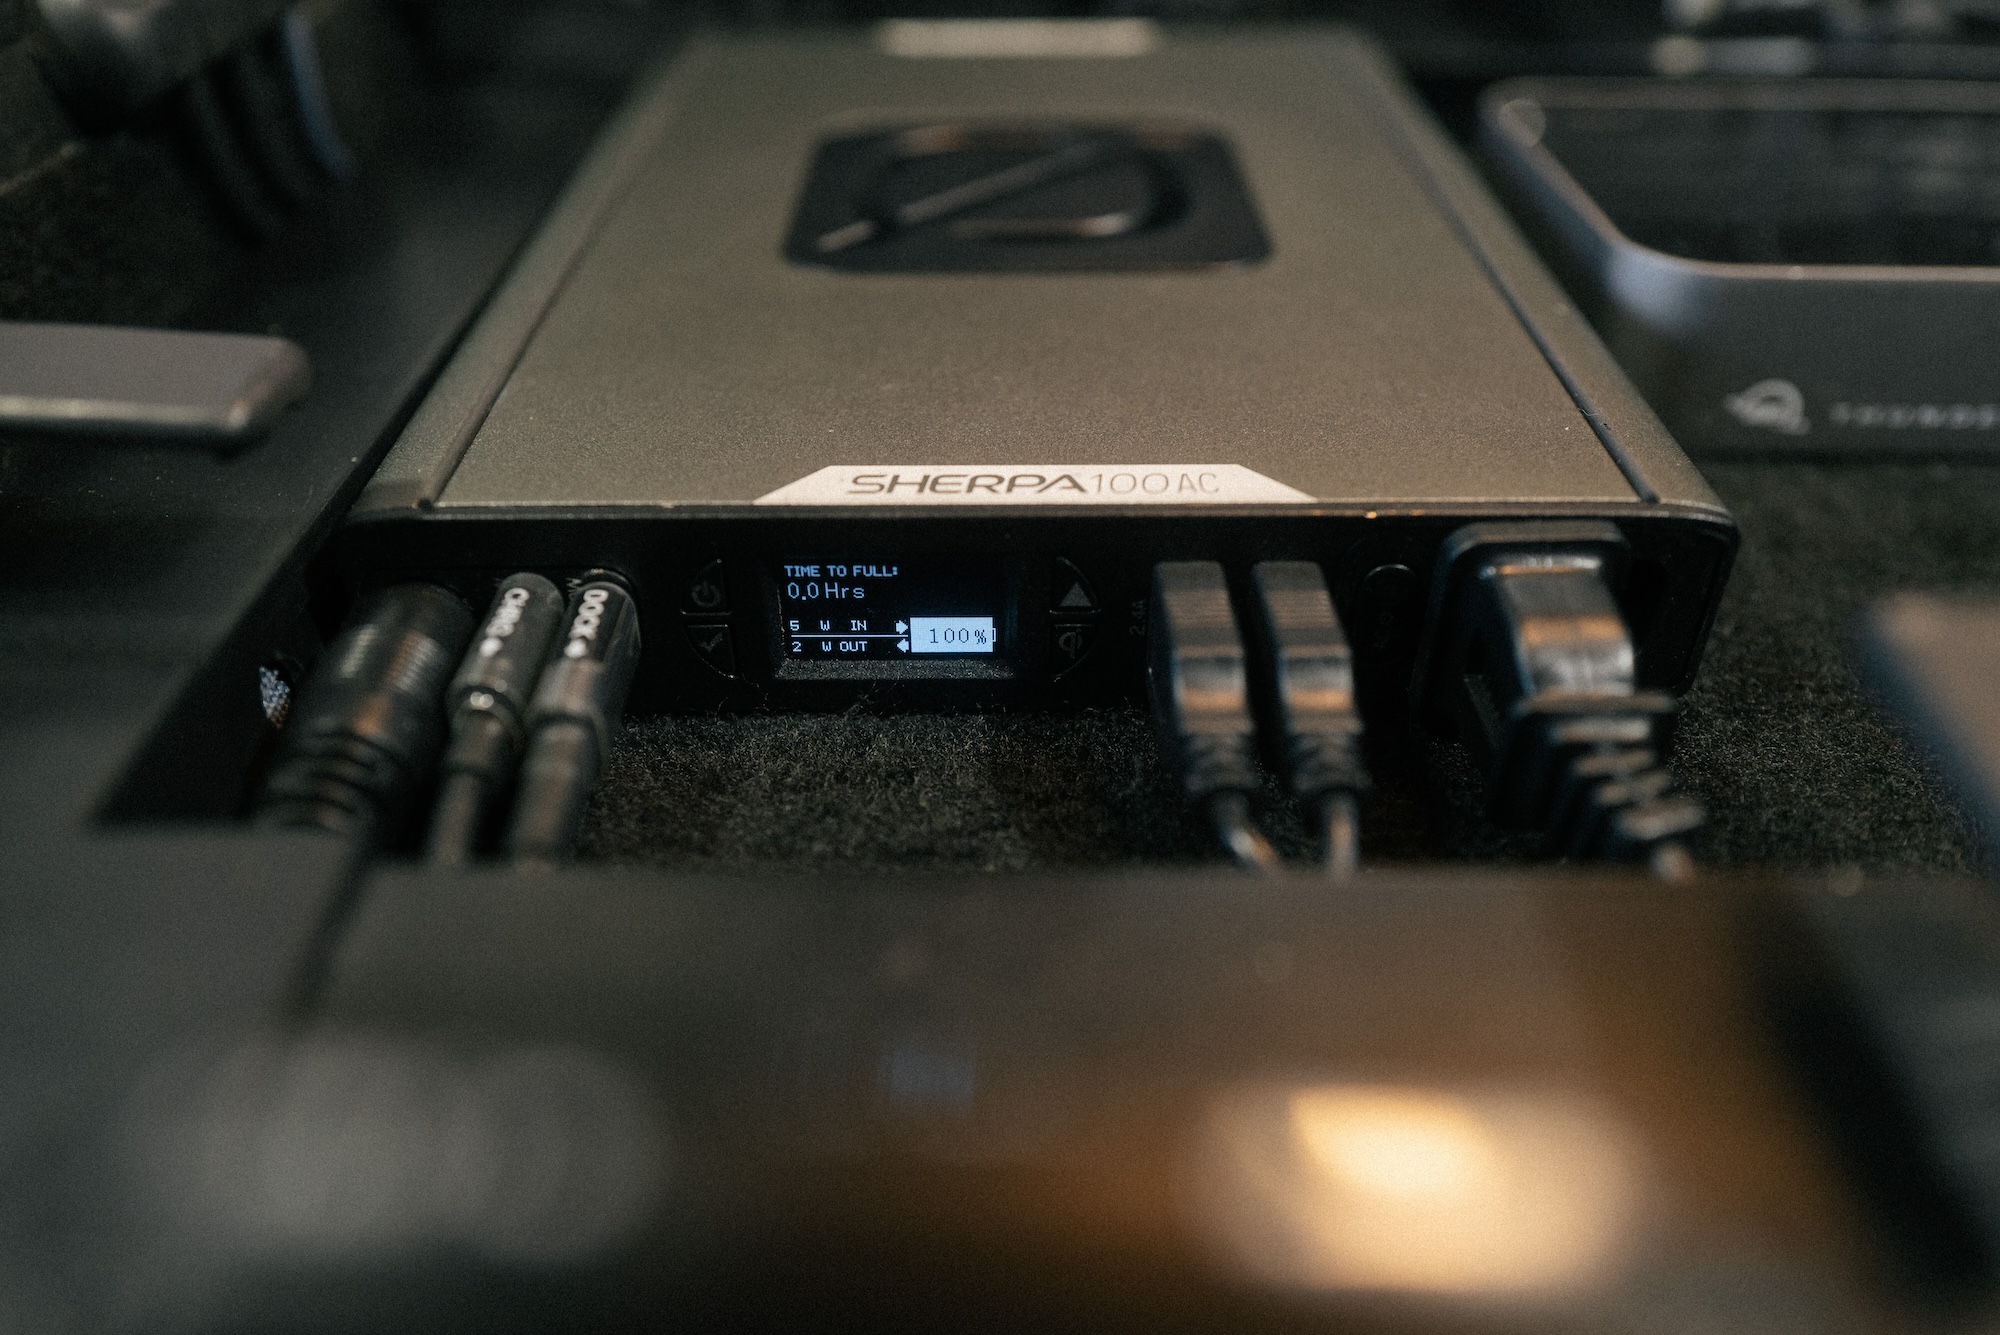
- The Goal Zero Sherpa turned out to be pretty much perfect solution for power. Like most things in the case, it’s held in place with a thick velcro strip so is removable. The low profile design is also ideal as it fits perfectly under the platform. The LiPo battery is 99Wh which makes it safe to travel with on aircraft. I unplug the battery and remove it from the case and take it with me as carry on when flying.
- Life of the battery depends on the demand. The MacBook Pro also has a 100Wh battery, which lasts a long time on its own. The Goal Zero typically lasts 2 to 3 hours running the light, fans and dock while transferring. It’s not a solution to keep you running all day, but the idea is that it gives you enough uninterrupted time to get to another power source.
- Love the little display that gives real time readout of what power is being consumed and time remaining for full charge / to empty.
- I ended up utilizing all the ports. From left to right:
- 1) DC input is connected to a cigarette lighter plug allowing to charge from a vehicle at 12v 5a.
- 2) PD USB C input, this charges the battery at 60w from the case’ 240W power supply.
- 3) PD USB C 60w output, this is a 20v 3a cable that powers the OWC dock and passes some power (25w) through to the laptop when connected.
- 4) USB A powering the LED light.
- 5) USB A powering the 2 fans.
- 6) AC 100W output to extension cable and splitter, this acts like a UPS to power external hard drives or card readers that require AC power.
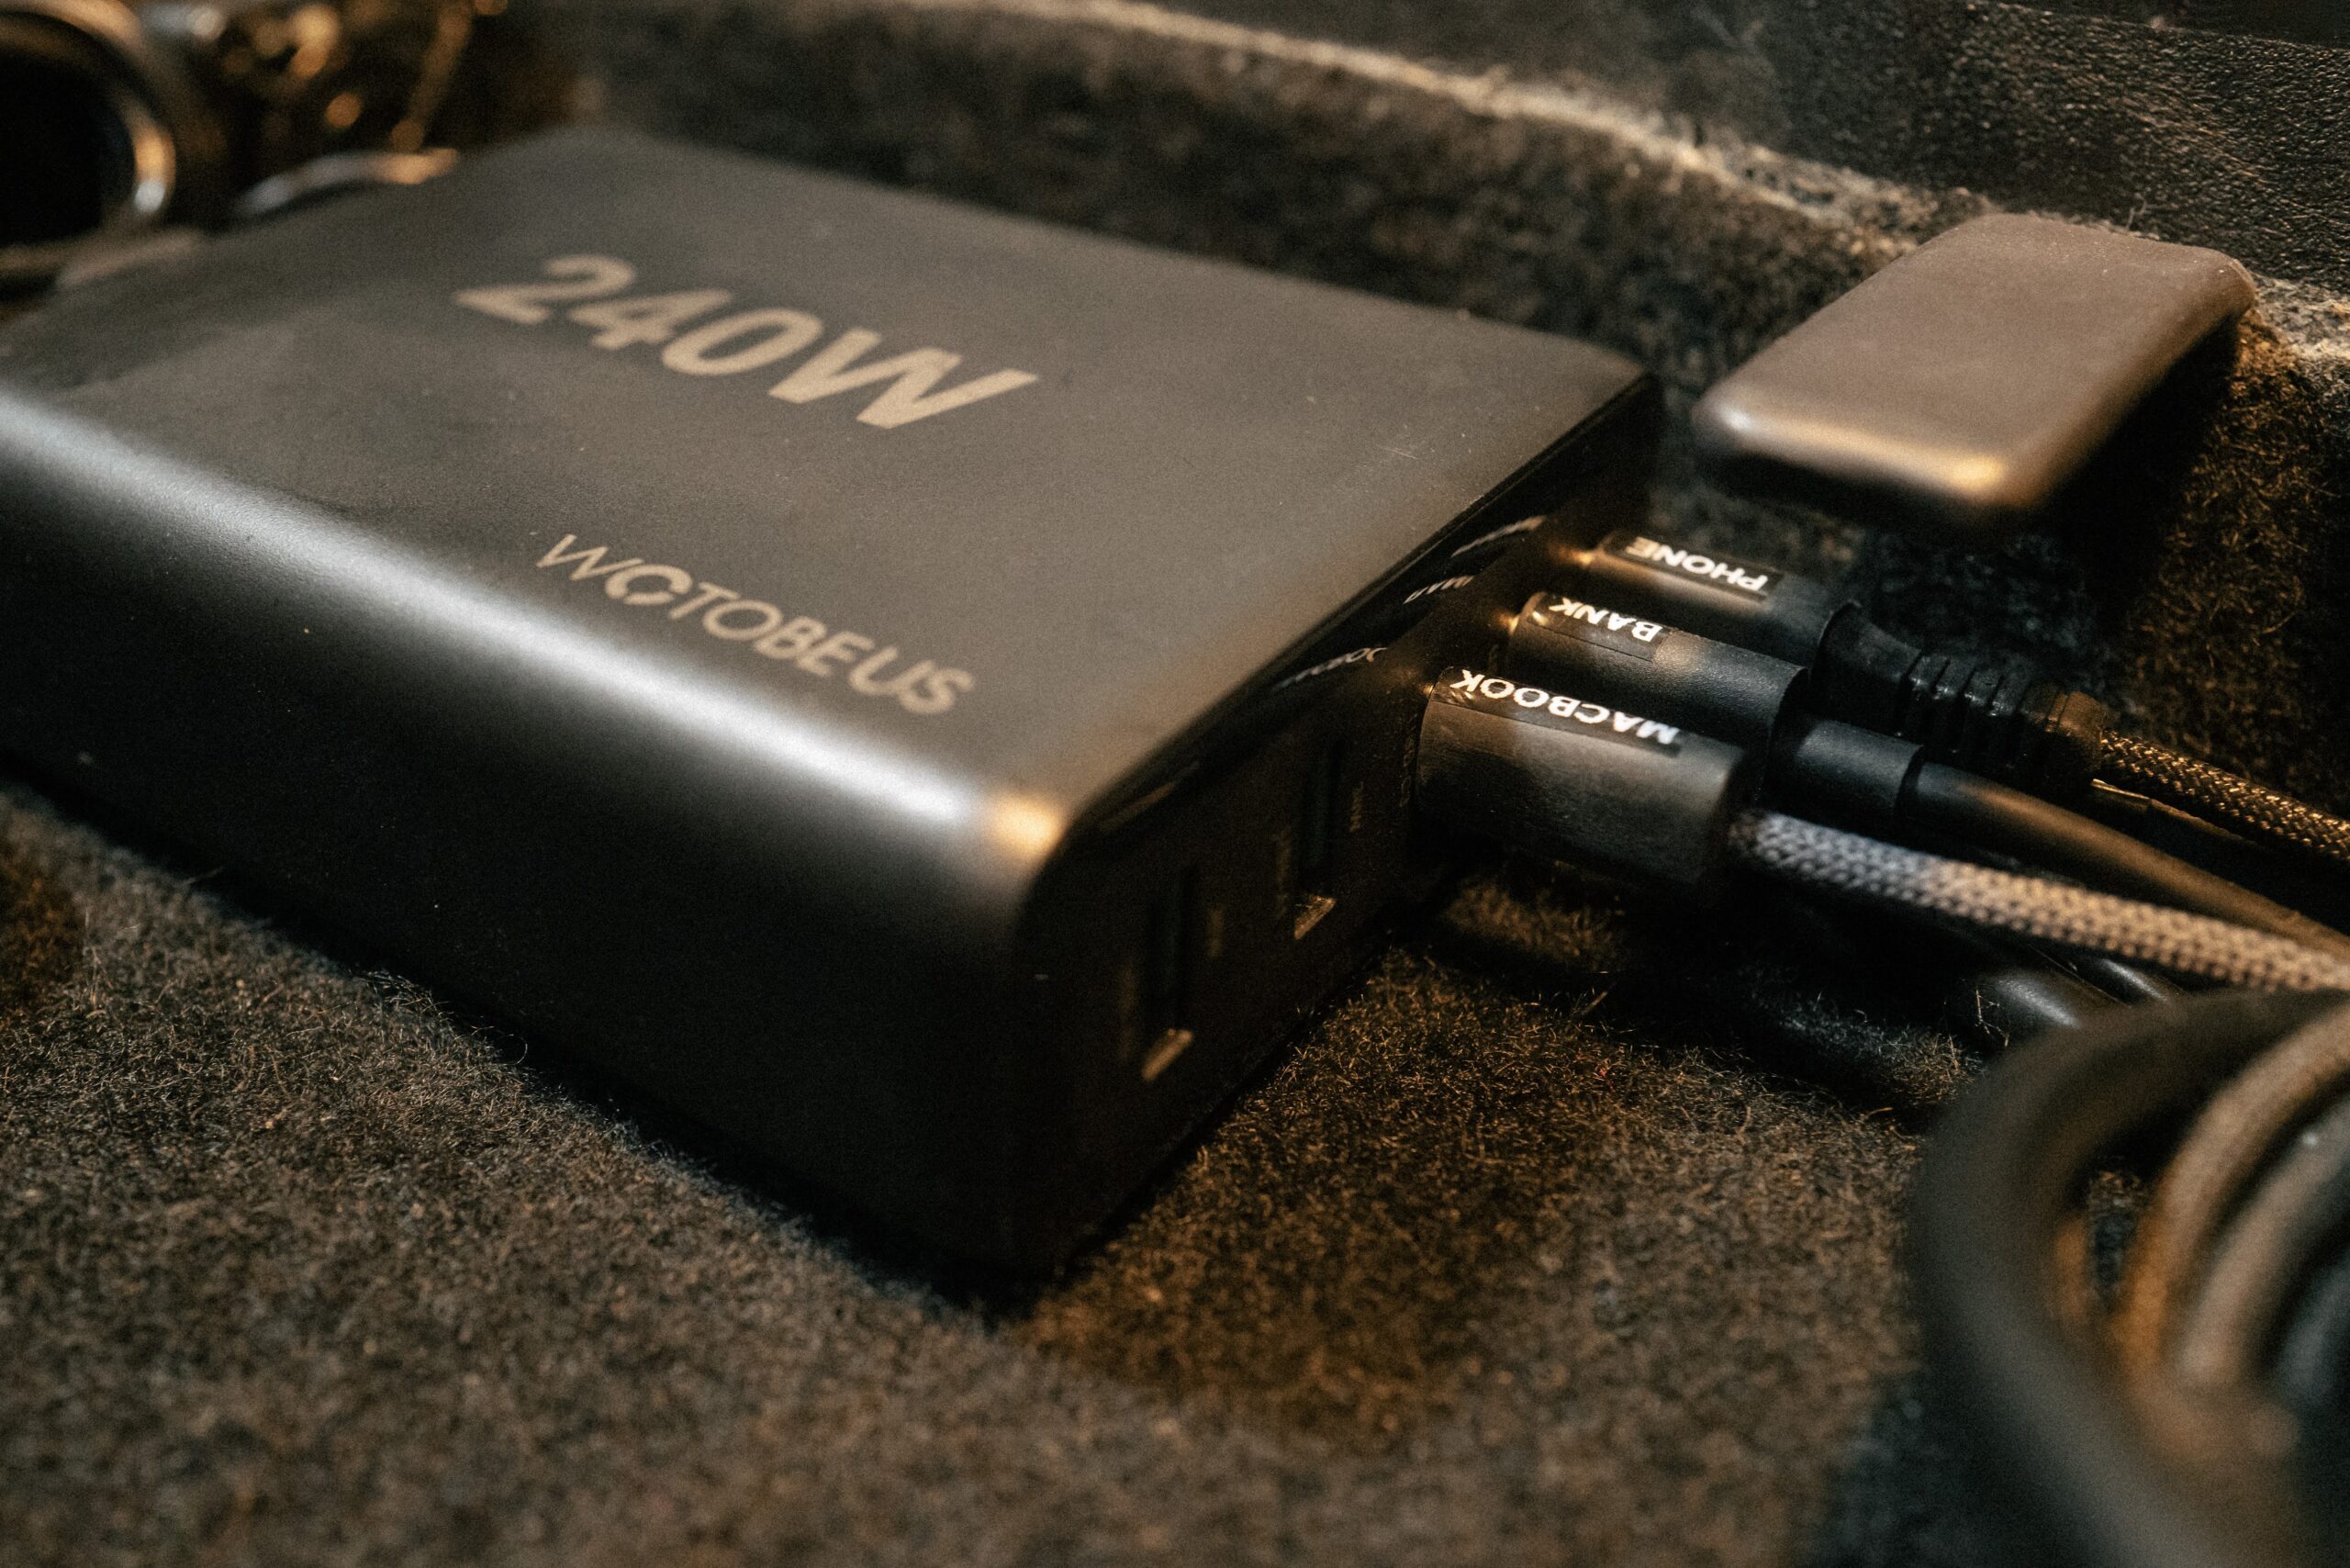
- Another thing that made this case possible is the advancement and availability of USB C PD power options. Power is supplied by this 240W power brick. It takes the external AC from the C14 connection on the side of the case and gives out three USB C PD up to a 100W and 2 USB A up to 30W.
- I took advantage of all three USB PD ports.
- One is connected to a Magsafe cable that powers the laptop.
- One is connected to the Goal Zero to power and charge that system
- The other is connected to a Magsafe iPhone charger (turns out to be really handy to keep your phone charged on set).
- I’m not using the other 2 USB A ports, but they could be used to charge other accessories.
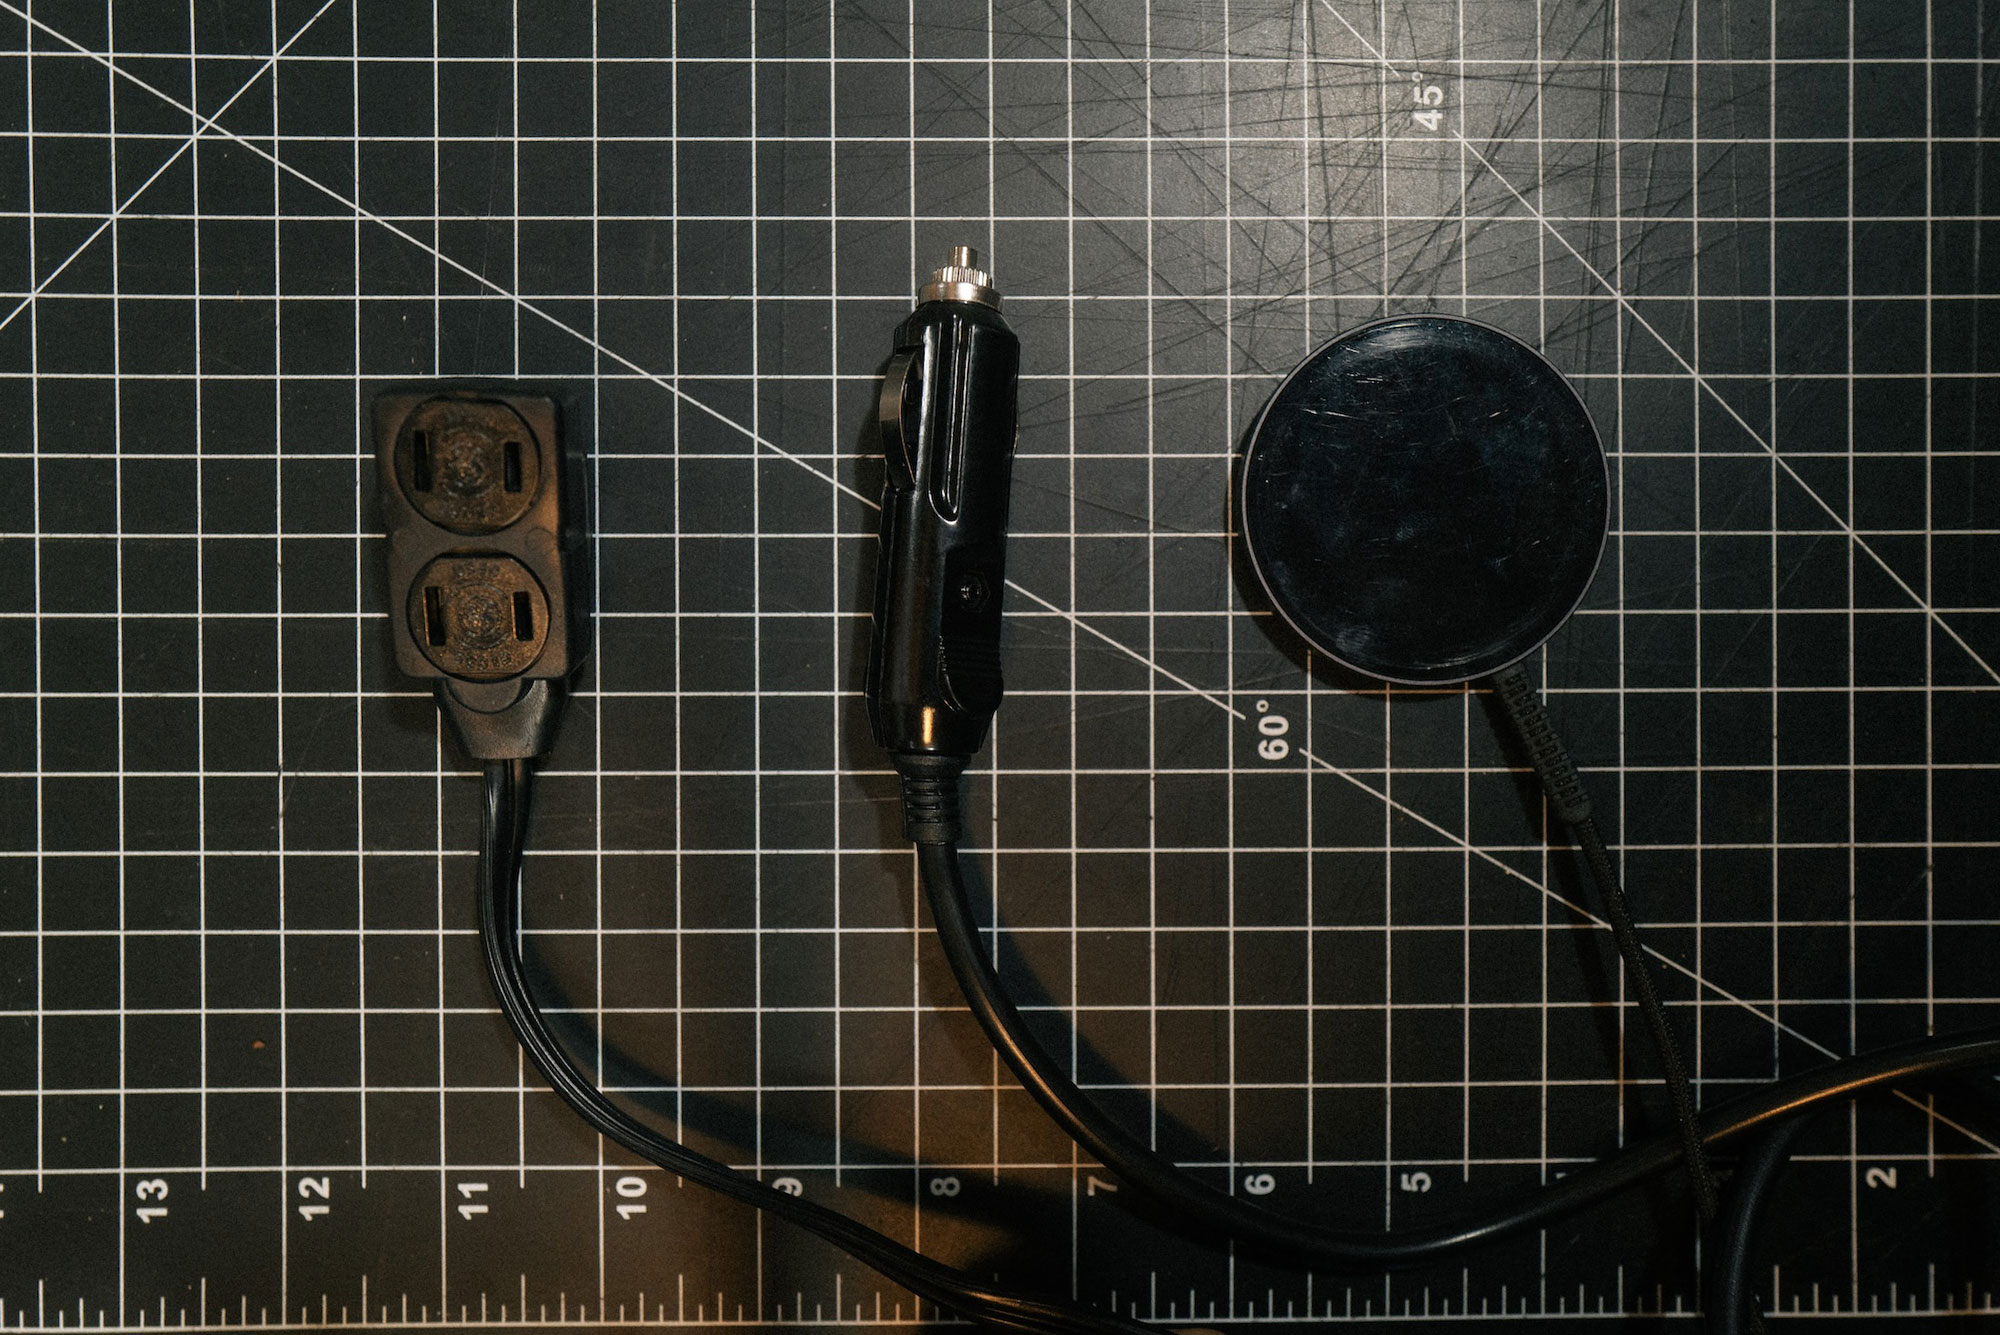
- As mentioned above there is a three port AC cable that runs from the Sherpa 100 AC outlet to act as a UPS for external devices.
- 12v Car charger which provides enough power to keep the case running longer when in a vehicle.
- iPhone MagSafe charger

- When the case is connected to AC power, the 240W power brick delivers 100W of power to the laptop via a MagSafe Cable. The connection on the cable has the handy LED indicator showing that the laptop is receiving power therefore the case is receiving power.
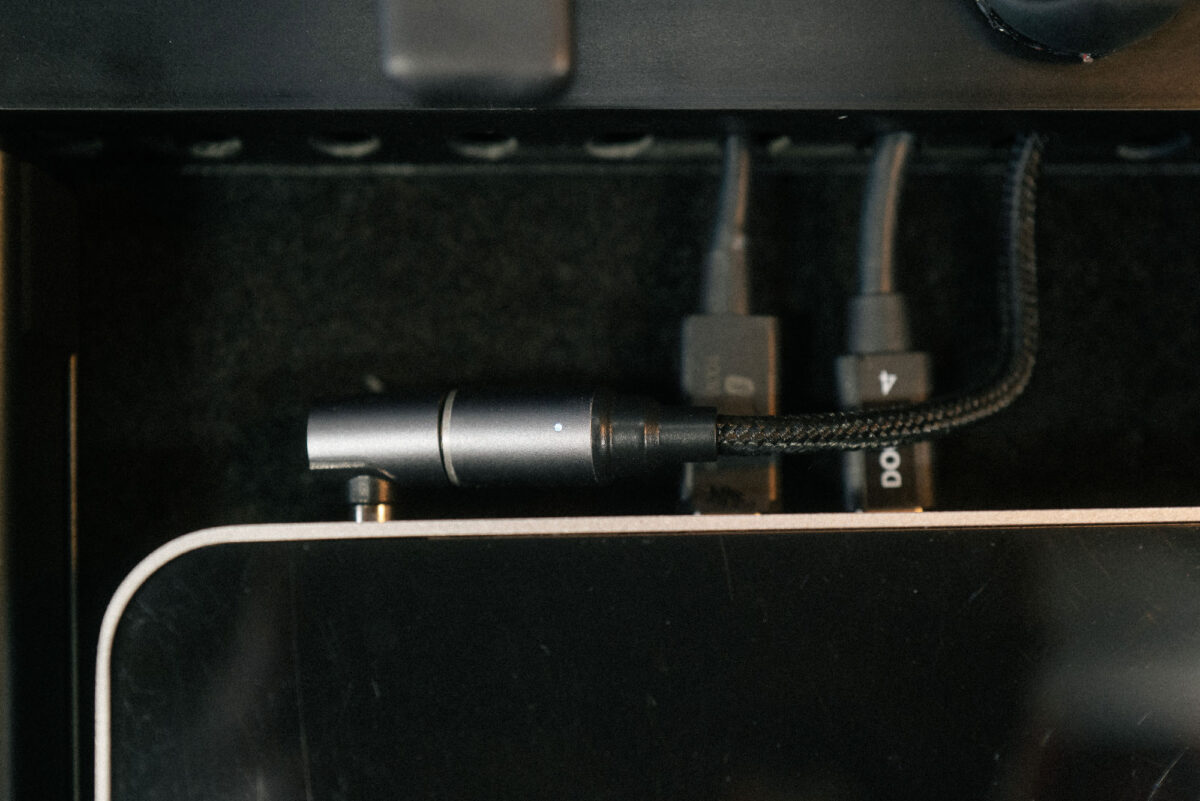
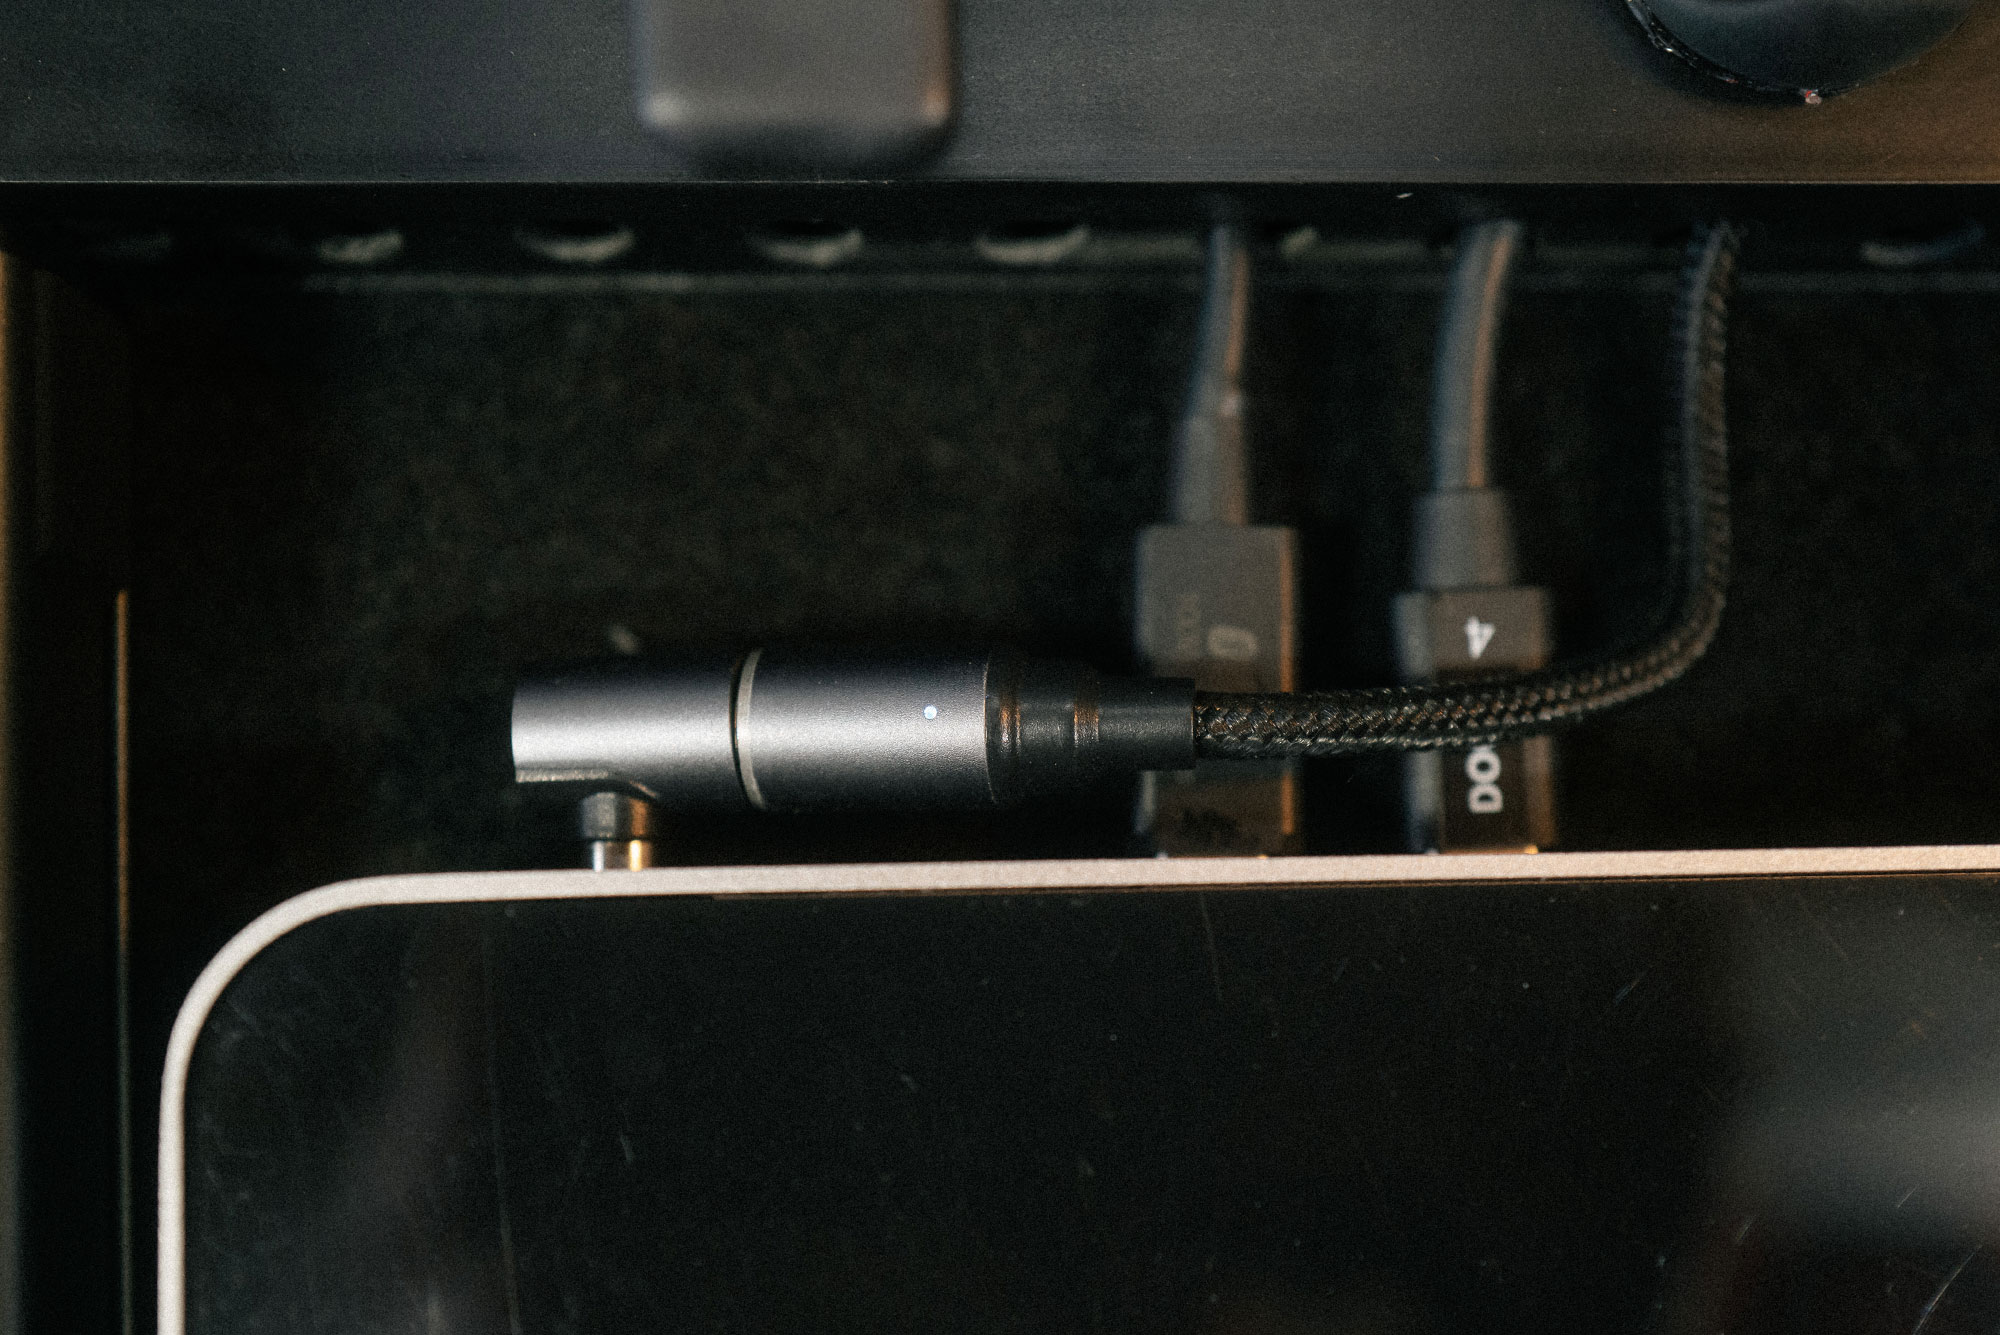
- Initially I was powering the dock using its factory AC/DC power convertor. This thing was big and took up a lot of space. I looked into the required voltage of the dock (20v) and figured that maybe I could get a 20v PD USB C cable to 5.5mm DC connection. That way I can power the dock directly off the Goal Zero eliminating the need for the convertor. I wasn’t sure if the USB C connection would provide enough amps for the dock, but luckily it only draws around 20-30W.
- One issue I’ve run into with this solution is that the Goal Zero doesn’t initiate power to the dock via the USB C cable when the unit is powered up for the first time. This means that when the Goal Zero is turned on, the USB C cable needs to be unplugged and plugged back in for the power supply to begin. I imagine this is an issue with the controller on the Goal Zero and it needing to be triggered into the right output setting when the cable is connected. I’ve tried different cables with no luck, so I know its not that. It’s not the end of the world but it would be nice to remove that extra step.
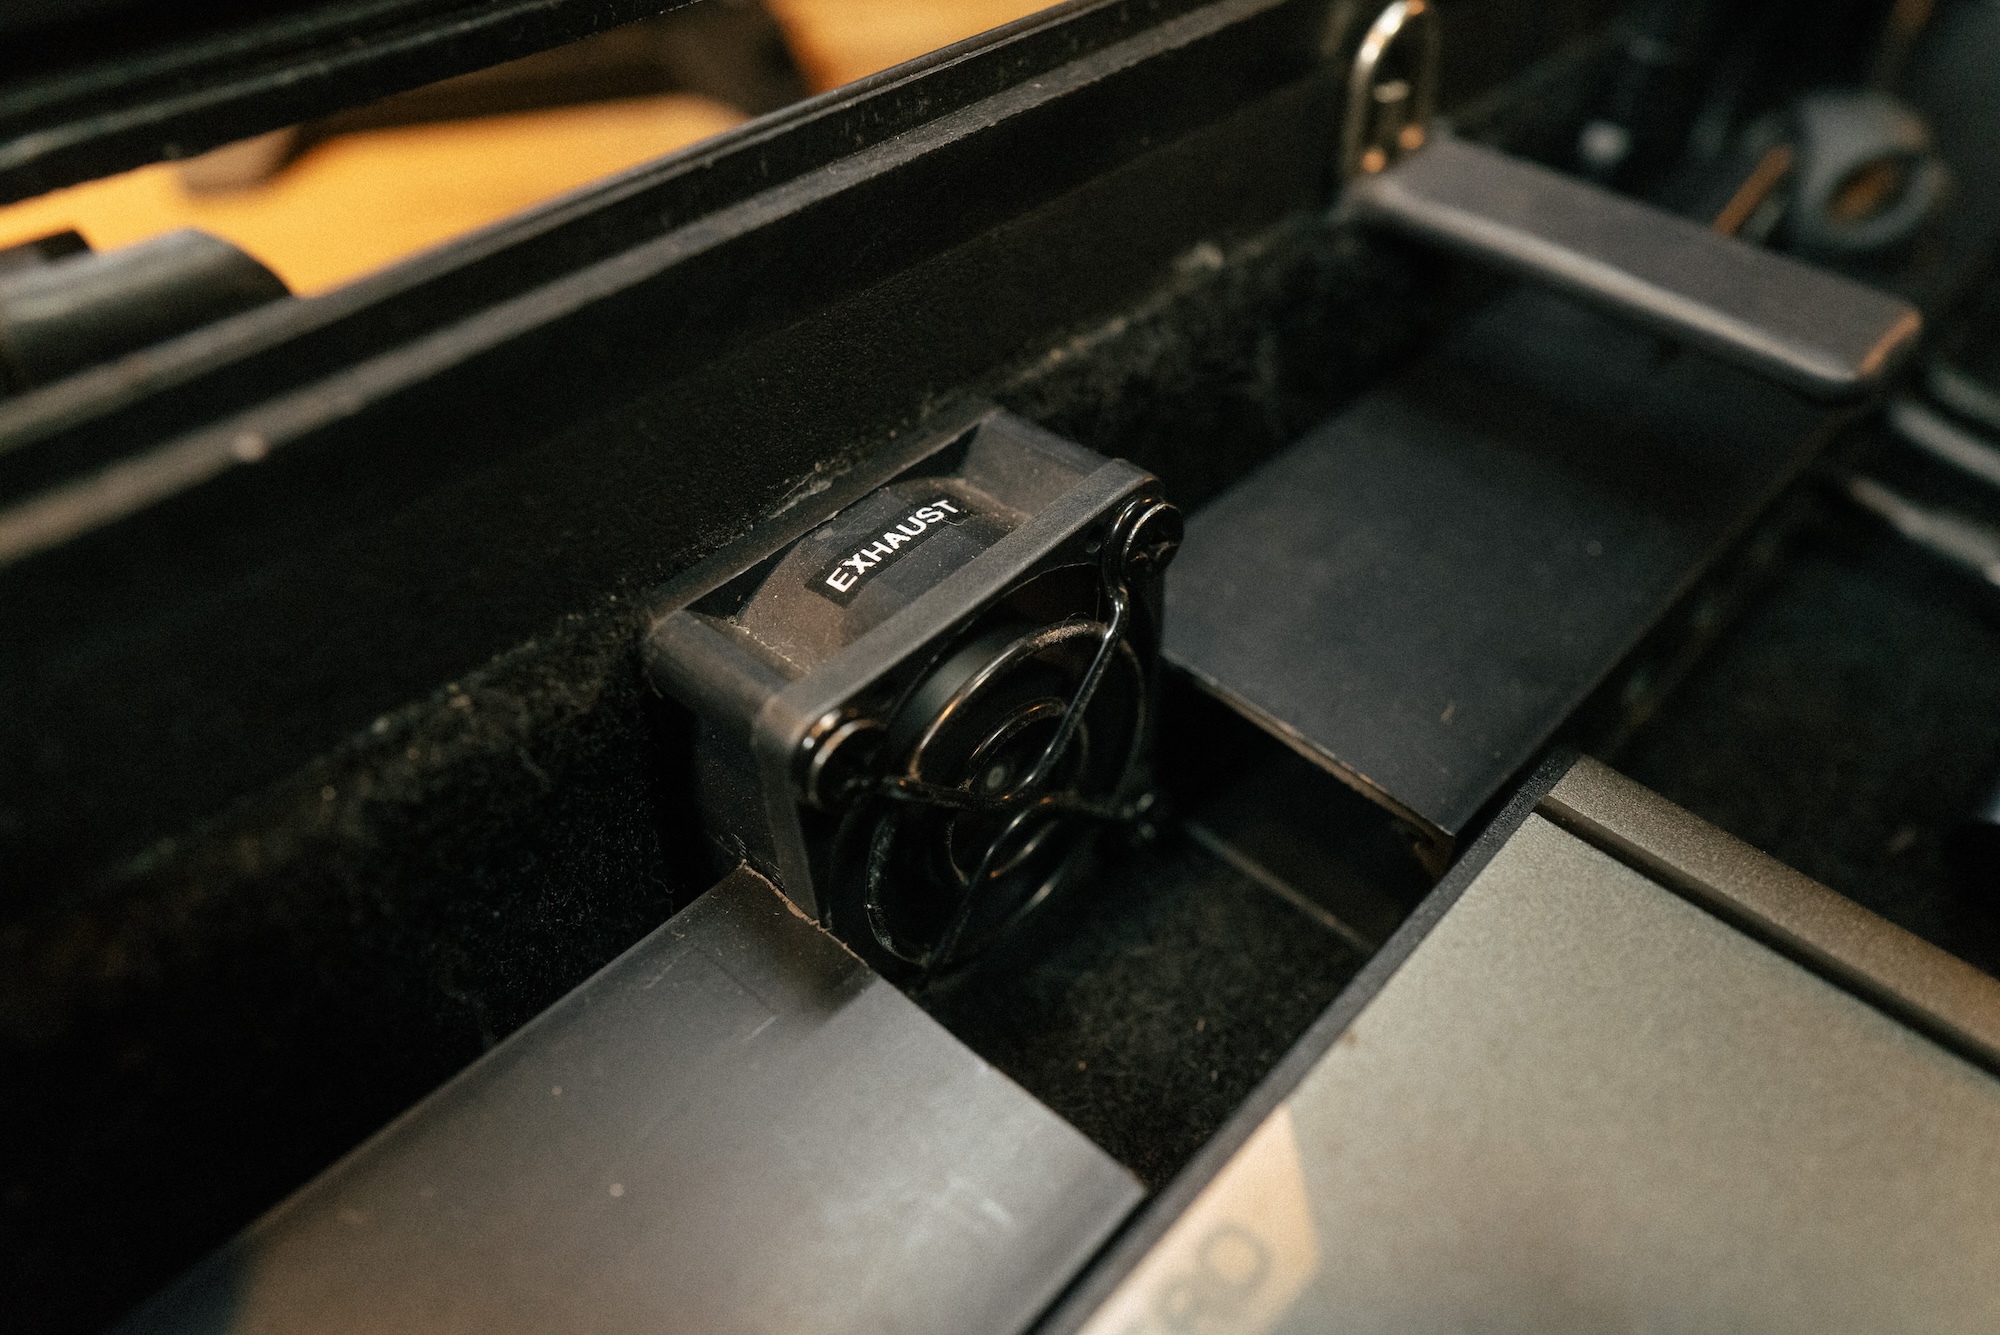
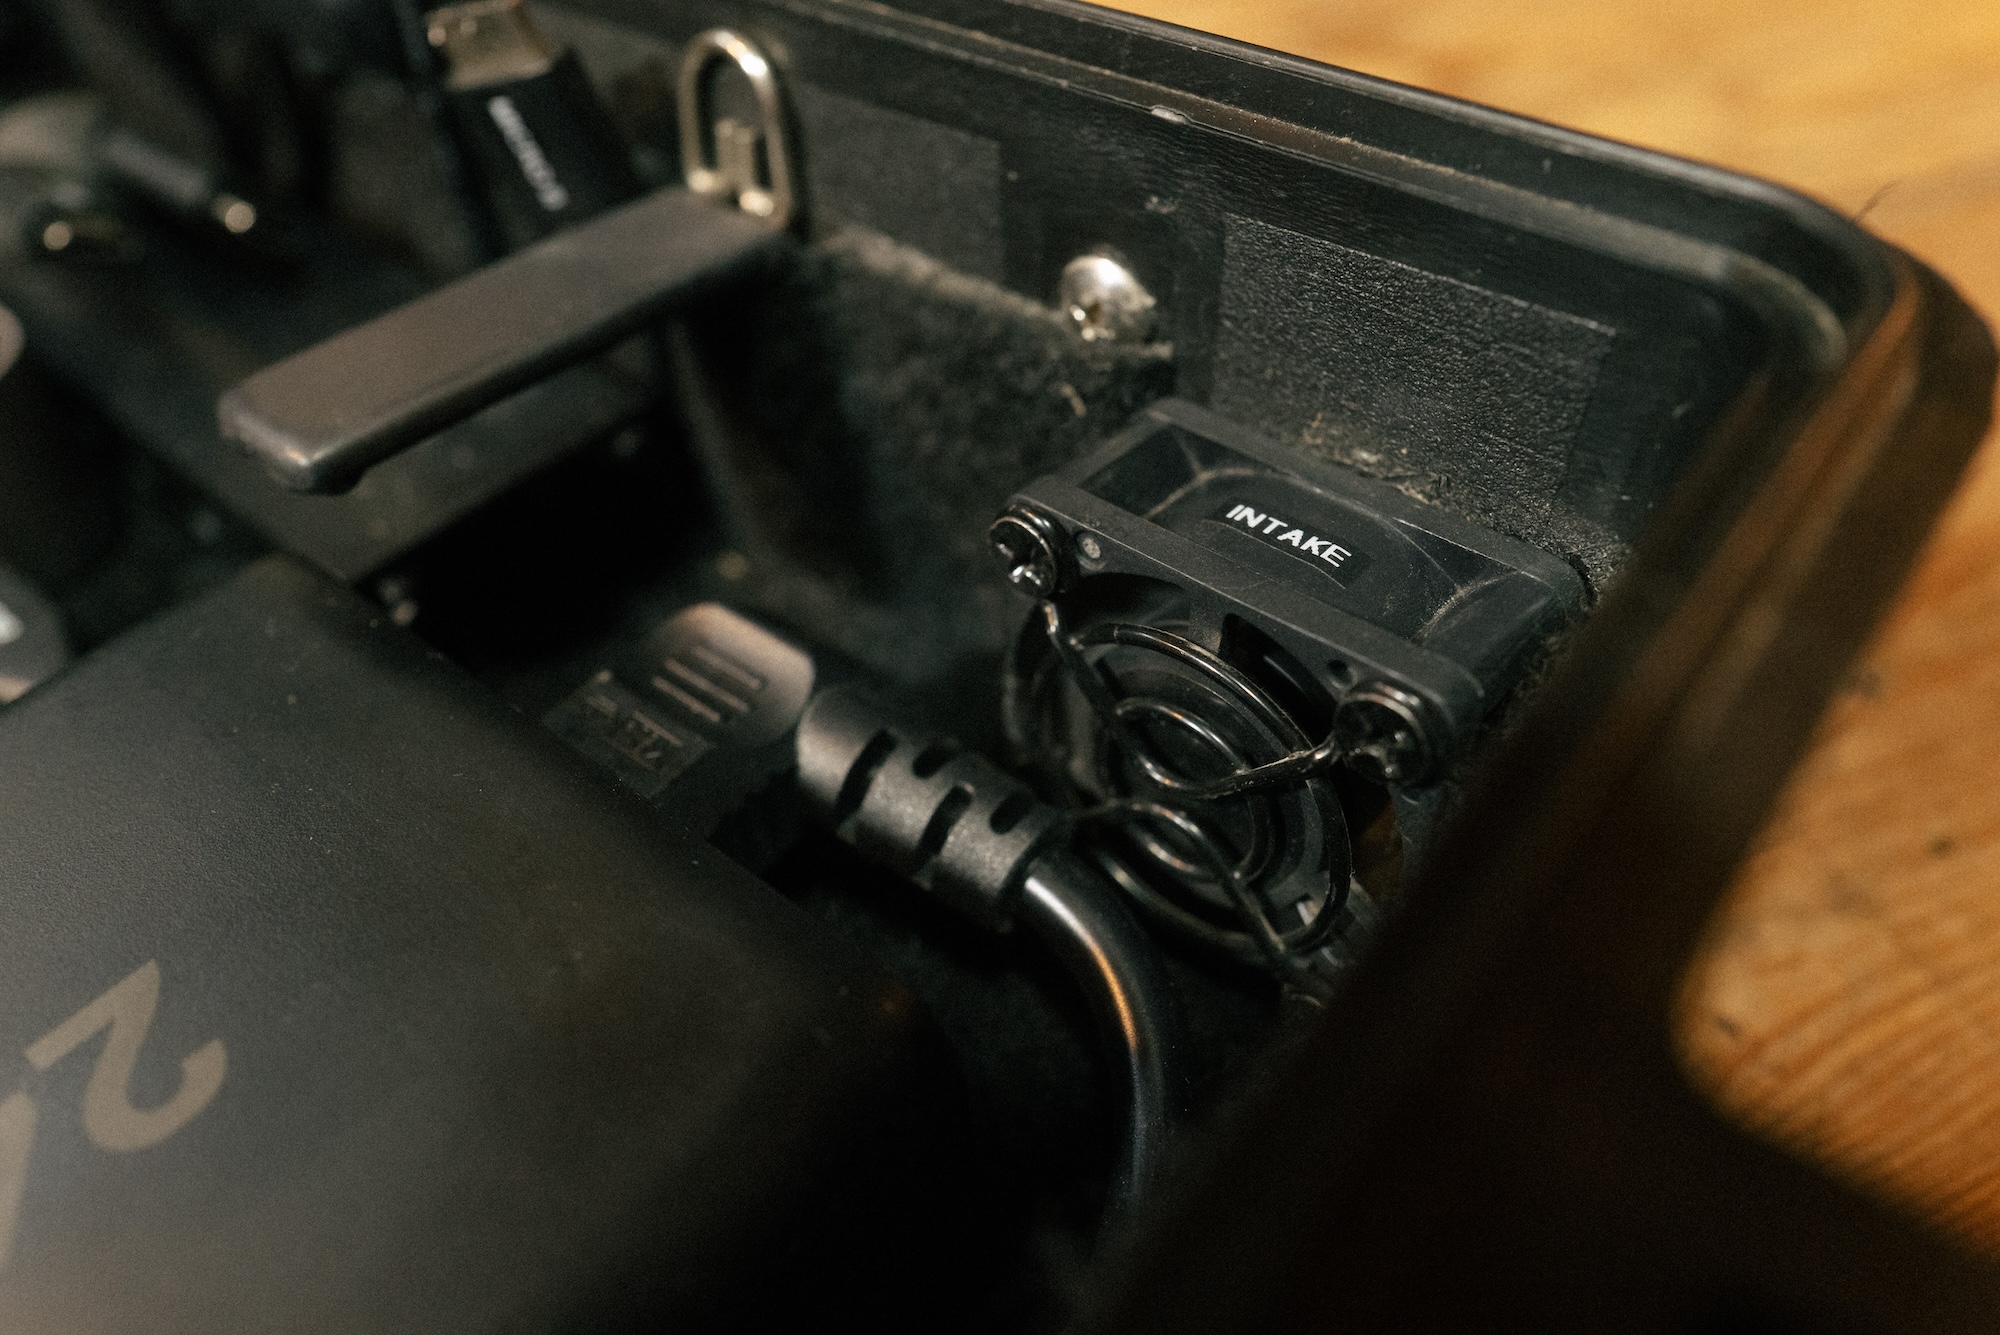
AIR FLOW
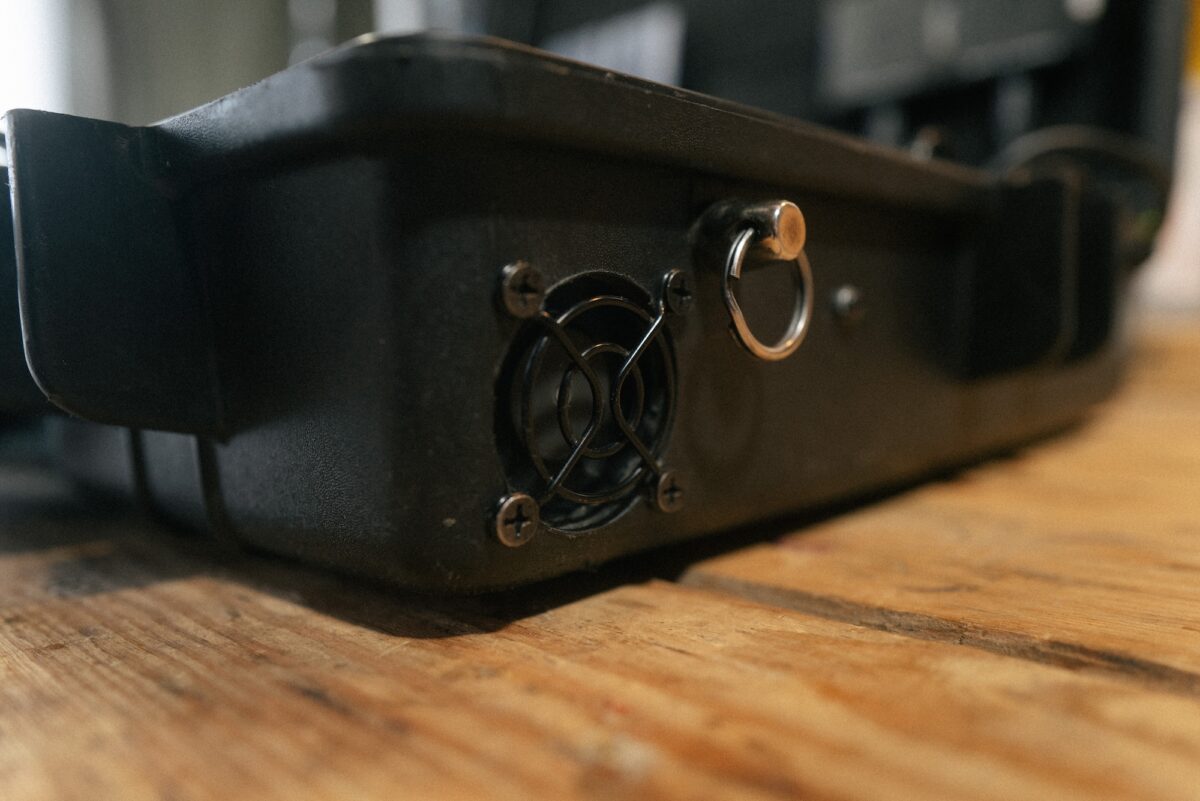
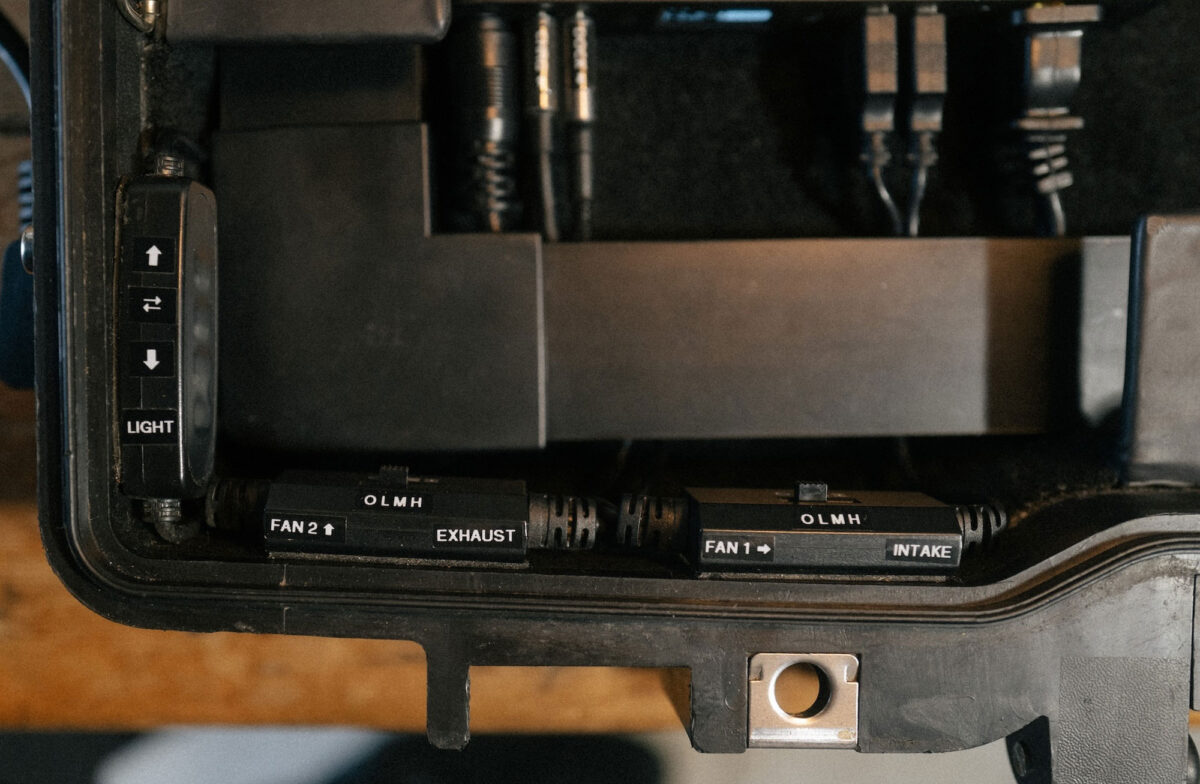


- All this tech under the laptop tray was getting warm, so I needed a cooling solution. Decided on a fan near the front right to bring cool air in over the power supply and a fan at the back to take hot air away from Goal Zero. When the 110v AC is activated on the Goal Zero it generates more heat and has its own little fan, so I lined up the back case fan to draw heat from that as well as the rest of the case. Running these at their lowest setting seems to do a great job of keeping everything cool however at full tilt they are quite loud.
- Cutting the holes in the case was a commitment, there was no going back if the position of the fans didn’t work out, luckily they’re in a great spot for this layout. It does mean that the case is no longer weather resistant.
- 40mm USB powered fans running directly off the Goal Zero – three speeds – max 10,000 RPM
- Some running temperature tests at ambient room temp 18c
- Power supply 39c
- Goal zero 28c
- Dock 37c
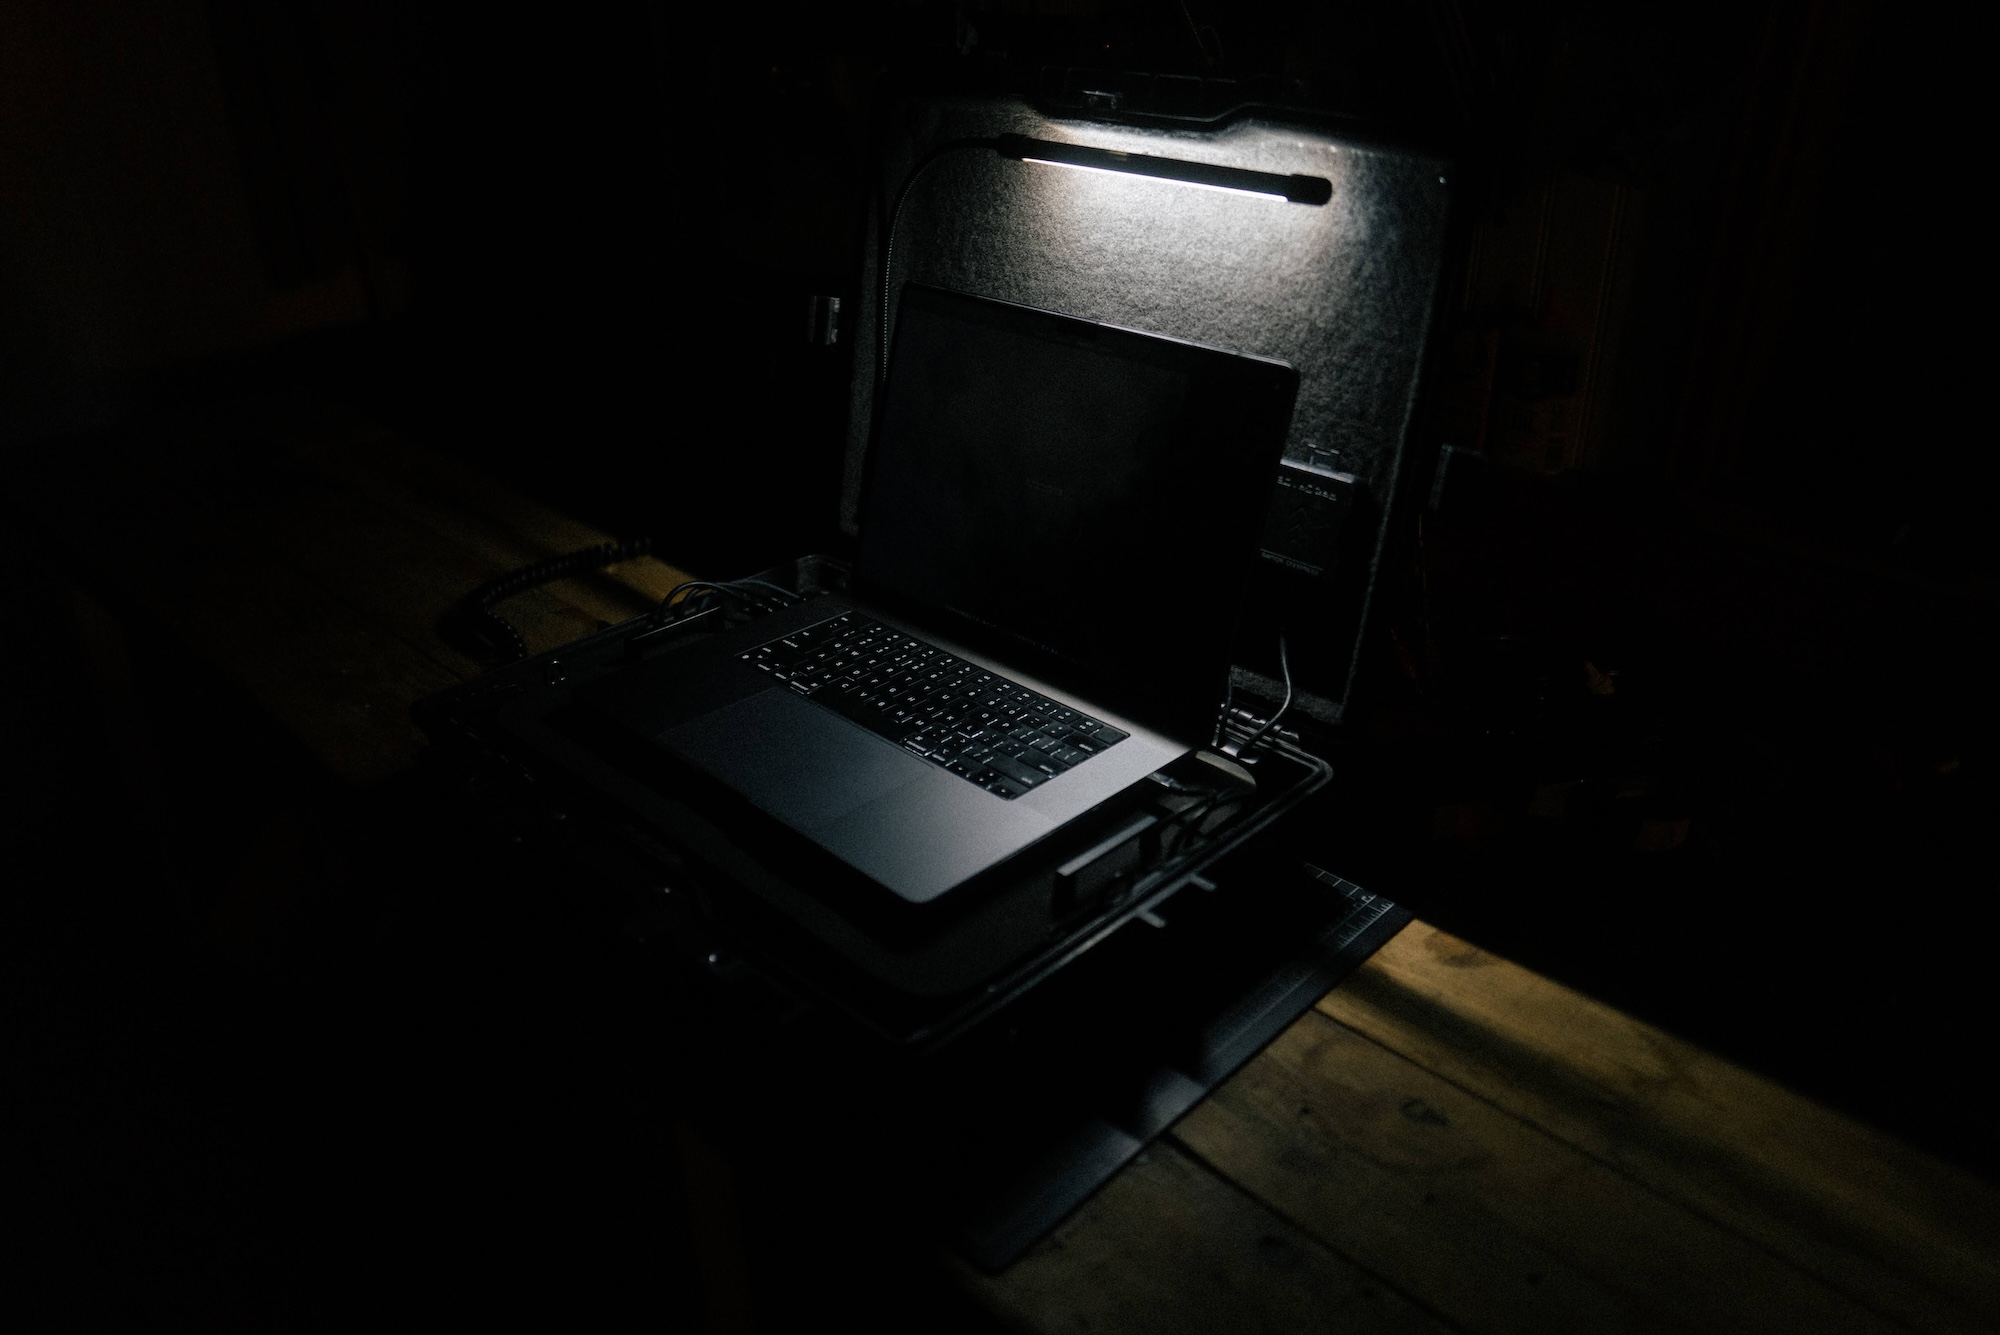
LIGHT


WRAP
That’s about it, for now. I’m happy with where the case is at, it performs well for the type of work I’m using it for. I’m sure there will be further upgrades in the future. I thought about developing this into a purchasable product, but unsure of the demand, plus it took a lot of time to develop and put together so I’m not sure it makes sense for me personally to put this into production, but maybe partnering with a company who has the resource is an option. I hope by sharing this it may inspire others to create their own. I know there are some other laptop DIT case options out there but as far as I’m aware there are non in a case this compact and that has matched speed / power options.. but please share if you are working on something similar! My plan is to add to this page if the case develops any further. Reach out if you have any questions or ideas.
