I recently got my self one of these small digital video cameras.
They are made by a American company called GoPro and this is the HD model. I picked it up for £270 from this small online shop. The camera shoots in various modes including 720p @ 60 Fps(for some nice slow mo action), 960p @ 30Fps and 1080p @ 30Fps. It also has a Time lapse feature that takes photos in intervals of 2,5,10,30 and 60 seconds. It takes a SD card up to 32Gb and can record for about 2.5 hours on a single charge.
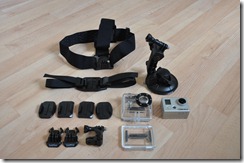
Here’s what’s Included (The suction mount that’s usually an extra £30 was free with a special offer minidvcam had on at the time of purchase)
After the first week of playing around with the camera and the various mounts I put this quick video together. Here you get an idea of what the camera is capable of 🙂
I decided to set my self a little project and make a 360 pano time lapse motor. I got the Inspiration from Rambo on the GoPro forums. Check out the following videos to see my first tests..
Below is the rig I used to capture the above time lapses. click ‘MORE’ below to see how I made this…
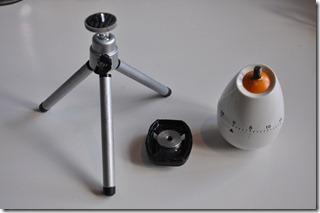
To make the pano head I first wanted to make a tripod mount for the camera. GoPro do sell these mounts for £10 but I thought I would try doing it my self…
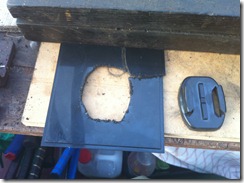
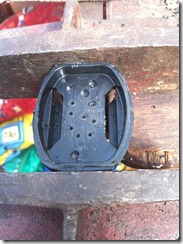
I used the plastic stand the camera came attached to in the box and cut it out with a coping saw.
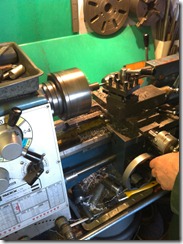
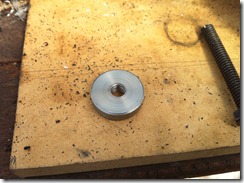
With the help of my next door neighbour we used his lathe to machine out two parts that could be threaded to fit a standard tripod mount.
Here’s the finished custom nut.
I then drilled some small holes in the base of the mount I cut out earlier. This provides a better gluing area.
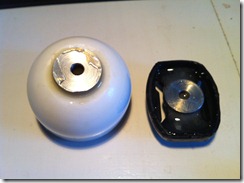
I then used a generous amount of epoxy resin (Araldite) to glue the nuts to the mount and the cooking timer.
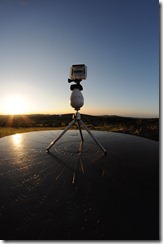
I left it all to dry for 24 hours then it was good to go. Below is a picture of the set up in action at the top of a country park near me.
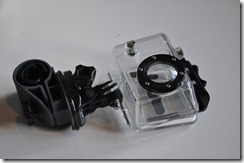
Another custom mount I made was this Bike mount. I again bothered my neighbour this time to use his CNC milling machine to flatten off the top surface of an old bike light attachment. You can see this in the picture below. I then scored the surface to add extra grip. I drilled a hole through one of the existing GoPro mounts and glued in a bolt that then fastens to the bike mount.
Here’s the complete construction 🙂
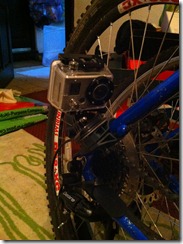
And here’s it attached to the bike frame..
Over all I’m really happy with this purchase! I think its such a great little camera with so many possibilities..
If you are thinking about buying one of these and want to know more please feel free to leave a comment below ill get back to you as soon as I can 🙂


Hi Rob! The egg timer mount you’ve made is so cool – great idea! I’m in China at the moment so I can’t watch the videos now but i’m going to check them out when i’m back. That camera is a pretty nifty thing too. I want one!! Keep having fun dude! Jon
Hi
I think what you have done is super! I bought the rod like you said but the ride mount that gopro sell with it wont face the right way. 🙁 Do you sell the mount you made?
Ah that’s annoying, No unfortunately I don’t sell it.. I just used an old bike light mount. May be you could find something similar on eBay? I think I’m gonna have to re design it a little because there’s a weak spot, which leads to it snapping off if its hit. Ill post up any improvements I make 🙂